How to Remove Input Not Supported in Monitor: Ultimate Solutions
To remove the “Input Not Supported” error on your monitor, right-click on the desktop and select “Display settings.” Change the resolution to a supported setting that matches your monitor’s native resolution.
If you’re unsure of the native resolution, consult the manual or manufacturer’s website. By adjusting the display settings, you can resolve the issue and eliminate the “Input Not Supported” message on your monitor.
Diagnose The Issue
To remove the “Input Not Supported” message on your monitor, you can try changing the display settings by right-clicking on the desktop and selecting “Display settings”. Change the resolution to a supported setting that matches your monitor’s native resolution. If you are unsure of the native resolution, refer to the manual or manufacturer’s website for guidance.
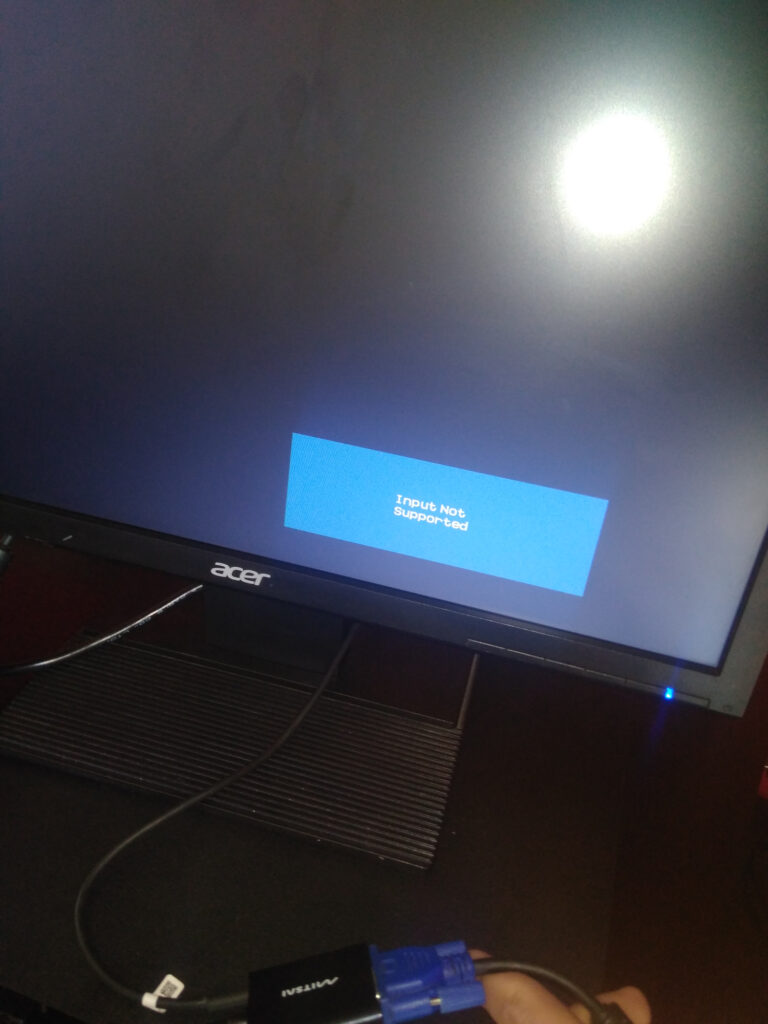
Symptoms And Common Scenarios
- A black screen with the error message displayed.
- Distorted or blurry display.
- Monitor showing incorrect resolution.
- Limited or no access to your computer’s display settings.
Possible Causes Behind The Error Message
There are several potential causes that can trigger the “Input Not Supported” error message on your monitor. These include:- Incompatible resolution: Your monitor may not support the resolution currently set on your computer.
- Incorrect refresh rate: The refresh rate set on your computer may exceed the maximum supported by your monitor.
- Loose cable connection: A loose or faulty cable connection between your computer and monitor can lead to display issues.
- Outdated or incompatible graphics drivers: If your graphics drivers are outdated or incompatible, it can result in display errors.
Quick Checks For Immediate Relief
When you encounter the frustrating “Input Not Supported” error on your monitor, there are a few quick checks you can perform to address the issue and regain control of your display. Follow these steps to troubleshoot the problem:
Ensure Cable Connections Are Secure
A loose or faulty cable connection is a common culprit behind the “Input Not Supported” error. Start by checking the cables connecting your monitor to your computer. Make sure they are securely plugged in at both ends, ensuring a snug fit. If the cables appear damaged or frayed, consider replacing them with new ones for optimal performance.
Reboot Computer And Monitor
Oftentimes, a simple reboot can resolve various technical glitches, including the “Input Not Supported” error. Begin by turning off your computer and monitor. After a few seconds, power them back on. This process can help refresh the system and reinitialize connections, potentially resolving the issue.
Disconnect And Reconnect Cables
If the problem persists after rebooting, try disconnecting and reconnecting the cables. Start by unplugging the video cable from both the computer and monitor. Then, firmly reattach the cables, ensuring a secure connection. This action can help eliminate any potential disruptions or loose connections that may be causing the error message.
By following these quick checks, you can immediately alleviate the “Input Not Supported” issue on your monitor. If the problem persists, further troubleshooting or professional assistance may be required.
Adjust Display Settings
To remove the “Input not supported” error on your monitor, right-click on the desktop and select “Display settings”. Change the resolution to a supported setting that matches the native resolution of your monitor. If you’re unsure of the native resolution, refer to the manual or manufacturer’s website for guidance.
ou want to use, and then click Apply. The screen will temporarily go black as the new resolution is applied. If you can see the new resolution on your monitor and it looks good to you, click Keep Changes. If you don’t click within 15 seconds, it will revert back to the original resolution. Accessing display properties To adjust the display settings and remove the “Input Not Supported” error on your monitor, you need to access the display properties. To do this, simply right-click on your desktop and select “Display settings” from the dropdown menu. This will open up the display settings window, where you can modify various display options to resolve the issue. Modifying resolution to match monitor’s native Once you have accessed the display properties, the next step is to modify the resolution to match your monitor’s native resolution. This ensures that the display settings are compatible with your monitor, eliminating the “Input Not Supported” error. To find the native resolution of your monitor, you can refer to the manual or visit the manufacturer’s website for accurate information. Once you have determined the native resolution, navigate to the display settings window and locate the “Resolution” section. In the Resolution section, you will see a dropdown menu with a list of available resolutions. Select the resolution that matches your monitor’s native resolution. Make sure to choose the highest resolution available that is supported by your monitor for optimal display quality. After selecting the appropriate resolution, click on the “Apply” button to save the changes. The screen may briefly go black as the new resolution is applied. If you can see the new resolution on your monitor and it looks good to you, click on the “Keep Changes” button to finalize the modification. By adjusting the display settings and matching the resolution to your monitor’s native resolution, you can effectively remove the “Input Not Supported” error and enjoy a seamless viewing experience on your monitor.Advanced Solutions For Stubborn Cases
While the basic troubleshooting steps for resolving the “Input Not Supported” error on your monitor usually involve adjusting display settings and changing resolutions, sometimes these solutions may not be enough. In more stubborn cases, you may need to try some advanced methods to resolve the issue. Here are a few advanced solutions that can help you fix the “Input Not Supported” error:
1. Boot Into Safe Mode
One of the first advanced solutions you can try is booting your computer into Safe Mode. Safe Mode starts Windows with the minimum required drivers and software, which can help troubleshoot and fix various display issues. Here’s how to boot into Safe Mode:
- Restart your computer and press the F8 key repeatedly as it boots up.
- In the Advanced Boot Options menu, use the arrow keys to select Safe Mode and press Enter.
- Once in Safe Mode, check if the “Input Not Supported” error still persists. If not, you can try adjusting the display settings or updating drivers in Safe Mode to resolve the issue.
2. Tweak Refresh Rate Settings
Another advanced solution you can try is tweaking the refresh rate settings. The refresh rate refers to how many times the monitor refreshes the image on the screen per second. Sometimes, incompatible or incorrect refresh rate settings can cause the “Input Not Supported” error. Here’s how you can adjust the refresh rate:
- Right-click on the desktop and select Display settings.
- In the Display settings window, scroll down and click on Advanced display settings.
- Click on the Display adapter properties link at the bottom of the window.
- In the Adapter tab, click on the List All Modes button.
- Select a different refresh rate from the list and click OK.
- Apply the changes and check if the “Input Not Supported” error is resolved.
3. Update Graphic Drivers
Outdated or incompatible graphic drivers can also cause the “Input Not Supported” error. Updating your graphic drivers can often fix this issue. Here’s how you can update your graphic drivers:
- Press the Windows key + X and select Device Manager from the menu.
- In the Device Manager window, expand the Display adapters category.
- Right-click on your graphic driver and select Update driver.
- Select Search automatically for updated driver software and let Windows search and install the latest drivers.
- Restart your computer and check if the “Input Not Supported” error is resolved.
These advanced solutions should help you tackle the “Input Not Supported” error on your monitor. If the issue still persists, it is recommended to seek professional assistance or contact the manufacturer for further troubleshooting.
Ensure Long-term Stability
To remove the “Input Not Supported” error on your monitor, follow these steps: Right-click on your desktop and select “Display settings”. Change the resolution to a supported setting that matches your monitor’s native resolution. If you’re unsure of the native resolution, consult your monitor’s manual or manufacturer’s website.
Proper Graphic Card Installation
To ensure long-term stability and avoid the “Input Not Supported” error on your monitor, it is crucial to properly install your graphic card. Start by turning off your computer and unplugging it from the power source. Open the computer case and locate the PCIe slot on the motherboard. Gently insert the graphic card into the slot, making sure it is securely seated. Finally, reassemble the computer case and reconnect all cables. Proper installation of the graphic card will help ensure a stable connection to your monitor.Regular System Updates
Regularly updating your system is essential to maintain stability and compatibility with your monitor. Software updates often include important fixes and patches for known issues, including those related to display settings. To update your system, go to the Control Panel in Windows and select “System and Security.” Click on “Windows Update” and then “Check for updates.” If any updates are available, click “Install Updates” to ensure that your system is up to date. By keeping your system updated, you can minimize the chances of encountering the “Input Not Supported” error.Recommended Display Settings Maintenance
To prevent the “Input Not Supported” error on your monitor, it is crucial to regularly maintain your display settings. Start by right-clicking on the desktop and selecting “Display settings.” In the Display settings window, ensure that the resolution is set to a supported setting that matches the native resolution of your monitor. If you are unsure about the native resolution, refer to the manual or visit the manufacturer’s website for your monitor. Adjusting the resolution to the recommended setting will help ensure compatibility and minimize the likelihood of encountering display errors. Additionally, it is important to configure the refresh rate correctly. A higher refresh rate can result in a smoother display, but if set beyond the capabilities of your monitor, it can trigger the “Input Not Supported” error. To adjust the refresh rate, go to the Display settings window and click on “Advanced display settings.” Then, select “Display adapter properties” and navigate to the “Monitor” tab. From there, you can modify the refresh rate to a suitable value for your monitor. In summary, ensuring long-term stability and preventing the “Input Not Supported” error requires proper graphic card installation, regular system updates, and maintenance of recommended display settings. By following these steps, you can maintain a stable and error-free connection with your monitor, providing a smooth and uninterrupted viewing experience.
Credit: www.avg.com
Frequently Asked Questions For How To Remove Input Not Supported In Monitor
Why Is Input Not Detected On My Monitor?
The most common cause of input not being detected on a monitor is a loose cable. Make sure the cable is securely attached to both the monitor and the computer. If the problem persists, try changing the display settings to a supported resolution that matches your monitor’s native resolution.
Why Does My Monitor Say Unsupported Mode?
When your monitor says “Unsupported mode,” it means that the resolution or refresh rate being used is not supported by your monitor. To fix this, right-click on your desktop and select “Display settings. ” Then, change the resolution to a supported setting that matches your monitor’s native resolution.
If you’re unsure of the native resolution, refer to your monitor’s manual or the manufacturer’s website.
How Do I Reset My Computer Resolution?
To reset your computer resolution, right-click on the desktop and select “Display settings”. Change the resolution to a supported setting that matches your monitor’s native resolution. If you’re unsure about the native resolution, refer to the manual or manufacturer’s website for guidance.
How Do I Fix The “input Not Supported” Issue On My Monitor?
To fix the “Input not supported” issue on your monitor, you can try changing the display settings. Right-click on your desktop and select “Display settings. ” Then, change the resolution to a supported setting that matches the native resolution of your monitor.
If you’re unsure of the native resolution, check the manual or manufacturer’s website for guidance.
Conclusion
To remove the “Input Not Supported” error on your monitor, follow these steps. Right-click on your desktop and select “Display settings”. Change the resolution to a supported setting that matches your monitor’s native resolution. You can find this information in the manual or on the manufacturer’s website.
By adjusting the display settings, you should be able to resolve the issue and enjoy a clear and supported input on your monitor. Remember to always double-check your cable connections and ensure they are secure.