Troubleshooting Peloton Heart Rate Monitor: Not Charging? Here’s the Fix!
To troubleshoot a Peloton Heart Rate Monitor that is not charging, ensure that the charging contacts on the bottom of the band are clean by wiping them with a shirt. If the issue persists, check the battery and consider replacing it if necessary.
Troubleshooting Peloton Heart Rate Monitor Issues
Having a fully functional heart rate monitor is crucial for your Peloton workouts. It helps you track your intensity and ensures you are getting the most out of your exercise routine. However, there may be times when your heart rate monitor experiences charging issues, preventing it from functioning properly. In this section, we will discuss the importance of fully functional equipment and the signs that your Peloton heart rate monitor may have charging issues.
Importance Of Fully Functional Equipment
Having fully functional equipment is essential for achieving your fitness goals. When it comes to your heart rate monitor, it provides valuable data that helps you monitor your heart rate during workouts. By accurately tracking your heart rate, you can optimize your training intensity, monitor your progress, and ensure you are pushing yourself to reach your fitness goals. A malfunctioning heart rate monitor can hinder your performance and prevent you from getting accurate insights into your workouts. Therefore, it is crucial to troubleshoot any charging issues to maintain a fully functional heart rate monitor.
Signs Your Heart Rate Monitor May Have Charging Issues
1. Failure to charge
If you notice that your heart rate monitor is not charging when connected to a power source, it may indicate charging issues. Ensure that the charging cable is properly connected to both your heart rate monitor and a power source. Sometimes, a loose connection or a faulty cable can prevent the charger from providing a sufficient charge to the monitor. Try disconnecting and reconnecting the cable to ensure a secure connection.
2. Inconsistent battery life
If your heart rate monitor’s battery charge does not last as long as it used to, it may indicate a charging issue. A fully charged heart rate monitor should provide a consistent battery life. If you notice a significant decrease in battery life or if the monitor dies quickly after charging, it may be a sign that the charging mechanism is not properly functioning. In such cases, consider troubleshooting the charging contacts and considering a battery replacement if necessary.
3. Non-responsive display
When you try to turn on your heart rate monitor, but the display does not respond, it could be due to charging issues. Ensure that the charging contacts on the bottom of the heart rate monitor are clean and free from any debris. Sometimes, dirt or sweat residue can hinder the charging process and lead to unresponsiveness. Wipe the contacts with a clean cloth to remove any potential obstructions and ensure a proper connection.
By understanding the importance of a fully functional heart rate monitor and recognizing the signs of charging issues, you can troubleshoot and resolve any problems. With a properly functioning heart rate monitor, you can ensure accurate heart rate tracking during your Peloton workouts and maximize the effectiveness of your training.
Identifying Charging Problems
If your Peloton Heart Rate Monitor is not charging, it can be frustrating, especially when you’re ready for a great workout. However, before you panic and start looking for a replacement, it’s important to identify the common symptoms of a non-charging heart rate monitor and go through a checklist to ensure you don’t miss any simple fixes. In this section, we’ll explore the common symptoms and provide you with a checklist to help get your heart rate monitor back up and running.
Common Symptoms Of A Non-charging Heart Rate Monitor
- No lights displaying on the heart rate monitor
- Yellow blinking light on the heart rate monitor
- Unable to see any lights when holding onto the moistened leads of the strap
If you’re experiencing any of these symptoms, it may indicate a charging problem with your Peloton Heart Rate Monitor. But before you jump into troubleshooting, let’s go through a checklist to ensure there are no simple fixes that you might have missed.
Checklist Before Proceeding With Fixes
- Check that the charging contacts on the bottom of the Heart Rate Band are clean. Sometimes, dirt or sweat can accumulate on these contacts and prevent proper charging. You can simply wipe them with a clean cloth or shirt to ensure they are clean.
- Ensure that the charging cable is properly connected to both your heart rate monitor and a power source. Sometimes, a loose connection can cause charging issues. Double-check the cable and make sure it is securely connected.
- If you see a yellow blinking light or are unable to see any lights when holding onto the moistened leads of the strap, it may be time to replace the battery. Try replacing the battery and see if that resolves the charging problem.
- If you’re still facing issues, try resetting the heart rate monitor. This can be done by disconnecting it from any power source and then reconnecting it after a few seconds.
- If none of the above fixes work, it’s time to reach out to Peloton support for further assistance. They have dedicated troubleshooting resources and can guide you through more advanced solutions.
By going through this checklist, you can ensure that you’ve covered all the basics before getting into more complex fixes. Sometimes, a simple cleaning or battery replacement can solve the charging problem and save you from unnecessary stress. Remember to take proper care of your Peloton Heart Rate Monitor and follow the manufacturer’s guidelines for maintenance to prevent charging issues in the future.
Here’s The Fix For A Non-charging Monitor
If your Peloton Heart Rate Monitor is not charging, there are a few troubleshooting steps you can try. First, make sure the charging contacts on the bottom of the monitor are clean. You can wipe them with a shirt to ensure they are free of any dirt or debris.
Additionally, check that the charging cable is properly connected to both the monitor and a power source.
## Here’s the Fix for a Non-Charging Monitor If you’re experiencing issues with your Peloton Heart Rate Monitor not charging, don’t worry! We’ve got you covered with an easy step-by-step guide to help you resolve the problem. By following these simple instructions, you’ll be back to tracking your heart rate during your Peloton workouts in no time. ### Step-by-step guide to resolving charging issues 1. Check the charging contacts: Start by making sure that the charging contacts on the bottom of the Heart Rate Monitor are clean. Sometimes, dirt or sweat can interfere with the charging process. Take a soft cloth or shirt and gently wipe the contacts to ensure they are free from any debris. 2. Properly connect the charging cable: Next, ensure that the charging cable is properly connected to both your heart rate monitor and a power source. Sometimes, a loose connection can prevent the device from charging. Make sure the cable is securely plugged in on both ends. 3. Verify the power source: Double-check that the power source you’re using is functioning correctly. Try using a different power outlet or USB port to rule out any issues with the power supply. 4. Allow sufficient charging time: Leave your heart rate monitor connected to the charging cable for at least 60 minutes. Sometimes, the device may need a longer charging period to regain its full battery capacity. 5. Reset your heart rate monitor: If the above steps don’t work, try resetting your heart rate monitor. To do this, disconnect it from the charging cable and power source, and then hold down the power button for 15 seconds. Afterward, reconnect the device to the charger and see if it starts charging. ### Tips for maintaining proper contact cleanliness To ensure the longevity and efficiency of your Heart Rate Monitor, it’s essential to maintain proper contact cleanliness. Here are a few tips to keep in mind: 1. Regularly clean the charging contacts with a soft cloth or shirt to remove any dirt, sweat, or debris that might accumulate over time. 2. Avoid using harsh chemicals, bleach, or soaking the Heart Rate Monitor in water, as these can damage the device. 3. Always ensure that both the Heart Rate Pod and Pod Charger are completely dry before attaching the Heart Rate Pod to the charger. With these troubleshooting steps and maintenance tips, you should be able to fix any charging issues with your Peloton Heart Rate Monitor. Remember, if the problem persists, don’t hesitate to reach out to Peloton Support for further assistance. So, get ready to take your workouts to the next level with accurate heart rate tracking once again!Ensuring Proper Charging Techniques
If your Peloton Heart Rate Monitor is not charging, try cleaning the charging contacts on the bottom of the band and ensure they are free of any dirt or debris. Additionally, make sure the charging cable is properly connected to both the monitor and a power source.
If the issue persists, it may be time to replace the battery.
Best Practices For Charging Your Heart Rate Monitor
When it comes to charging your Peloton Heart Rate Monitor, it’s important to follow a few best practices to ensure optimal performance and longevity. By adopting these techniques, you can keep your heart rate monitor charged and ready for your workouts:
- Make sure that the charging cable is properly connected to both your heart rate monitor and a power source. Sometimes the cable can come loose, leading to improper charging.
- Ensure that the charging contacts on the bottom of the Heart Rate Band are clean. Wiping the contacts with a clean shirt can remove any dirt or debris that may interfere with charging.
- Keep your heart rate monitor away from extreme temperatures. Exposure to excessive heat or cold can negatively impact the performance and battery life of your device.
- Charge your heart rate monitor in a well-ventilated area and avoid covering it with any objects while charging. This helps prevent overheating and allows for a more efficient charge.
- Use the original charging cable and adapter that came with your heart rate monitor. Using unauthorized or third-party charging accessories may not provide the same level of efficiency and can potentially damage your device.
Common Mistakes To Avoid During Charging
While it’s important to follow the best practices mentioned above, it’s equally crucial to avoid common mistakes that can hinder the charging process of your Peloton Heart Rate Monitor:
- Avoid soaking the Heart Rate Pod or using bleach on it. Instead, wipe the Heart Rate Pod and Pod Charger dry before placing the Heart Rate Pod on the Pod Charger.
- Do not attempt to charge your heart rate monitor with wet hands or while it is wet. Moisture can cause damage to the internal components of the device and compromise its functionality.
- Make sure to check your heart rate monitor’s battery regularly. If you notice a blinking yellow light or no lights at all when holding onto the moistened leads of the strap, it may be time to replace the battery.
- Avoid manually disconnecting the Peloton Heart Rate Band inside the app. It is designed to automatically connect the next time you log into your profile, ensuring a seamless and hassle-free experience.
- Keep your heart rate monitor away from strong magnets or other electronic devices while charging. These can interfere with the charging process and potentially damage your device.
By following these best practices and avoiding common charging mistakes, you can ensure that your Peloton Heart Rate Monitor remains charged and ready for every workout session. Proper charging techniques not only extend the battery life of your device but also enhance the accuracy and reliability of the heart rate data it provides.
Advanced Solutions If Problem Persists
Troubleshooting With Alternate Charging Cables And Sources
When your Peloton Heart Rate Monitor is not charging properly, you can try troubleshooting using alternate charging cables and sources. Sometimes, the issue could be with the cable or power source rather than the Heart Rate Monitor itself. Here are some steps you can follow:
- Check the charging cable: Ensure that the charging cable is properly connected to both your heart rate monitor and a power source. Sometimes, the cable might not be securely attached, which can result in charging issues. Try disconnecting and reconnecting the cable to make sure it is properly attached.
- Verify the power source: Make sure the power source you are using is functioning correctly. Try plugging the charging cable into a different outlet or USB port to see if that resolves the issue. You can also try using a different power adapter or USB port on your computer to troubleshoot any potential problems with the power source.
- Use an alternate charging cable: If you have access to another charging cable, try using it to charge your Heart Rate Monitor. Using a different cable can help determine if the issue is with the original cable or the device itself.
- Clean the charging contacts: Ensure that the charging contacts on the bottom of the Heart Rate Monitor are clean. Use a shirt or a clean cloth to gently wipe the contacts and remove any dirt or debris that may be interfering with the charging process.
When To Reach Out To Peloton Customer Support
If the problem with your Peloton Heart Rate Monitor persists even after troubleshooting with alternate charging cables and sources, it may be necessary to reach out to Peloton customer support for further assistance. They have a team of knowledgeable experts who can provide additional troubleshooting steps or guidance based on the specific issue you are experiencing.
Understanding Warranty And Replacement Policies
If your Peloton Heart Rate Monitor is still under warranty and you have tried all the troubleshooting steps without success, you may be eligible for a replacement. It is important to understand the warranty and replacement policies provided by Peloton to ensure a smooth and hassle-free process.
If you believe that your Heart Rate Monitor is defective or experiencing issues that cannot be resolved through troubleshooting, reach out to Peloton customer support and provide them with all the relevant information about your device. They will guide you through the warranty and replacement process, ensuring that you receive a functioning Heart Rate Monitor.

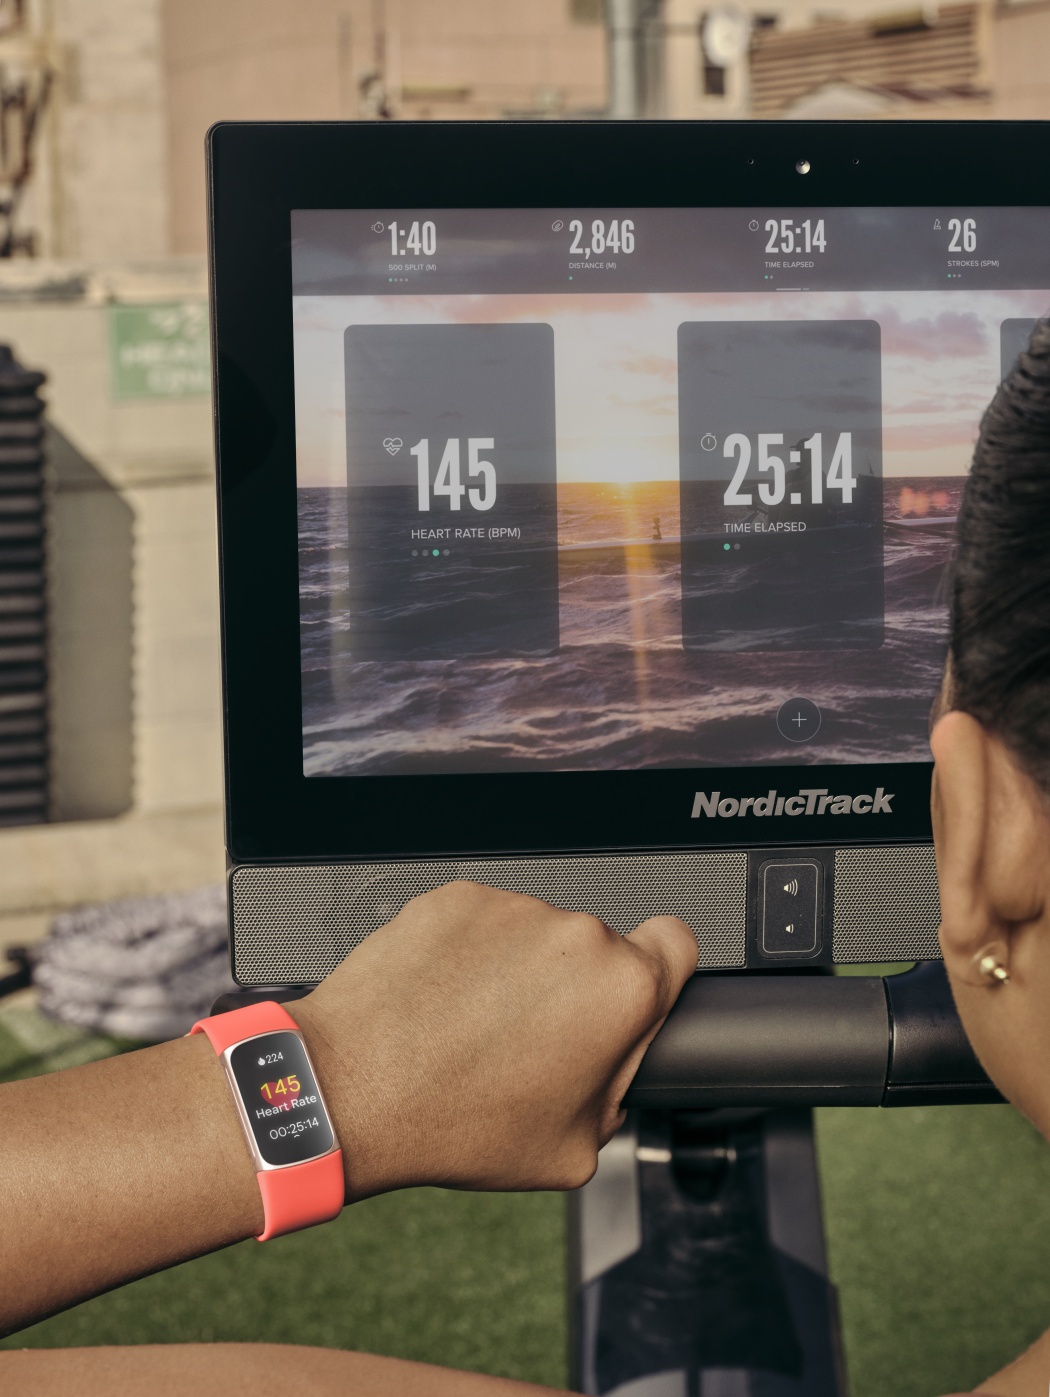
Credit: www.amazon.com
Frequently Asked Questions Of Peloton Heart Rate Monitor Not Charging
Why Are There No Lights On My Peloton Heart Rate Monitor?
If there are no lights on your Peloton Heart Rate Monitor, it may be time to replace the battery. Check for a blinking yellow light or no lights when holding the moistened leads of the strap. Ensure that the charging contacts are clean and try wiping them with a shirt.
Open the Peloton App and make sure you’re logged in, as the band should pair automatically. If it doesn’t, check the Bluetooth connection and make sure the charging cable is properly connected to both the monitor and power source.
How Do I Change The Battery In My Peloton Heart Monitor?
To change the battery in your Peloton heart monitor, follow these steps: 1. Make sure the charging contacts on the bottom of the heart monitor are clean. 2. Wipe them with a shirt to ensure they are clean. 3. If the monitor still doesn’t charge, it may be time to replace the battery.
How Do I Get My Peloton Heart Rate Monitor To Work?
To get your Peloton Heart Rate Monitor to work, follow these steps: 1. Make sure the charging contacts on the bottom of the monitor are clean. 2. Wipe the contacts with a shirt to ensure they are clean. 3. Check the battery and replace it if necessary.
4. Ensure the Bluetooth connection is properly set up. 5. Open the Peloton App and log into your profile for automatic pairing. Remember to avoid soaking or using bleach on the monitor and always dry it before charging. Make sure the cables are properly connected and try swiping a bit of water on the electrodes for better connectivity.
How Long Does Peloton Heart Rate Band Battery Last?
The battery of a Peloton heart rate band lasts for an extended period.
Conclusion
To troubleshoot your Peloton Heart Rate Monitor not charging, make sure to clean the charging contacts on the bottom of the band and try wiping them with a shirt. Additionally, ensure that the charging cable is properly connected to both the monitor and a power source.
If you are experiencing issues with Bluetooth connectivity, check the connection to your bike. If the monitor still doesn’t work, it may be time to replace the battery. Remember to take good care of your Heart Rate Monitor by avoiding soaking or using bleach on it.
With these troubleshooting tips, you’ll be back to tracking your heart rate in no time.