How to Get G Sync on Any Monitor: A Step-by-Step Guide
To get G Sync on any monitor, right-click on your desktop, choose NVIDIA Control Panel, select ‘Set up G-Sync’ in the menu, check ‘G-Sync’, and turn on G-Sync Compatible. Choose your preferred options for G-Sync display.
Understanding G Sync Compatibility
To enable G Sync on any monitor, right-click on your desktop, select NVIDIA Control Panel, and choose ‘Set up G-Sync’. Check the ‘G-Sync’ and ‘Turn on G-Sync Compatible’ options. You can also select if you want G-Sync to be displayed in full screen only or also in screen in screen mode.
Brief Explanation Of G Sync Technology
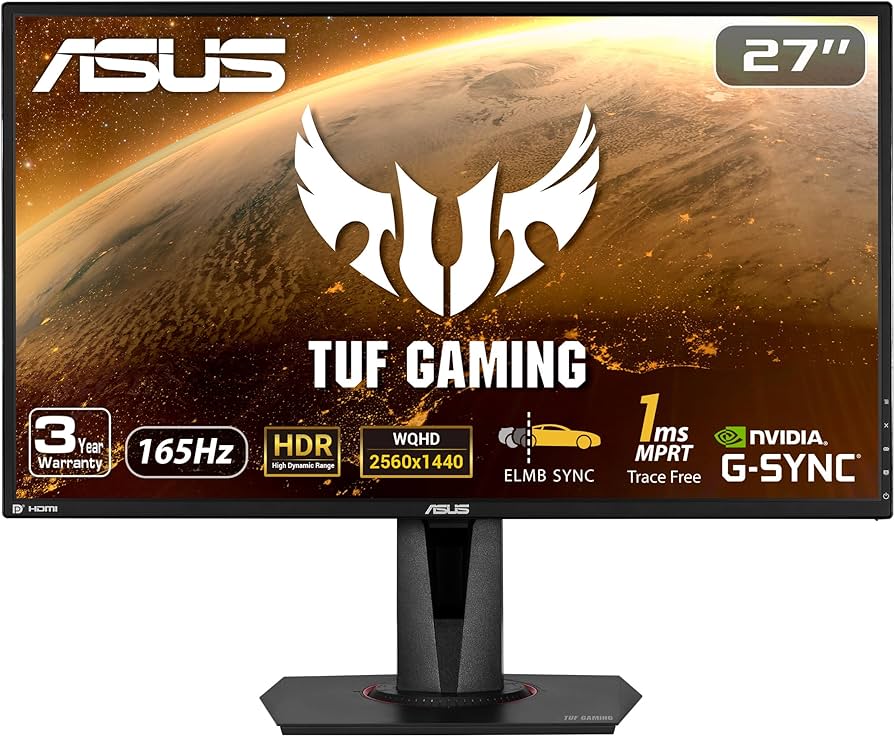
G Sync is a display technology developed by NVIDIA that aims to eliminate screen tearing, minimize input lag, and provide a smoother gaming experience. It works by synchronizing the refresh rate of the monitor with the frames per second (FPS) output of the graphics card, ensuring that each frame is displayed at the right time.
The Difference Between Native G Sync And G Sync Compatible Monitors
There are two types of G Sync monitors: native G Sync and G Sync Compatible. Native G Sync monitors feature an NVIDIA-designed hardware module that enables the full range of G Sync benefits. On the other hand, G Sync Compatible monitors are FreeSync monitors that have been validated by NVIDIA to provide a good G Sync experience when connected to an NVIDIA GPU. While both types offer a tear-free and smooth gameplay experience, native G Sync monitors may provide slightly better performance and support a wider VRR (Variable Refresh Rate) range.
Importance Of The Monitor’s Refresh Rate And Vrr Range
The monitor’s refresh rate and VRR range play vital roles in achieving optimal G Sync performance. The refresh rate determines how many frames per second the monitor can display, while the VRR range refers to the range of refresh rates within which G Sync can operate. To fully enjoy the benefits of G Sync, it is crucial to select a monitor with a high refresh rate (ideally 144Hz or higher) and a wide VRR range (such as 30Hz to the monitor’s maximum refresh rate).
Having a high refresh rate ensures that the monitor can keep up with the high FPS output of modern graphics cards, resulting in smoother and more fluid visuals. Meanwhile, a wide VRR range allows the monitor to adjust its refresh rate dynamically, matching the FPS output of the GPU in real-time and eliminating screen tearing and stuttering across a broader range of frame rates.
When considering a G Sync monitor, it is essential to check its refresh rate and VRR range specifications to ensure compatibility with the desired gaming setup. Investing in a monitor that meets the recommended refresh rate and VRR range criteria will unlock the full potential of G Sync and provide an immersive gaming experience with minimal visual disturbances.
Preparing Your Setup For G Sync
Before you can start enjoying the benefits of G Sync on your monitor, there are a few things you need to check and ensure. In this section, we will guide you through the necessary steps to prepare your setup for G Sync.
Checking Graphics Card And Driver Compatibility
To begin, it is essential to confirm that your graphics card and its driver are compatible with G Sync. NVIDIA, the leading provider of G Sync technology, provides a list of supported graphics cards on their website. Ensure that your card is on this list to guarantee compatibility.
Next, make sure that your graphics card drivers are up to date. NVIDIA regularly releases driver updates that include optimizations and enhancements for G Sync technology. Updating your drivers will ensure that you have the latest features and bug fixes.
Ensuring Appropriate Display Cables (dp/hdmi)
Another crucial aspect of preparing your setup for G Sync is ensuring that you are using the appropriate display cables. G Sync is compatible with both DisplayPort (DP) and High-Definition Multimedia Interface (HDMI) cables.
If you have a monitor that supports G Sync, it is recommended to use a DisplayPort cable for optimal performance. DisplayPort cables offer higher bandwidth and better support for higher refresh rates, which are essential for a smooth G Sync experience.
However, if your monitor only supports HDMI, you can still enable G Sync using an HDMI cable. Keep in mind that HDMI cables have certain limitations compared to DisplayPort, such as lower refresh rates and bandwidth. It is crucial to ensure that your HDMI cable meets the required specifications for G Sync compatibility.
Firmware Updates For The Monitor, If Available
Lastly, it is essential to check if there are any firmware updates available for your monitor. Firmware updates often include optimizations and bug fixes that can improve G Sync functionality.
Visit the manufacturer’s website and look for support or downloads section to see if there are any firmware updates available for your monitor. If there are, follow the manufacturer’s instructions to update your monitor’s firmware and ensure optimal G Sync compatibility.
Enabling G Sync In Nvidia Control Panel
To enable G-Sync on any monitor, right-click on your desktop, open NVIDIA Control Panel, and select ‘Set up G-Sync’ in the menu on the left. Check the ‘G-Sync’ and ‘Turn on G-Sync Compatible’ options. You can choose to display G-Sync in fullscreen or screen in screen mode.
Accessing The Nvidia Control Panel
To enable G Sync on any monitor, you’ll need to access the NVIDIA Control Panel on your desktop. Here’s how:
- Right-click on your desktop to bring up the context menu.
- Click on “NVIDIA Control Panel” to open the control panel.
Navigate To ‘display’ Settings And Selecting ‘set Up G Sync’
Once you’re in the NVIDIA Control Panel, follow these steps:
- Find and click on the “Display” category in the navigation menu.
- Under “Display”, you’ll see various options. Click on “Set up G Sync” to proceed.
Detailed Steps To Enable G Sync Or G Sync Compatible Options
In the “Set up G Sync” page, you’ll have the option to enable G Sync or G Sync Compatible. Follow these steps:
- Check the box next to “Enable G Sync” or “Enable G Sync Compatible”.
- If you have a G Sync Compatible monitor, make sure to select that option.
- Choose your preferred settings, such as enabling G Sync for full-screen mode or for both full-screen and windowed mode.
By following these steps, you’ll be able to enable G Sync on any monitor using the NVIDIA Control Panel. Enjoy smoother and tear-free gaming!
Fine-tuning G Sync Settings For Optimal Performance
Looking to get G-Sync on any monitor? Follow these simple steps: right-click on your desktop, select NVIDIA Control Panel, choose ‘Set up G-Sync’, check the ‘G-Sync’ and ‘Turn on G-Sync Compatible’ options, and decide if you want it in full-screen or screen-in-screen mode.
Including G Sync In Fullscreen Vs Windowed Mode
If you want to fine-tune your G Sync settings for optimal performance, it’s important to understand how it behaves in different modes. G Sync can be enabled in both fullscreen and windowed mode, but the experience may vary.
In fullscreen mode, G Sync provides a seamless gaming experience by synchronizing the monitor’s refresh rate with the GPU’s frame rate. This eliminates screen tearing and reduces input lag, allowing for smoother gameplay. To include G Sync in fullscreen mode, follow these steps:
- Go to your desktop and right-click to open the NVIDIA Control Panel.
- Select “Set up G-Sync” from the menu on the left.
- Check the box for “G-Sync” and “Turn on G-Sync Compatible”.
- Choose the option to display G Sync in “fullscreen”.
On the other hand, in windowed mode, G Sync can also be enabled but may not deliver the same level of performance as fullscreen mode. This is because G Sync relies on the monitor’s refresh rate, and in windowed mode, the refresh rate may be limited by the operating system. Still, enabling G Sync in windowed mode can help reduce tearing and provide a smoother gaming experience. To include G Sync in windowed mode, follow the same steps as above, but choose the option to display G Sync in “windowed” or “fullscreen and windowed”.
Adjusting Vsync Settings In Conjunction With G Sync
When using G Sync, it is recommended to adjust VSync settings to further enhance the gaming experience. VSync helps prevent screen tearing, but when used together with G Sync, it can introduce additional input lag. To find the right balance, follow these steps:
- Go to the NVIDIA Control Panel and open the “Manage 3D Settings” section.
- Scroll down and find the “Vertical Sync” option.
- Set the Vertical Sync option to “Off” to disable VSync.
- Alternatively, set it to “On” or “Adaptive” to enable VSync.
- Experiment with different settings to find the optimal configuration for your specific game.
By adjusting VSync settings, you can fine-tune the synchronization between your monitor’s refresh rate and the GPU’s frame rate, minimizing input lag while still reducing screen tearing.
Game-specific Settings For Ideal G Sync Functionality
For ideal G Sync functionality in different games, it may be necessary to tweak some game-specific settings. This ensures that G Sync works seamlessly with the game and provides the best possible experience. Here are some game-specific settings to consider:
- Disable any in-game VSync options to prevent conflicts with G Sync.
- Adjust the game’s frame rate cap to match your monitor’s refresh rate.
- Enable triple buffering if available to further reduce input lag.
- Experiment with different graphics settings to find the sweet spot between performance and visual quality.
Each game may have its own unique settings, so it’s important to explore the options and test different configurations to optimize G Sync functionality. Remember to save and apply the changes in each game to ensure they take effect.
Troubleshooting G Sync Activation Issues
When it comes to getting G Sync on any monitor, you may encounter some activation issues that can hinder your gaming experience. However, troubleshooting these issues is not as daunting as it may seem. In this section, we will explore some common pitfalls during G Sync setup and provide solutions for monitors that are not immediately recognized as G Sync compatible. We’ll also share tips for resolving flickering, stuttering, or non-functioning G Sync.
Common Pitfalls During G Sync Setup
If you’re facing issues during the G Sync setup process, you’re not alone. Here are some common pitfalls to watch out for:
- Detection problems: Sometimes, your monitor may not be immediately recognized as G Sync compatible. This can prevent you from enabling G Sync through the NVIDIA Control Panel.
- Driver conflicts: Outdated or incompatible graphics drivers can interfere with G Sync activation.
- Incorrect settings: If you haven’t configured the G Sync settings correctly, it can lead to issues like flickering or stuttering.
Solutions For Monitors Not Immediately Recognized As G Sync Compatible
If your monitor is not recognized as G Sync compatible, don’t fret. Here are some solutions to consider:
- Check for firmware updates: Visit the manufacturer’s website and look for any firmware updates specifically targeting G Sync compatibility. Installing the latest firmware can often resolve recognition issues.
- Enable G Sync manually: Even if your monitor is not automatically recognized as G Sync compatible, you can still enable it manually in the NVIDIA Control Panel. Simply go to ‘Set up G-Sync’, check the ‘G-Sync’ and ‘Turn on G-Sync Compatible’ options, and select your preferred display mode.
- Verify display port connection: Ensure that your monitor is connected to your graphics card using a compatible and properly functioning display port cable. A faulty connection may prevent G Sync activation.
Tips For Resolving Flickering, Stuttering, Or Non-functioning G Sync
If you’re experiencing flickering, stuttering, or G Sync not working at all, try these tips to troubleshoot the problem:
- Update graphics drivers: Make sure you have the latest graphics drivers installed for your NVIDIA graphics card. Outdated drivers can cause compatibility issues and affect the performance of G Sync.
- Adjust G Sync settings: Open the NVIDIA Control Panel, navigate to the G Sync settings, and experiment with different display modes. Sometimes, tweaking the settings can resolve flickering or stuttering problems.
- Disable conflicting applications: Some applications or overlays, such as Steam overlay or Discord overlay, can interfere with G Sync functionality. Disable any unnecessary overlays or applications and test if the issue persists.
- Try different refresh rates: In some cases, certain refresh rates may not be fully compatible with G Sync. Experiment with different refresh rate options in the display settings to find the one that works best for your monitor.
Troubleshooting G Sync activation issues can require a bit of trial and error, but with these solutions and tips, you should be able to get G Sync up and running smoothly on any monitor. By overcoming these obstacles, you’ll be able to enjoy tear-free, immersive gaming experience like never before.

Credit: gcloud.devoteam.com
Frequently Asked Questions For How To Get G Sync On Any Monitor
How Do I Add G-sync To My Monitor?
To add G-Sync to your monitor, follow these steps: 1. Right-click on your desktop and select NVIDIA Control Panel. 2. In the left menu, choose “Set up G-Sync”. 3. Check the options for “G-Sync” and “Turn on G-Sync Compatible”. 4. Choose whether you want G-Sync to be enabled only in fullscreen or also in screen-in-screen mode.
5. Apply the changes and enjoy G-Sync on your monitor.
Do All Monitors Support G-sync?
Not all monitors support G-Sync. While most monitors are G-Sync compatible, some have a built-in NVIDIA chip that provides native G-Sync support for optimal performance with NVIDIA graphics cards. However, you can enable G-Sync manually from the NVIDIA Control Panel on non-compatible monitors, but results may vary.
Can I Use G-sync On A Non G-sync Monitor?
No, you cannot use G-Sync on a non G-Sync monitor. However, if your Adaptive Sync monitor isn’t listed as a G-Sync Compatible monitor, you can try enabling it manually from the NVIDIA Control Panel, but it may not work properly or at all.
It’s best to use G-Sync with a monitor that is specifically designed to support it.
Is G-sync Available Over Hdmi?
No, G-Sync is not available over HDMI. G-Sync requires a DisplayPort connection for compatibility and functionality.
Conclusion
To enable G-Sync on any monitor, follow these simple steps. Go to your desktop, right-click, and select NVIDIA Control Panel. Then, choose ‘Set up G-Sync’ from the menu on the left. Check the box next to ‘G-Sync’ and ‘Turn on G-Sync Compatible’.
You can also select whether you want G-Sync to be displayed only in full-screen mode or in screen-in-screen as well. By following these steps, you can enjoy the benefits of G-Sync on any monitor.


