What to Do If Your Monitor is Not Turning on: Troubleshooting Tips for a Dark Screen
If your monitor is not turning on, try disconnecting and connecting it to another computer to see if it works. If it does, the issue may lie with your video card.
Additionally, check the power light of your monitor to ensure it is turned on.
Confirm Your Monitor’s Power Status
When you’re faced with a monitor that doesn’t turn on, it can be frustrating and worrisome. However, before you panic and start wondering if your monitor is broken, it’s important to go through a few troubleshooting steps to confirm your monitor’s power status. In this section, we’ll explore three important steps you can take to assess the power status of your monitor and potentially resolve the issue.
Check Power Cable Connections
One of the most common reasons for a monitor not turning on is loose or disconnected power cable connections. Ensure that the power cable is securely connected to the back of your monitor and plugged into a functioning power outlet. If you’re using a power strip or an extension cord, try connecting the power cable directly to the wall outlet to rule out any issues with the power source.
Inspect Power Indicators
Most monitors have power indicators or LED lights to indicate their power status. Look for these indicators on your monitor and carefully observe their behavior. If the power indicator is off or not lit, it indicates a lack of power supply to the monitor. However, if the power indicator is on or blinking, it suggests that the monitor is receiving power but might still have other issues preventing it from turning on.
Test With An Alternate Power Source
If you’ve checked the power cable connections and inspected the power indicators without success, it’s time to test your monitor with an alternate power source. Connect your monitor to a different power outlet, preferably one you know is functioning properly. In some cases, power fluctuations or issues with the power source can affect the monitor’s ability to turn on. Testing with an alternate power source can help identify if the problem lies with the power supply.
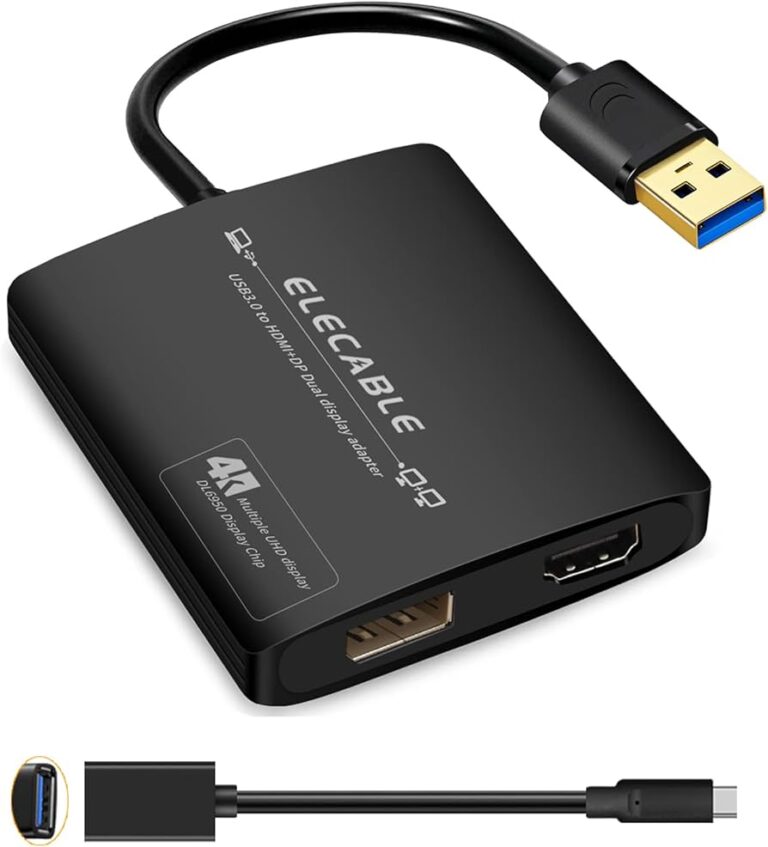
Check Connection Integrity
When your monitor refuses to turn on, it can be frustrating and hinder your productivity. However, before jumping to conclusions and assuming your monitor is broken, it’s essential to check the connection integrity. By ensuring proper cable connections, testing with different cables, and confirming the correct input source, you can troubleshoot the issue effectively.
Strongensure Proper Cable Connections/strong
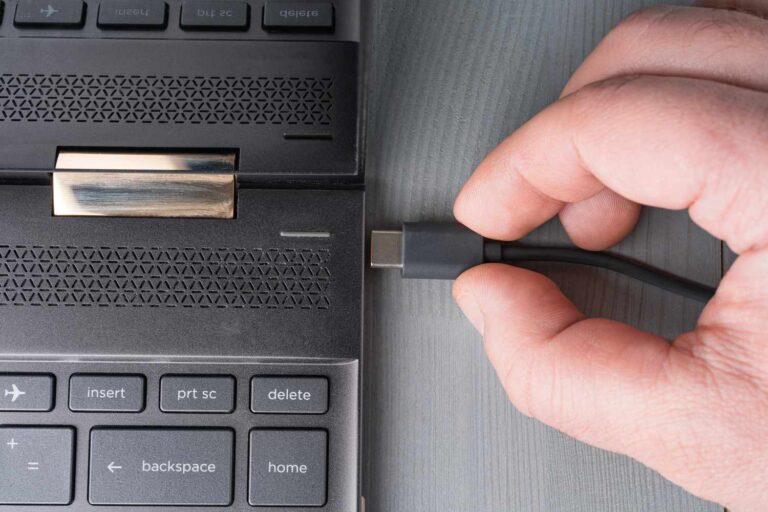
In many cases, a loose or faulty cable can prevent your monitor from turning on. Start by checking the power cable connecting your monitor to the power source. Ensure it is securely plugged into both the monitor and the power outlet. If the cable appears damaged or frayed, consider replacing it with a new one. Additionally, examine the video cable, which connects your monitor to the computer. Make sure it is firmly attached to both the monitor and the video output port on your computer.
Strongtest With Different Cables/strong
If you have checked the integrity of your cables and connections and your monitor still won’t turn on, it’s time to test with different cables. Start by using a different power cable to eliminate the possibility of a faulty power supply. Similarly, try using a different video cable to rule out any issues with the existing cable. By swapping out cables, you can determine if the problem lies with the cables themselves.
Strongconfirm Correct Input Source/strong
Sometimes, your monitor may not turn on because it is set to the wrong input source. Ensure that the input source selected on your monitor matches the one your computer is currently using. This can typically be adjusted using the menu buttons on your monitor. If you are unsure which input source to select, consult your monitor’s manual or try cycling through the available options until you find the correct one.
By adhering to these steps and thoroughly checking the connection integrity, you can troubleshoot the issue when your monitor refuses to turn on. Remember to double-check all cable connections, test with different cables if necessary, and confirm the correct input source. Following these troubleshooting methods will help you identify and resolve the problem effectively, saving you time and potentially expensive repairs or replacements.
Assess Your Monitor’s Condition
When your monitor fails to turn on, it can be frustrating and worrisome. However, before you panic or assume the worst, it’s important to assess your monitor’s condition. By taking a systematic approach, you can identify the possible cause and find an appropriate solution. Here are a few steps to follow:
Look For Physical Damage
Start by checking your monitor for any physical damage. Inspect the power cord, VGA or HDMI cables, and the monitor’s ports for any visible signs of damage. Loose connections or bent pins could be preventing your monitor from turning on. Ensure all cables are securely plugged in and undamaged.
Conduct A Monitor Self-test
Many monitors have built-in self-test features that can help diagnose issues. To perform a self-test, disconnect all cables from the monitor except the power cord. Turn on the monitor and look for an on-screen menu or options button. Navigate to the self-test feature and initiate the test. The monitor will display different colors or patterns to determine if the issue is with the monitor itself.
Try Connecting To Another Computer
If the previous steps haven’t resolved the issue, try connecting your monitor to another computer. Disconnect the monitor from your current computer and connect it to a working computer using a different cable. If the monitor turns on and displays properly on the other computer, it indicates an issue with your computer’s video card or settings.
By following these steps to assess your monitor’s condition, you can narrow down the potential causes of the issue. Remember to check for physical damage, conduct a monitor self-test, and try connecting to another computer. If none of these steps provide a solution, it may be necessary to seek further assistance from a professional.
Diagnose Video Card Issues
If you are facing the frustrating issue of your monitor not turning on, it could be due to problems with your video card. The video card is responsible for displaying the graphics on your screen, so if there are any issues with it, it can prevent your monitor from turning on.
Test With Onboard Graphics Or Alternate Video Card
One way to determine if the problem lies with your video card is to test it with onboard graphics or an alternate video card. This will help you identify whether the issue is specific to your video card or if there are any other underlying reasons causing the problem.
- Shut down your computer and disconnect the power source.
- Locate the onboard graphics port on your motherboard.
- Remove the video card from its slot.
- Connect your monitor to the onboard graphics port.
- Power on your computer and check if the monitor turns on.
If your monitor turns on with onboard graphics, it suggests that there may be an issue with your video card. In such cases, you can consider trying an alternate video card to see if the problem persists.
Update Or Roll Back Video Card Drivers
Outdated or incompatible video card drivers can also cause your monitor to not turn on. Updating or rolling back the video card drivers can help resolve this issue.
To update or roll back video card drivers:
- Press the Windows key + X and select “Device Manager”.
- Expand the “Display adapters” section.
- Right-click on your video card and select “Update driver” or “Roll back driver”.
- Follow the on-screen instructions to complete the driver update or rollback process.
After updating or rolling back the video card drivers, restart your computer and check if the monitor turns on.
Reseat The Video Card In Its Slot
In some cases, a loose connection between the video card and its slot can cause the monitor to not turn on. Reseating the video card can help establish a secure connection and potentially resolve the issue.
- Shut down your computer and disconnect the power source.
- Open your computer case.
- Locate the video card in its slot.
- Gently remove the video card from its slot.
- Insert the video card back into the slot, ensuring it is firmly seated.
- Close your computer case.
- Reconnect the power source and power on your computer to see if the monitor turns on.
By reseating the video card, you can eliminate any potential issues related to a loose connection and improve the chances of your monitor turning on.
Update And Configure Bios/uefi
If your monitor is not turning on, there are a few steps you can take to troubleshoot the issue. Firstly, disconnect your monitor and connect it to another computer to see if it works. If it does, the problem may lie with your video card.
Additionally, make sure to check the power light on your monitor to ensure it is turned on. If all else fails, consider consulting a computer technician for further assistance.
supply, or graphics card. It could be as simple as a loose cable connection or a more complex hardware issue. One potential solution to try when your monitor isn’t turning on is to update and configure your BIOS/UEFI. This can help ensure that your computer’s hardware settings are optimized for your specific setup, allowing your monitor to turn on and display properly. Access and navigate BIOS/UEFI To update and configure your BIOS/UEFI, you first need to access and navigate the settings. Here’s how you can do it: 1. Restart your computer and continuously press the designated key to enter the BIOS/UEFI setup. The key to access the BIOS/UEFI may vary depending on your computer’s manufacturer, but common keys include F2, F12, or Del. 2. Once you’re in the BIOS/UEFI setup, use the arrow keys on your keyboard to navigate through the menu options. 3. Look for the display-related settings or a category that includes display settings. This can typically be found under “Advanced Settings” or something similar. Confirm display settings within BIOS/UEFI Once you’ve accessed the BIOS/UEFI settings, it’s important to confirm that the display settings are correctly configured. Follow these steps: 1. Locate the display settings within the BIOS/UEFI menu. This may be labeled as “Video”, “Graphics”, or something similar. 2. Ensure that the primary display device is set to your monitor. This setting may be labeled as “Primary Display” or “Primary Graphics Adapter”. 3. Check the video mode or resolution settings. Make sure they match the specifications of your monitor. You can usually find these settings under the “Video Mode” or “Resolution” option. 4. Save any changes you’ve made to the BIOS/UEFI settings before exiting. Perform a BIOS/UEFI update if necessary If your monitor still isn’t turning on after confirming and adjusting the display settings in the BIOS/UEFI, it may be worth performing a BIOS/UEFI update. Updating the BIOS/UEFI can resolve compatibility issues or bugs that may be preventing your monitor from turning on. Here’s how you can do it: 1. Visit your computer manufacturer’s website or the motherboard manufacturer’s website to find the latest BIOS/UEFI update for your specific model. 2. Download the BIOS/UEFI update file and save it to a USB drive. 3. Restart your computer and enter the BIOS/UEFI setup. 4. Look for the option to update or flash the BIOS/UEFI. This may be located under a “Tools” or “Advanced” menu. 5. Select the USB drive that contains the BIOS/UEFI update file. 6. Follow the on-screen instructions to update the BIOS/UEFI firmware. Be sure not to turn off or restart your computer during this process. Once the BIOS/UEFI update is complete, restart your computer and check if your monitor now turns on properly. If the issue persists, it may be a good idea to consult a professional or contact the manufacturer for further assistance. Remember to always be cautious when updating your BIOS/UEFI, as any errors during the process can potentially cause serious issues with your computer.Operating System Display Settings
If your monitor is not turning on, one of the potential causes could be related to the operating system display settings. These settings control how your computer communicates with your monitor and can affect its functionality. Follow the steps below to troubleshoot and fix display issues through the operating system.
Boot Into Safe Mode For Troubleshooting
To begin troubleshooting the display issues, the first step is to boot your computer into Safe Mode. Safe Mode starts your computer with only the essential drivers and services necessary for it to run. This allows you to isolate any potential driver conflicts or software issues causing the monitor not to turn on.
To boot into Safe Mode, follow these steps:
- Restart your computer.
- As your computer boots up, repeatedly press the F8 key until the Advanced Boot Options menu appears.
- Using the arrow keys, select “Safe Mode” and press Enter.
Check For Driver Updates In Safe Mode
Once you are in Safe Mode, the next step is to check for any driver updates that may be causing your monitor to not turn on properly. Outdated or incompatible drivers can often lead to display issues.
To check for driver updates in Safe Mode, follow these steps:
- Right-click on the Start button and select “Device Manager”.
- In Device Manager, expand the “Display adapters” category.
- Right-click on the graphics card driver and select “Update driver”.
- Choose the option to search automatically for updated driver software.
- If any updates are found, follow the on-screen instructions to install them.
Adjust Display Settings Via Control Panel
If updating the drivers did not resolve the issue, the next step is to adjust the display settings through the Control Panel. The display settings allow you to customize the resolution, refresh rate, and other display-related options.
To adjust the display settings via Control Panel, follow these steps:
- Right-click on the desktop and select “Display settings”.
- In the Display settings window, you can adjust the screen resolution, orientation, and other display-related options as needed.
- Click on “Apply” and then “OK” to save the changes.
By following these steps, you should be able to troubleshoot and resolve display issues when your monitor is not turning on. If the issue persists, it may be necessary to seek further technical assistance.
Expert Solutions For Persistent Problems
Having your monitor not turning on can be frustrating, especially when you need to work or enjoy some entertainment on your computer. However, there are expert solutions for persistent problems that can help you troubleshoot and resolve this issue. In this article, we will explore when to consider professional repair, understanding warranty and support options, and alternatives if repairing isn’t viable. Read on to find out how to get your monitor up and running again!
When To Consider Professional Repair
If you have tried all the troubleshooting steps and your monitor is still not turning on, it may be time to consider professional repair. Professional technicians have the expertise and tools to diagnose and fix complex issues with your monitor. They can identify faulty components, repair or replace them, and ensure that your monitor is working optimally. This can save you time and frustration, especially if you are not comfortable performing repairs yourself. Consider reaching out to a professional repair service to get your monitor back in working order.
Understanding Warranty And Support Options
Before deciding on professional repair, it is important to understand the warranty and support options for your monitor. Check the manufacturer’s website or the user manual that came with your monitor to see if it is still under warranty. If it is, contacting the manufacturer’s customer support can help you navigate the warranty process. They may offer repair services or replacement options, depending on the terms of your warranty. Additionally, if you have purchased an extended warranty or have a protection plan, be sure to reach out to the provider to explore your options. Understanding your warranty and support options can help you make an informed decision about repairing your monitor.
Alternatives If Repairing Isn’t Viable
If repairing your monitor is not a viable option or if the cost of repair is too high, there are alternatives to consider. One option is to look for a replacement monitor. Check online marketplaces or local electronics stores for deals on new or used monitors. Another alternative is to repurpose an old television as a temporary monitor. Most modern televisions have HDMI or VGA ports that can be connected to your computer. This can be a cost-effective solution while you save up for a new monitor or explore other options. Additionally, consider reaching out to friends or family to see if they have a spare monitor that you can borrow in the meantime. Exploring alternatives can help you stay productive while working towards a more permanent solution.

Credit: www.cashify.in
Frequently Asked Questions Of What To Do If Your Monitor Is Not Turning On
What To Do If The Monitor Won’t Turn On?
If your monitor won’t turn on, try these steps: 1. Disconnect and reconnect the monitor to another computer to check if it’s a video card issue. 2. Check the manual for the power button location and press it. 3. Restart your PC and troubleshoot any display driver or hardware issues.
4. Verify that the power light on the monitor is turned on. 5. Make sure all connections are secure and try using the monitor on another device to test if it’s working.
Why Is My Monitor Just A Black Screen?
If your monitor is showing a black screen, there could be several reasons for this issue. Check if the monitor is properly connected to the computer and the power source. Make sure the power button on the monitor is turned on.
Try connecting the monitor to another computer to see if it works. If none of these solutions work, the problem may lie with the video card or other internal or external components.
Why Is My Pc Turning On But No Display?
If your PC is turning on but there’s no display, the issue could be with the CPU, motherboard, RAM, power supply, or graphics card. Make sure all these components are properly connected. You can also try using them in another computer to see if they’re working correctly.
How Do I Get My Monitor To Work Again?
To get your monitor working again, follow these steps: 1. Check the power light of your monitor to ensure it’s turned on. 2. Disconnect your monitor and connect it to another computer to check if it works. 3. If your monitor works on another computer, the video card may be faulty.
4. Check the manual for the power button location and press it while your computer is on. 5. If the display still doesn’t turn on, try restarting your computer or reinstalling the display driver. (make sure to credit your sources if using any)
Conclusion
To troubleshoot a monitor that is not turning on, there are a few steps you can try. First, disconnect your monitor and connect it to another computer to determine if the issue lies with the video card. If the monitor works on another computer, the video card may be faulty.
Additionally, find the manual for your monitor and locate the power button. Press it once and wait. If the monitor does not turn on, press it again after a while. If all else fails, seek professional assistance or contact the manufacturer for further guidance.