Windows Night Light Not Working on External Monitor: Troubleshooting Solutions
To fix Windows Night Light not working on an external monitor, try rolling back or uninstalling the driver on the display device and then restarting your PC to reinstall the driver. Additionally, make sure to connect the monitor directly to your notebook or use a different connection hub if you’re experiencing issues.
Adjusting the desktop color settings for the monitor that isn’t changing with Night Light turned off may also help resolve the problem. Remember to enable Night Light in the display settings of Windows to ensure it is turned on for both monitors.
Understanding Windows Night Light Feature
If you’re experiencing issues with Windows Night Light not working on your external monitor, it could be due to a driver problem or a faulty connection. Try rolling back or uninstalling the driver for your display device and restarting your PC to reinstall it.
You can also try connecting your monitor directly to your notebook or using a different hub to fix the problem.
Importance Of Blue Light Filters
Blue light filters have become increasingly popular due to the widespread use of electronic devices. These filters help reduce the harmful effects of blue light emitted from screens, such as eye strain, sleep disturbances, and potential long-term damage to vision.
By filtering out a portion of blue light, blue light filters help create a warmer and more comfortable viewing experience. This is especially important, as many individuals spend extended periods in front of screens for work, entertainment, and communication purposes.
Overview Of Night Light In Windows Os
Windows OS has introduced a built-in feature called Night Light to address the concerns surrounding blue light exposure. Night Light aims to provide users with a more comfortable viewing experience during the evening and night hours by reducing the amount of blue light emitted by the screen.
When Night Light is enabled, the color temperature of the screen gradually shifts to warmer tones, resembling the natural warmth of sunlight. This helps promote better sleep patterns and minimizes the disruption of the body’s circadian rhythm.
Comparing Night Light With Similar Tools
While Night Light is a convenient feature for Windows OS users, it’s worth comparing it with similar tools available in the market. Some popular alternatives to Night Light include:
| Tool | Description |
|---|---|
| f.lux | Designed for various operating systems, f.lux adjusts the screen’s color temperature based on the time of day and the location of the user. It provides a customizable experience with additional features like disabling blue light after sunset. |
| Iris | Iris is a blue light filter software that offers different modes depending on the user’s needs. It includes a sleep mode that gradually reduces screen brightness and color temperature as the night progresses. |
| Twilight | Primarily developed for Android devices, Twilight applies a red filter on the screen during evening and night hours. It also offers customization options and a sleep mode for better eye comfort and improved sleep quality. |
These tools provide users with additional control and flexibility in managing their exposure to blue light. However, Windows Night Light remains a convenient option for users who prefer an integrated solution within the Windows operating system.
Understanding the significance of blue light filters, the purpose of Night Light in Windows OS, and the comparison with similar tools can help users make informed decisions while managing their screen time and minimizing the potential impacts of blue light.
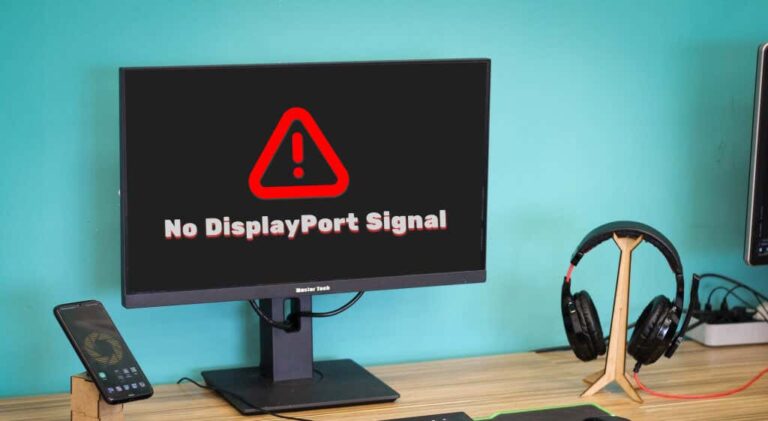
Troubleshooting External Monitor Night Light Issues
Are you experiencing issues with the Night Light feature on your external monitor? Don’t worry, we’ve got you covered! In this guide, we will walk you through the troubleshooting steps to fix the Night Light problems on your secondary display. Let’s get started!
Initial Quick Checks And Settings Review
If you’re facing Night Light issues on your external monitor, it’s essential to perform some initial quick checks before delving into complex solutions. Start by checking the following settings:
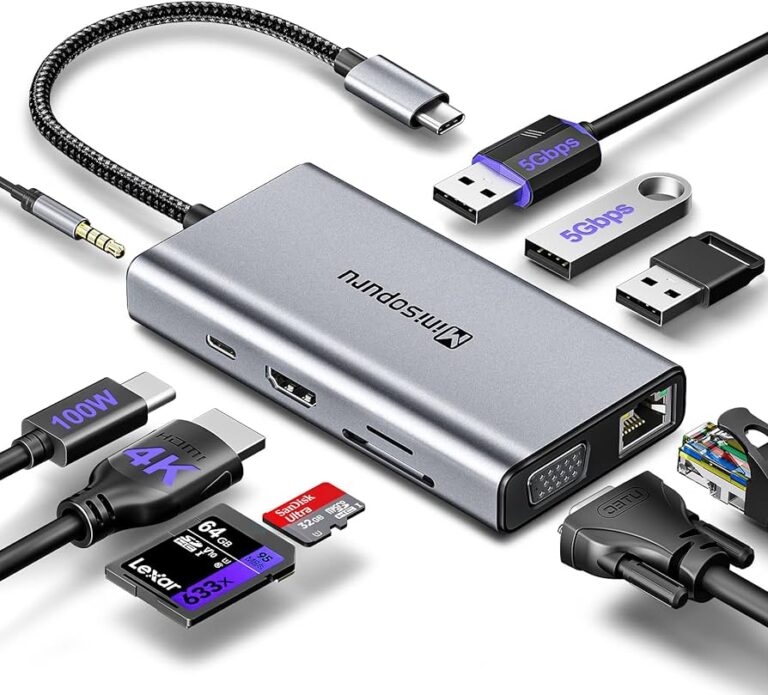
- Ensure your monitor is directly connected to your notebook without using any intermediate hub or adapter.
- Check for driver issues by rolling back or uninstalling the display driver on the external monitor. To do this, go to Device Manager, open the Display devices, choose the external monitor, and navigate to the Driver tab. Restart your PC to automatically reinstall the driver.
- Verify that the Night Light feature is enabled in the Windows settings for your primary display.
Common Causes For Night Light Problems
When it comes to Night Light issues on external monitors, several common causes can disrupt its functioning. Here are a few potential culprits:
| Common Causes |
|---|
| The use of a hub or intermediary adapter can interfere with the Night Light feature. |
| Incorrect display settings may prevent Night Light from working correctly. |
| Issues with the HDMI or USB-C to HDMI cable connecting your monitor to the notebook. |
| Enabling High Dynamic Range (HDR) on your external monitor can limit Night Light functionality. |
If you suspect any of these causes, it’s time to take corrective actions. Try connecting the external monitor directly to your notebook, review the display settings, ensure the cable connections are secure, and disable HDR if enabled.
Now, let’s proceed with the troubleshooting steps to fix the Night Light issues on your external monitor. By following these steps, you’ll regain the soothing and eye-friendly display you desire.
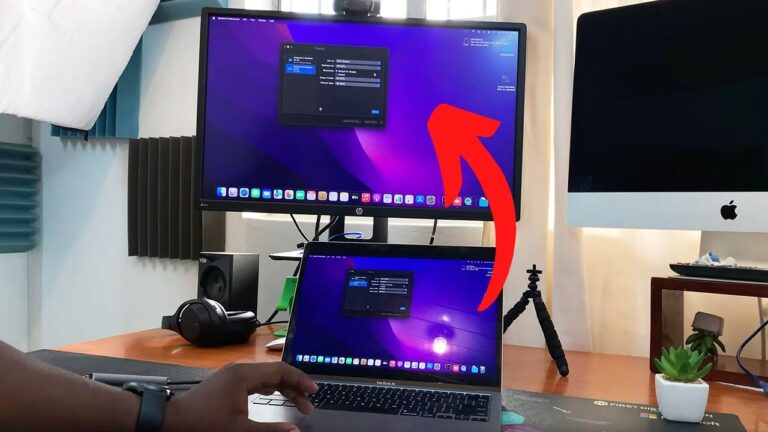
Syncing Night Light Across Multiple Displays
If you’re experiencing issues with the Windows Night Light feature not working on your external monitor, one potential fix is to roll back or uninstall the driver on the display device and then restart your computer to reinstall it. Alternatively, try connecting the monitor directly to your notebook or using a different connection method to troubleshoot the problem.
How Night Light Works With Multiple Monitors
Night Light is a useful feature in Windows that helps reduce the amount of blue light emitted by your screen, making it easier on the eyes, especially during evening hours. However, users have reported issues with Night Light not working on external monitors. This problem usually occurs when the monitors are connected through a hub or when there is an issue with the connection itself.Adjusting Settings For Uniformity Across Displays
- First, check if your external monitor is directly connected to your notebook or computer. Avoid using hubs or adapters as they may cause compatibility issues.
- If your external monitor is connected directly, access the display settings on your computer. To do this, click on the Start Menu, then on the left side, click on the Settings (gear icon).
- In the Settings window, select “System” and then click on “Display”. This will bring up the display settings for your computer.
- Look for the “Color” section on the right side of the Settings window. Here, you should find the option to turn on the Night Light switch.
- Make sure the Night Light switch is turned on for each display that you want to use Night Light on. This will ensure that the feature is active across all connected monitors.
- Go back to the display settings in the Settings window.
- Look for the “Adjust desktop color settings” option and select it.
- From the drop-down menu, choose the monitor that is not changing with Night Light turned off.
- Uncheck any settings or adjustments that may be overriding or interfering with Night Light on that specific monitor.
Night Light Not Activating On External Monitor
Having trouble with Windows Night Light not activating on your external monitor? This issue is typically caused by problems with the connection or the use of a hub. Try connecting the monitor directly to your notebook or use a different cable to resolve the problem.
Investigating Driver Issues And Updates
If you are experiencing issues with Night Light not activating on your external monitor, it’s worth investigating if there are any driver issues or updates that may be causing the problem. Outdated or incompatible drivers can often be the cause of various display-related issues.
To start with, you can try rolling back or uninstalling the driver on the display device. Here’s how:
- Go to the Device Manager by right-clicking on the Start button and selecting “Device Manager”.
- Find and expand the “Display adapters” category.
- Right-click on your external monitor’s display driver and select “Properties”.
- In the Properties window, navigate to the “Driver” tab.
- Click on the “Roll Back Driver” button to revert to a previous version of the driver.
- If the option to roll back the driver is grayed out, you can try selecting “Uninstall device” instead. Restart your PC to reinstall the driver automatically.
Updating the driver is also recommended if rolling back or uninstalling didn’t resolve the issue. You can either manually search for driver updates on the manufacturer’s website or use Windows Update to check for available updates.
Exploring Compatibility With Connection Types
Another factor to consider when Night Light is not activating on your external monitor is the compatibility with different connection types. Sometimes, issues can arise when using certain adapters, converters, or cables.
If you are using a hub or an adapter, it’s worth trying to connect the monitor directly to your notebook or PC to see if Night Light starts working. This can help determine if the hub or the connection itself is causing the problem.
If you are connecting your monitor using a USB-C to HDMI cable, make sure it supports the necessary protocols for Night Light to function properly. Checking the specifications and documentation of your cable can give you insights into its compatibility with Night Light.
It’s also worth noting that enabling HDR on your monitor may cause Night Light to only display on the external monitor. If you have HDR enabled, you can try disabling it to see if Night Light works as expected.
Advanced Troubleshooting Solutions
If you’re experiencing issues with your Windows Night Light not working on your external monitor, you’re not alone. Many users have encountered this problem and struggled to find a solution. In this article, we will explore some advanced troubleshooting solutions to help you resolve this issue.
Step-by-step Guide To Registry Edits
If you’re comfortable making changes to your computer’s registry, you can try the following step-by-step guide to troubleshoot the issue:
- Press
Win + Ron your keyboard to open the Run dialog box. - Type
regeditand press Enter to open the Registry Editor. - Navigate to the following path:
HKEY_CURRENT_USER\Software\Microsoft\Windows\CurrentVersion\CloudStore\Store\Cache\DefaultAccount. - In the right pane, locate the entry with the name
Microsoft.Windows.CloudStore_cw5n1h2txyewyand delete it. - Restart your computer and check if the Night Light feature is working on your external monitor.
Exploring Third-party Software Alternatives
If the step-by-step guide to registry edits didn’t resolve the issue, you can consider exploring third-party software alternatives to achieve the Night Light effect on your external monitor. These software solutions provide similar functionality and may help you overcome the problem. Here are a few popular options:
| Third-Party Software | Description |
|---|---|
| f.lux | A popular software that adjusts the color temperature of your screen according to the time of day, reducing the blue light emitted by your monitor. |
| Redshift | Similar to f.lux, Redshift automatically adjusts your screen’s color temperature based on your location and the time of day. |
By exploring these third-party options, you can potentially find a workaround for the Night Light not working on your external monitor.
Remember, troubleshooting computer issues can be complex and may require further assistance. If you’re still unable to resolve the problem, it’s recommended to seek help from a professional or reach out to the Microsoft support community for additional guidance.
Credit: www.nextavenue.org
Frequently Asked Questions Of Windows Night Light Not Working On External Monitor
Why Is The Night Light Not Working On My Second Monitor Windows 11?
To fix the Night Light not working on your second monitor in Windows 11, try these steps: 1. Roll back or uninstall the driver on the display device. 2. Connect the monitor directly to your notebook or use a different connection.
3. Adjust desktop color settings for the specific monitor. 4. Make sure HDR is enabled if using an external monitor. 5. Turn on Night Light in the Settings menu under Display. If the issue persists, check the Microsoft support page or seek help from the community.
How Do I Turn On Night Light On Both Monitors?
To turn on Night Light on both monitors, follow these steps: 1. Click the Start Menu and open Settings. 2. Select System and then Display. 3. Under Color, turn on the Night light switch. That’s it! Your Night Light will now be enabled on both monitors.
Why Is My Night Light Setting Not Working?
If your Night Light setting is not working, it may be due to issues with the hub or connection. Try connecting the monitor directly to your device or using a different cable. Another option is to adjust the desktop color settings for the monitor not changing with Night Light off.
Make sure to turn on the Night Light switch under display settings in the Windows system. For more detailed instructions, you can visit the Microsoft Support page.
How To Enable Night Light Or F Lux On Displaylink Displays On Windows?
To enable Night Light or f. lux on DisplayLink displays, follow these steps: 1. Click the Start Menu and go to Settings. 2. Select System and then Display. 3. On the right side, under Color, turn on the Night light switch.
Now, Night Light or f. lux should be enabled on your DisplayLink display.
Conclusion
To resolve the issue of Windows Night Light not working on an external monitor, there are a few troubleshooting options available. One solution is to roll back or uninstall the driver on the display device and then restart the PC to reinstall it.
Additionally, connecting the monitor directly to the notebook or using a different connection method may also help. Another option is to adjust the desktop color settings under display settings. By following these steps, you can successfully enable Night Light mode on both monitors and enjoy a comfortable viewing experience.