Troubleshoot Ubuntu 22.04: Second Monitor Not Detected
Ubuntu 22.04 second monitor not detected? Here’s a quick solution to fix the issue.
Struggling to get your second monitor working on Ubuntu 22. 04? Don’t worry, we’ve got you covered. Many Ubuntu users encounter issues when trying to connect a second monitor, but the problem can usually be resolved with a few simple steps.
In this guide, we’ll provide you with a solution to fix the second monitor not being detected on Ubuntu 22. 04. Whether it’s a hardware or software issue, we’ll walk you through the troubleshooting process and help you get your second monitor up and running in no time. So let’s dive in and get your dual monitor setup working seamlessly on Ubuntu 22. 04.
Identifying Monitor Connection Problems
If you’re using Ubuntu 22.04 and facing the frustrating issue of your second monitor not being detected, don’t worry, you’re not alone. This problem can throw a wrench in your productivity, but fear not, because in this article, we’ll guide you through the process of identifying the monitor connection problems. By following the steps outlined below, you’ll be able to troubleshoot and hopefully resolve the issue, getting your second monitor up and running in no time.
Verify Physical Cable Connections
Before diving into software troubleshooting, let’s start with the basics. The first thing you should do is verify the physical cable connections. Ensure that both ends of the cable, both the one connected to your computer and the one connected to your second monitor, are securely plugged in. Sometimes, a loose connection can cause the monitor to go undetected. Try disconnecting and reconnecting the cables, ensuring they are firmly in place. It may also be worth trying a different cable to rule out any potential issues with the current one.
Inspect Monitor Power Status
Now that you’ve confirmed the physical cable connections, let’s move on to inspecting the power status of your second monitor. Ensure that it is powered on and receiving power. Check that the power cable is securely connected to both the monitor and a working power outlet. Sometimes, a monitor can appear to not be detected simply because it is in sleep or standby mode. Press the power button on your monitor to wake it up and see if that resolves the issue.
Check Graphics Port Compatibility
If you’ve verified the physical connections and the power status of your second monitor, the next step is to check the graphics port compatibility. Not all graphics ports support multiple monitors or have the capability to detect them automatically. Refer to your computer’s documentation or the manufacturer’s website to determine if your particular graphics port supports a second monitor. Additionally, make sure that your graphics card drivers are up to date, as outdated or incompatible drivers can cause issues with monitor detection.
If you’ve followed these steps and your second monitor is still not being detected, it may be worth seeking further assistance, such as reaching out to Ubuntu support forums or contacting your computer manufacturer for additional troubleshooting tips specific to your system.
Detecting Second Monitor In System Settings
For Ubuntu 22.04 users experiencing issues with their second monitor not being detected, it can be a frustrating situation. However, the solution may be simpler than you think. By navigating to the display settings in the system, you can manually detect the second monitor and resolve the issue. This blog post will guide you through the process step by step, ensuring that you can enjoy a seamless multi-monitor setup.
Navigate To Display Settings
Before you can detect your second monitor, you need to access the display settings. To do this, follow these easy steps:
- Click on the “Activities” button located at the top left corner of your screen, or simply press the Super key.
- Type “Settings” and click on the “Settings” icon when it appears.
- In the settings window, locate and click on the “Displays” option from the left-hand sidebar.
Understanding ‘displays’ Configuration Options
Once you have opened the “Displays” settings, you will be presented with various configuration options related to your monitors. It’s important to understand these options in order to properly detect your second monitor:
- Primary Display: This option allows you to choose which monitor will be your primary display.
- Mirror Displays: Enabling this option will duplicate the contents of your primary display onto your second monitor.
- Join Displays: Activating this option will extend your desktop across both monitors, effectively creating a dual-monitor setup.
- Scale Display: Adjusting the scale display option allows you to change the size and resolution of your monitors individually.
By familiarizing yourself with these configuration options, you can customize your multi-monitor setup according to your preferences.
Manual Detection Process
If your second monitor is not automatically detected by Ubuntu, you can manually initiate the detection process to resolve the issue. Follow these steps:
- Ensure that your second monitor is properly connected to your computer and turned on.
- In the “Displays” settings, click on the “Detect Displays” button. Ubuntu will now attempt to detect your second monitor.
- If the manual detection process is successful, you will see your second monitor listed under the “Displays” section. From there, you can further customize its settings according to your needs.
By following these simple steps, you can easily detect your second monitor in Ubuntu 22.04 system settings. Enjoy the benefits of a dual-monitor setup and enhance your productivity and multitasking capabilities.
Updating Graphics Drivers
One common issue Ubuntu 22.04 users may encounter is the second monitor not being detected. This can be frustrating, especially if you rely on multiple monitors for productive work or entertainment purposes. A possible solution to this problem is updating your graphics drivers, as outdated drivers can sometimes cause compatibility issues. In this article, we will explore how to determine your installed graphics driver and various methods to update or reinstall it.
Determine Installed Graphics Driver
Before proceeding with the update or reinstallation of your graphics driver, it is essential to identify the currently installed driver. This step ensures that you have the necessary information and helps with troubleshooting if any problems arise. To determine your installed graphics driver on Ubuntu 22.04, follow these steps:
- Open the Terminal by pressing
Ctrl + Alt + Ton your keyboard. - Type the following command:
lshw -c video | grep configurationThis command will display information about your video configuration, including the driver in use. Look for the line that starts with “driver” to find the name of your current graphics driver.
Methods To Update Or Reinstall Drivers
Once you have determined your installed graphics driver, you can now proceed with updating or reinstalling it. There are several methods to accomplish this, depending on your requirements and preference:
- Using Additional Drivers: Ubuntu provides a GUI tool called “Additional Drivers” that simplifies the process of updating graphics drivers. To access this tool, follow these steps:
- Open the Activities overview by clicking on the “Activities” button in the top-left corner of your screen.
- Type “Additional Drivers” in the search bar and click on the corresponding icon.
- The “Software & Updates” window will open, showing a list of available drivers. Select the desired driver and click “Apply Changes” to install or update it.
- Manual installation: If the Additional Drivers tool doesn’t provide the driver you need or if you prefer a manual approach, you can download the driver from the manufacturer’s website. Instructions for installation are usually provided on their website. Ensure you select the appropriate driver for your graphics card to avoid compatibility issues. After downloading the driver, follow the instructions provided to install it.
Utilizing Terminal For Driver Management
If you are comfortable with the command line interface and prefer a more hands-on approach, you can utilize the Terminal for driver management. This method allows you to install, update, or reinstall graphics drivers using command-line instructions. Here are the basic commands you can use:
| Command | Description |
|---|---|
sudo ubuntu-drivers autoinstall |
This command automatically installs drivers recommended by Ubuntu. |
sudo apt install [driver-package-name] |
Replace [driver-package-name] with the actual name of the driver package you want to install. This command downloads and installs the specified driver package. |
sudo apt remove [driver-package-name] |
Replace [driver-package-name] with the actual name of the driver package you want to remove. This command removes the specified driver package. |
By utilizing these Terminal commands, you have more control over the driver management process, allowing for a customized installation or update.

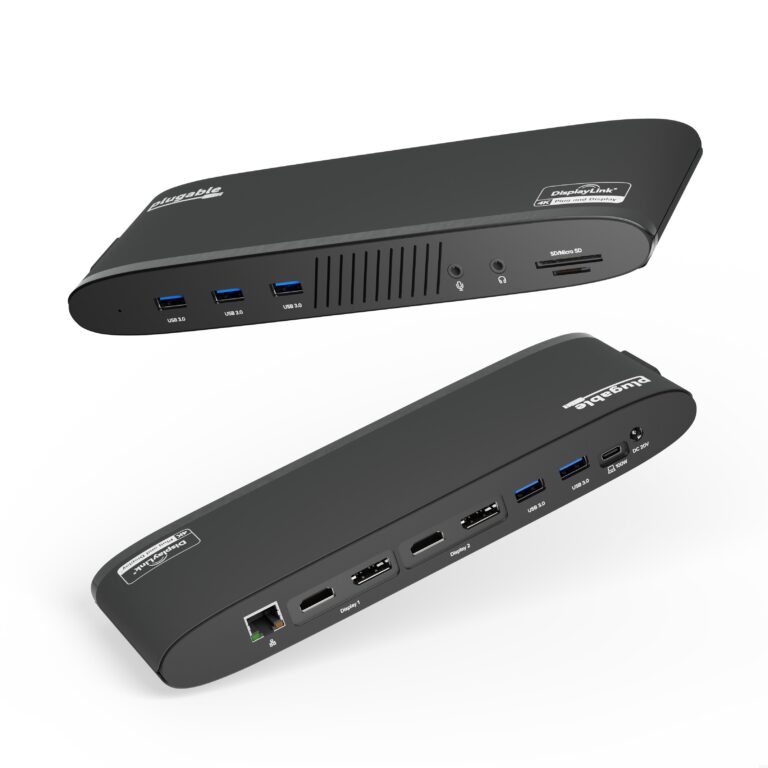
Credit: www.amazon.com
Applying Terminal-based Fixes
If you are encountering the frustrating issue of Ubuntu 22.04 not detecting your second monitor, don’t worry, there are terminal-based fixes that can help you resolve this problem. By using command-line tools, you can easily detect and force the recognition of your display output, allowing you to fully utilize your second monitor’s potential. In this blog post, we will explore the xrandr command and how it can assist you in troubleshooting this common issue.
Introduction To Xrandr Command
The xrandr command is a powerful tool that enables you to control display settings in the X Window System. It stands for “X Resize, Rotate and Reflect” and is essential for managing multiple monitors and their associated resolutions, orientations, and positions. By utilizing the xrandr command, you can tackle problems such as undetected monitors.
Detecting Displays Via Cli
Before delving into the specific fixes, it is crucial to determine which displays are currently recognized by your system. The xrandr command offers a straightforward solution for this. Open your terminal and execute the following command:
xrandrThis command will display a list of available displays and their current status. If your second monitor is not listed or labeled as “disconnected,” it means that Ubuntu is not detecting it. Now that you have this information, it’s time to proceed to the next step.
Forcing Display Output Recognition
To force Ubuntu to recognize the undetected second monitor, you can use the xrandr command with specific options. Open your terminal and enter the following command:
xrandr --output [monitor_name] --auto
Replace [monitor_name] with the actual name of your second monitor. This command instructs Ubuntu to enable the specified monitor, automatically adjusting its settings according to the default configuration. Hopefully, this action will successfully solve the issue, and your second monitor will now be detected. If not, there are a few additional steps you can take.
Another option is to explicitly set the resolution and refresh rate for the undetected monitor using the xrandr command. To achieve this, follow these steps:
- Obtain the available resolution modes and their associated display names by executing the command
xrandr. - Once you have identified the correct resolution mode for your monitor, use the following command:
xrandr --output [monitor_name] --mode [resolution_mode]
Replace [monitor_name] with the actual name of your second monitor and [resolution_mode] with the desired resolution mode. By explicitly specifying the resolution, you are forcing Ubuntu to apply it to your undetected monitor.
Remember to experiment with different resolution modes if the first attempt doesn’t work as expected. Additionally, you can try adjusting the refresh rate with the --rate option to further troubleshoot the issue.
By following these steps and utilizing the xrandr command, you should be able to resolve the problem of Ubuntu 22.04 not detecting your second monitor. Enjoy the enhanced productivity and flexibility that comes with utilizing multiple displays!
Configuring Monitor Settings Manually
Ubuntu 22.04 is a powerful operating system, but occasionally you may encounter issues with your second monitor not being detected. This can be frustrating, especially when you rely on a dual monitor setup for increased productivity. However, fear not! In this guide, we will take you through the process of configuring monitor settings manually, so you can get your second monitor up and running in no time.
Editing Monitor Configuration Files
If your second monitor is not being detected, it might be worth checking and editing the monitor configuration files. These files contain important information about your monitor settings and can be customized to ensure proper detection. To edit these files, follow these steps:
- Open a terminal by pressing
Ctrl + Alt + Ton your keyboard. - Enter the following command to navigate to the monitor configuration directory:
cd /etc/X11/ - Once inside the directory, you can use a text editor to open the monitor configuration file. For instance, if you are using the Nano text editor, enter:
sudo nano xorg.conf - In the file, look for the section related to the second monitor. It should contain information like the monitor’s model, resolution, and refresh rate.
- Make any necessary changes to the configuration settings and save the file.
- Finally, restart your computer to apply the changes and check if your second monitor is now detected.
Setting Correct Display Resolution And Refresh Rate
Another reason your second monitor may not be detected is due to incorrect display resolution and refresh rate settings. To rectify this issue, follow these steps:
- Go to the Ubuntu settings by clicking on the gear icon in the top right corner of your screen.
- Select the Displays option.
- In the Displays window, you should see a list of detected monitors. Click on the second monitor.
- Under the Resolution dropdown menu, select the correct resolution for your second monitor.
- Similarly, under the Refresh Rate dropdown menu, select the appropriate refresh rate.
- Click Apply to save the changes.
- Restart your computer and check if your second monitor is now being detected.
Ensuring Multi-monitor Settings Are Saved
After configuring your second monitor, it’s crucial to ensure that the settings are saved to prevent any issues in the future. Here’s how you can do this:
- Open the Ubuntu settings by clicking on the gear icon in the top right corner of your screen.
- Select the Displays option.
- In the Displays window, make sure both monitors are detected and arranged correctly. You can drag and drop the monitors to adjust their position.
- Finally, click the Apply button to save your multi-monitor configuration.
By following these steps, you should be able to manually configure your monitor settings in Ubuntu 22.04 and resolve the issue of your second monitor not being detected. Remember to save any changes and restart your computer to ensure the modifications are applied successfully. Enjoy the benefits of a dual monitor setup and boost your productivity to new heights!
Frequently Asked Questions On Ubuntu 22.04 Second Monitor Not Detected
Why Is My Second Monitor Not Being Detected In Ubuntu 22.04?
There can be several reasons why your second monitor is not detected in Ubuntu 22. 04. It could be due to a compatibility issue, incorrect display settings, or a driver problem. Make sure your monitor is properly connected, check your display settings, and update your graphics drivers to troubleshoot the issue.
How Can I Check If My Second Monitor Is Properly Connected In Ubuntu 22.04?
To check if your second monitor is properly connected in Ubuntu 22. 04, go to the “Displays” settings. Look for the second monitor and make sure it is recognized. If it is not listed, verify the physical connection between your computer and the monitor, ensuring that cables are securely plugged in.
How Can I Update My Graphics Drivers In Ubuntu 22.04 To Fix The Second Monitor Detection Issue?
To update your graphics drivers in Ubuntu 22. 04, you can use the “Software & Updates” application. Open it and go to the “Additional Drivers” tab. Check for any available proprietary graphics drivers for your hardware and select the recommended one.
Click apply changes and reboot your system for the changes to take effect.
What Can I Do If Updating Graphics Drivers Doesn’t Solve The Second Monitor Detection Issue In Ubuntu 22.04?
If updating graphics drivers doesn’t solve the second monitor detection issue in Ubuntu 22. 04, you can try resetting your display settings to default. Open the “Displays” settings, click on “Reset” or “Restore Defaults,” and then restart your system. This can help resolve any configuration conflicts that may be causing the issue.
Conclusion
Troubleshooting issues with a second monitor not being detected on Ubuntu 22. 04 can be frustrating. However, by following the steps mentioned in this blog post, you can overcome this problem and enjoy a seamless dual-monitor setup. From checking cable connections to updating drivers, these solutions can help you restore the functionality of your second monitor.
Remember to stay patient and explore different options until you find the one that works for you. Happy computing!