No Sound on Monitor: Troubleshooting Tips for Laptop Connection
If you’re experiencing sound issues on your monitor connected to a laptop, try reinstalling the audio driver through Device Manager.
Initial Checks For Sound On Monitor
If you are facing the issue of no sound on your monitor connected to your laptop, there are a few initial checks you can perform to troubleshoot the problem. Follow these steps to verify the sound settings and ensure everything is set up correctly.
Verify Monitor Is Powered On And Volume Is Up
The first thing you need to check is whether your monitor is powered on and the volume is turned up. It may sound simple, but sometimes the solution is as easy as making sure everything is properly switched on. Here’s what you can do:
- Check the power source and make sure your monitor is receiving power.
- Locate the volume controls on your monitor, which are usually located either on the front or side panel.
- Ensure the volume is turned up to an audible level by adjusting the volume control buttons or sliders.
Ensure Laptop Recognizes Connected Monitor
Your laptop needs to recognize the connected monitor in order to output sound to it. Here’s how you can check if your laptop acknowledges the presence of the external monitor:
- On your laptop, press the Windows key and type “Display Settings” in the search bar.
- Select “Display Settings” from the search results to open the Display settings window.
- Scroll down to the “Multiple displays” section and ensure that the “Extend these displays” option is selected.
- If the external monitor is not detected, click on the “Detect” button to allow your laptop to search for connected displays.
Confirm Correct Playback Device Is Selected
It’s important to ensure that the correct playback device is selected on your laptop to channel the sound output to the monitor. Follow these steps to check the playback device settings:
- Right-click on the volume icon in the taskbar and select “Open Sound settings.”
- In the Sound settings window, under the “Output” section, click on the drop-down menu to see the list of available playback devices.
- Select the playback device that corresponds to your monitor. It might be listed as the monitor’s brand name or as a generic HDMI or DisplayPort option.
- Click on the “Test” button to ensure that sound is being output through the selected playback device.
By performing these initial checks, you can identify and address the common issues that may be causing the sound problem on your monitor connected to your laptop. If these steps do not resolve the issue, further troubleshooting or assistance from technical support may be required.
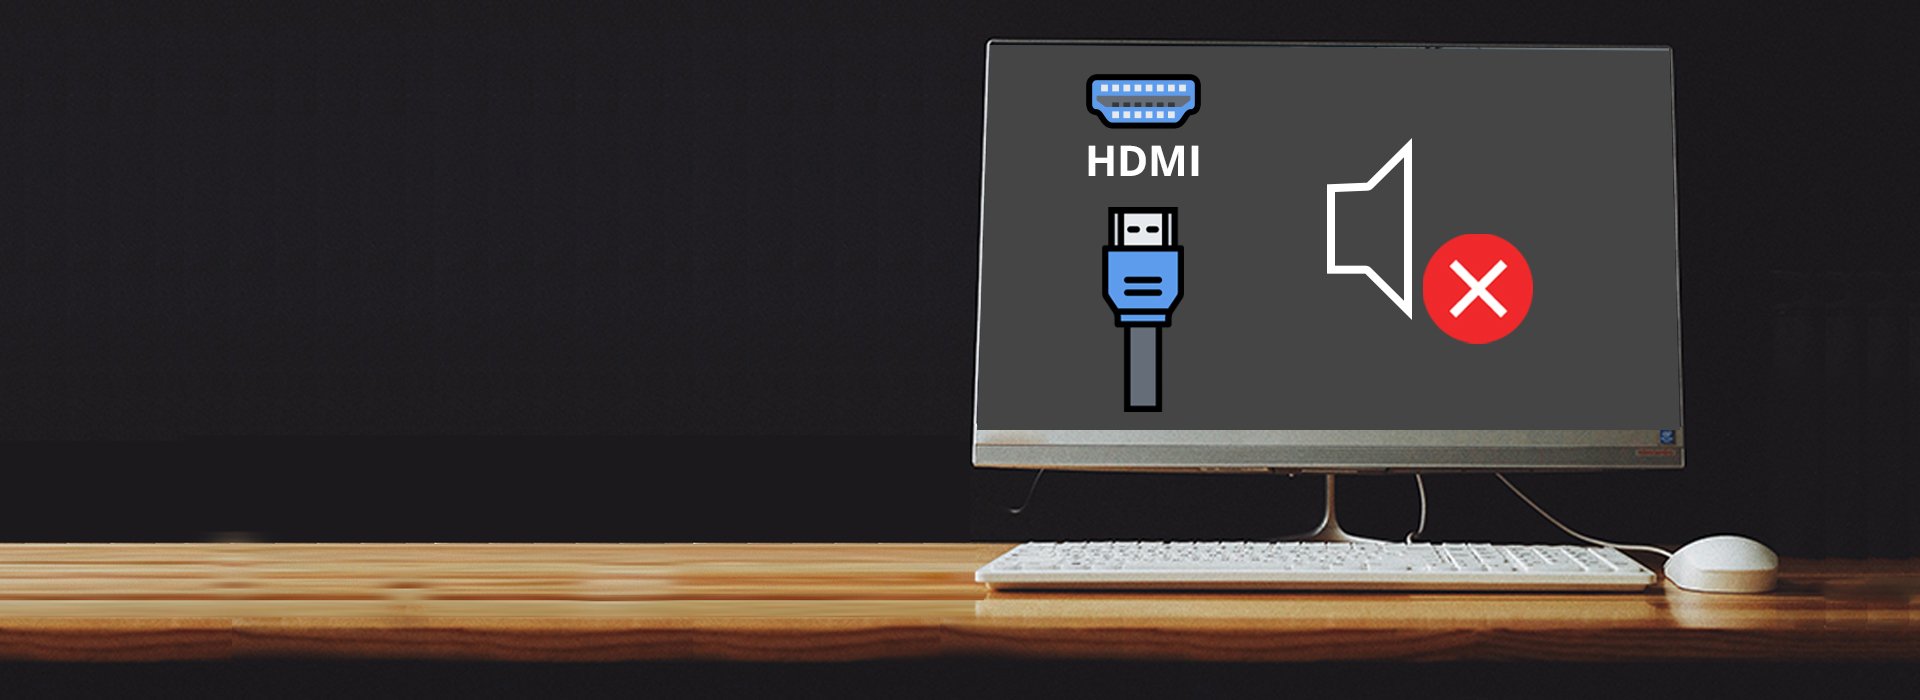
Troubleshooting Cable Connections
If you are experiencing sound issues on your monitor connected to your laptop, the problem might lie in the cable connections. Properly examining and troubleshooting the cable connections can help resolve the issue and restore audio output from your monitor. Here are some steps you can follow:
Examine Hdmi Or Display Port Cable Integrity
First, check the integrity of the HDMI or display port cable you are using to connect your laptop to the monitor. Sometimes, a damaged or faulty cable can lead to sound problems. Inspect the cable for any visible signs of damage, such as frayed wires or bent connectors. If you notice any issues, consider replacing the cable with a new one to ensure a reliable connection.
Check If The Cable Is Properly Connected
Make sure that the cable is securely and properly connected to both your laptop and the monitor. Ensure that the HDMI or display port connectors are fully inserted into the respective ports on both devices. Additionally, check if the cable is firmly attached and not loose at either end. A loose connection can prevent audio signals from being transmitted effectively, resulting in no sound on the monitor.
Explore Alternative Connection Methods
If you have checked the cable integrity and verified the proper connection, but the sound issue persists, you can try exploring alternative connection methods. Depending on your laptop and monitor, there may be multiple ways to connect them. Some laptops have audio output ports that can be directly connected to external speakers or headphones. Alternatively, you can consider using a different type of cable, such as VGA or DVI, to connect your devices and see if that resolves the sound problem.
By troubleshooting the cable connections, you can effectively address sound issues on your monitor connected to your laptop. Ensuring the integrity of the cable, checking for proper connections, and exploring alternative methods can help restore audio output and enhance your overall viewing experience.
Configuring Audio Output Settings
Having trouble with sound not working on your monitor connected to your laptop? Check the audio output settings, ensure the correct device is selected, and if necessary, uninstall and reinstall the audio driver. For more solutions, search for “how to fix sound problem when connecting external monitor” on Google or YouTube.
Configuring Audio Output Settings To troubleshoot the sound issue on your monitor connected to your laptop, you may need to configure the audio output settings. Follow the steps below to navigate to sound settings on your laptop, switch the default audio to the monitor device, and update audio drivers if necessary.Navigate To Sound Settings On Your Laptop
1. Open the Start menu on your laptop by clicking on the Windows icon in the taskbar. 2. Type “Sound” in the search bar and select the “Sound settings” option from the search results. 3. The Sound settings window will open, showing the different audio devices connected to your laptop.Switch Default Audio To The Monitor Device
1. In the Sound settings window, locate the section labeled “Output” or “Playback.” 2. You will see a list of available audio devices. Look for the monitor device that is connected to your laptop. 3. Right-click on the monitor device and select “Set as Default Device” from the context menu. This will make the monitor device the default audio output for your laptop. 4. Click the “Apply” button to save the changes.Update Audio Drivers If Necessary
1. If the sound issue persists, it might be due to outdated or incompatible audio drivers. 2. Open the Start menu and search for “Device Manager.” 3. In the Device Manager window, expand the “Sound, video, and game controllers” category. 4. Right-click on the audio device listed under this category and select “Update driver” from the context menu. 5. Follow the on-screen instructions to update the audio driver. Windows will search for the latest driver software and install it automatically if available. 6. If Windows doesn’t find a new driver, you can try looking for one on the device manufacturer’s website. Visit their support page and search for the latest audio driver for your specific laptop model. 7. Download the driver and install it according to the manufacturer’s instructions. 8. Restart your laptop to apply the driver changes. By following these steps, you should be able to configure the audio output settings on your laptop and fix the sound issue on your monitor. Remember to set the monitor device as the default audio output and update the audio drivers if necessary.Managing Software Audio Complications
Having trouble with sound not working on your monitor connected to your laptop? Check out solutions to fix this issue, such as checking your audio output selection, reconnecting the HDMI cable, or reinstalling the audio driver through the Device Manager.
Learn how to resolve software audio complications for a seamless audio experience.
Inspect Individual Application Sound Settings
If you’re experiencing sound issues on your monitor connected to your laptop, it’s essential to inspect the individual sound settings of each application you’re using. Sometimes, certain applications may have their sound settings muted or adjusted incorrectly, leading to the lack of audio output. To check the sound settings of each application, follow these simple steps:- Open the application in question.
- Go to the settings or preferences menu.
- Locate the audio or sound settings.
- Ensure that the sound is not muted and the volume is turned up.
Review Potential Conflicts With System Updates
System updates can sometimes cause conflicts with audio settings or drivers, resulting in sound issues on your monitor. If you recently installed any updates or noticed changes in your system, it’s worth reviewing them to identify any potential conflicts. Follow these steps to review system updates:- Go to the “Control Panel” on your Windows laptop.
- Click on “System and Security” or “System Preferences,” depending on your operating system.
- Find and click on “Windows Update” or “Software Update.”
- Review the recent updates that were installed.
- If you suspect that a specific update may be causing the sound issue, consider uninstalling it.
Perform A System Restore If Recent Changes Were Made
If you made any recent changes to your laptop’s settings or installed new applications, they could be responsible for the sound issue on your monitor. Performing a system restore can revert your laptop back to a previous state when the sound was working correctly. Follow these steps to perform a system restore on your Windows laptop:- Open the “Control Panel” on your Windows laptop.
- Click on “System and Security” or “System Preferences,” depending on your operating system.
- Find and click on “System” or “System Restore.”
- Select the option to restore your system to an earlier point in time.
- Choose a restore point where the sound was working properly.
- Follow the on-screen instructions to complete the system restore process.
When Standard Fixes Fail
Experiencing sound issues on your monitor connected to your laptop? Follow these troubleshooting steps to fix the problem and get your audio working seamlessly.
Credit: www.dell.com
Frequently Asked Questions On Sound Not Working On Monitor Connected To Laptop
How Do I Get Sound From Monitor When Connected To Laptop?
To get sound from the monitor when connected to a laptop: 1. Check if the monitor has built-in speakers or use an HDMI cable for audio output. 2. Ensure the audio output is selected correctly on the laptop. 3. If there is no sound, try restarting the laptop and reinstalling the audio driver.
4. You can also search online for specific solutions based on your monitor and laptop brand.
Why Is My Monitor Not Playing Sound?
If your monitor is not playing sound, here are a few things you can do to troubleshoot the issue: 1. Check if the monitor has built-in speakers and if they are turned on. 2. Ensure that the audio output selection on your laptop is set to the correct source, such as HDMI.
3. If using an HDMI cable, try reconnecting it and make sure it is securely plugged in. 4. Restart your computer to allow Windows to reinstall the audio driver automatically. 5. If the issue persists, visit the manufacturer’s website to download and install the latest audio driver for your device.
By following these steps, you should be able to resolve the sound issue on your monitor connected to a laptop.
Why Is There No Sound When I Use Hdmi From Laptop To Monitor?
To troubleshoot the issue of no sound when using HDMI from laptop to monitor, follow these steps: 1. Disconnect the external display from the laptop. 2. Check if the monitor has built-in speakers. 3. If it does, ensure the audio output selection is correct.
4. If the monitor doesn’t have speakers, connect external speakers or headphones. 5. Restart your computer to reinstall the audio driver. For detailed instructions, search “How to fix sound problem when connecting laptop to monitor” on Google or watch a tutorial on YouTube.
Why Does My Laptop Sound Not Work When I Connect Two Monitors?
If your laptop’s sound is not working when you connect two monitors, try the following steps to fix the issue. Go to Device Manager, select audio inputs and outputs, right-click on the speakers, and uninstall them. Restart your PC and let Windows reinstall the driver.
If Windows doesn’t find a new driver, visit the device manufacturer’s website for instructions on finding and installing a new driver.
Conclusion
If you are experiencing sound issues on your monitor connected to a laptop, there are a few troubleshooting steps you can try. First, check if the monitor has built-in speakers and make sure you have selected the correct audio output.
Additionally, you can uninstall and reinstall the audio driver through the Device Manager. If all else fails, you can search for a driver update on the manufacturer’s website. Remember to test the HDMI cable and try connecting to another computer to isolate the issue.
By following these steps, you should be able to resolve the sound problem and enjoy a seamless audio experience on your monitor.