New Monitor Not Displaying: Troubleshooting Steps to Fix the Issue
To troubleshoot a new monitor not displaying anything, first, ensure that the cable connecting your PC to the monitor is securely plugged in. If this doesn’t solve the issue, try using a different cable to connect the monitor.
Additionally, try connecting the monitor to a different system to check if it works. If none of these steps work, there may be other underlying issues to consider.
Confirming Connections And Power
When troubleshooting a new monitor that isn’t displaying anything, it’s important to start by confirming the connections and power supply. Issues with cables or power supply can often be the culprit behind a blank screen. Follow these steps to ensure everything is properly connected and powered on:
Check The Power Supply To The Monitor
Firstly, make sure that the monitor is receiving power. Verify that the power cable is securely plugged into both the monitor and the electrical outlet. Double-check the power switch on the monitor to ensure it’s turned on. If using a power strip or surge protector, try plugging the monitor directly into a wall outlet to rule out any issues with the external power source.
Ensure All Cables Are Firmly Connected
The next step is to check all the cables connecting the monitor to the computer. Inspect the connection between the monitor and the computer, ensuring that the cable is properly inserted into both ports. If using a VGA or HDMI cable, make sure the pins are not bent or damaged. Try gently wiggling the cable to see if there is any improvement in the display. If possible, swap the cable with a known working one to determine if the issue lies with the cable itself.
Verify Correct Input Source Is Selected On The Monitor
Lastly, confirm that the correct input source is selected on the monitor. Many monitors have multiple input options such as VGA, HDMI, or DisplayPort. Use the monitor’s OSD (On-Screen Display) menu to navigate to the input source settings and ensure the appropriate input is selected. If using multiple monitors, ensure that the faulty monitor is set as the primary display.
By checking the power supply, ensuring cable connections are firm, and verifying the correct input source, you can effectively troubleshoot common issues that may prevent a new monitor from displaying. Now that you’ve confirmed these factors, you can move on to exploring other possible causes for the display issue.
New Monitor Not Displaying: Basic Troubleshooting
If you’ve recently purchased a new monitor and are experiencing issues with it not displaying anything, there are a few basic troubleshooting steps you can take to identify and potentially resolve the problem. Before panicking or assuming the worst, try these simple steps to ensure that you’ve covered all the basics.
Re-check The Monitor’s Power Status
One of the most common reasons for a new monitor not displaying anything is a simple power issue. Ensure that the monitor is securely plugged into a power outlet and that the power cable is not loose or damaged. Double-check the power switch on the monitor itself to ensure that it is turned on. Sometimes, the simplest solution is the most effective one.
Test With An Alternative Power Outlet
If you’ve confirmed that the monitor is receiving power but still not displaying anything, it’s worth trying a different power outlet. Sometimes, a faulty outlet can cause issues with the monitor’s power supply. Plug the monitor into a different outlet and see if it makes a difference. If the monitor powers on and displays properly with the alternative outlet, then the original power outlet may be the culprit.
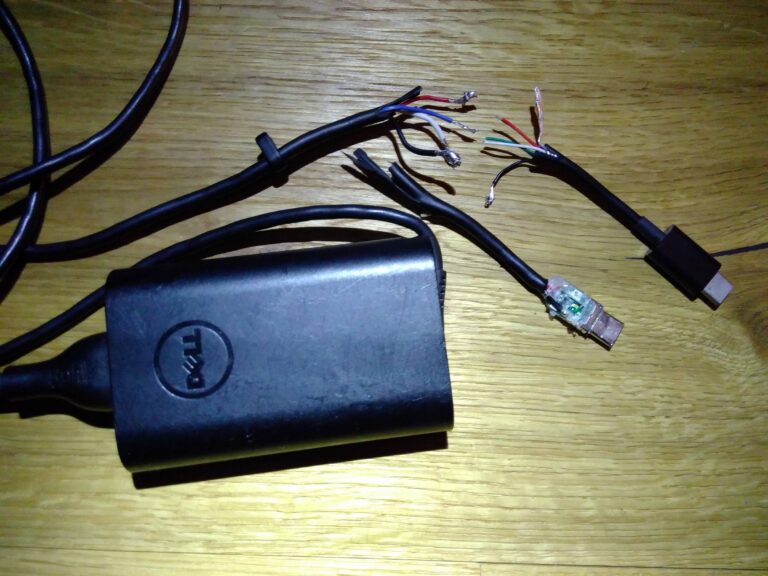
Inspect For Any Damage To Cables Or Ports
A damaged cable or port can prevent a monitor from displaying anything. Carefully examine the cables connecting your computer to the monitor for any signs of damage. Look for frayed wires, bent connectors, or visible wear and tear. Similarly, inspect the ports on both the monitor and the computer to ensure they are clean and undamaged. If you notice any issues, consider replacing the cable or having the port repaired.
By following these basic troubleshooting steps, you can quickly identify and potentially resolve the issue of a new monitor not displaying anything. Remember to check the power status, test with a different power outlet, and inspect cables and ports for any damage. These simple steps may save you time, money, and frustration, allowing you to enjoy your new monitor to its fullest potential.
Hardware And Compatibility Checks
When you encounter issues with your new monitor not displaying anything, it can be frustrating and worrisome. However, before jumping to conclusions and assuming the worst, it’s crucial to perform some hardware and compatibility checks to determine the root cause of the problem. By systematically troubleshooting these areas, you can identify and resolve the issue with your monitor.
Test The Monitor With A Different Computer Or Laptop
One of the most effective ways to determine if the problem lies with your monitor or your computer is by connecting the monitor to a different system. By doing this, you can verify whether the issue persists or if it’s specific to your computer. Make sure to fully power off both systems before disconnecting or connecting any cables to ensure a proper and secure connection.
Swap Out The Video Cable (hdmi, Dvi, Vga, Displayport)
The video cable connecting your computer to the monitor plays a vital role in transmitting the display signal. If the cable is damaged or faulty, it can result in a blank or distorted screen. To rule out any cable-related issues, try swapping out the video cable with a known working one of the same connection type, such as HDMI, DVI, VGA, or DisplayPort. This will help determine if the problem lies with the cable itself.
Confirm Graphic Card’s Functionality
Your computer’s graphics card is responsible for rendering and displaying content on your monitor. If the graphics card is not functioning correctly, it can lead to display issues. To confirm the functionality of your graphics card, ensure that it is properly seated in the motherboard slot and that all power connections are secure. If possible, try using a different graphics card in your system to see if the monitor displays properly. This will help determine if the issue is related to your graphics card.
Software And Settings Solutions
When encountering issues with a new monitor not displaying properly, it’s essential to explore software and settings solutions. These solutions can address common problems related to display drivers, resolution settings, and recently installed software or updates. By implementing these troubleshooting steps, you can resolve the issue and enjoy your new monitor’s optimal performance.
Update Or Reinstall Display Drivers
Outdated or faulty display drivers can prevent your new monitor from displaying correctly. To rectify this issue, you should update or reinstall the display drivers. Follow the steps below:
- Open the “Device Manager” on your computer.
- Expand the “Display adapters” category.
- Right-click on your display adapter and select “Update driver” or “Uninstall device”.
- If you choose to update the driver, follow the on-screen instructions and ensure you have an internet connection for driver downloads.
- If you select uninstall, restart your computer and let Windows automatically reinstall the display driver.
Updating or reinstalling the display drivers can often resolve issues related to compatibility or corrupted files.
Adjust Resolution And Refresh Rate Settings
Incorrect resolution or refresh rate settings can also lead to display issues on your new monitor. Adjusting these settings can help to establish a compatible display format. Here’s how you can adjust the resolution and refresh rate settings:
- Right-click on your desktop and select “Display settings” from the drop-down menu.
- Under the “Display” tab, you’ll find the “Resolution” and “Refresh rate” options.
- Select a resolution that is supported by your monitor and provides optimal display quality.
- Verify that the refresh rate is set to the recommended rate for your monitor.
- If necessary, click on “Advanced display settings” for further adjustments.
By adjusting the resolution and refresh rate settings, you can ensure that your new monitor displays content correctly without any issues.
Investigate Any Recently Installed Software Or Updates
When encountering display problems with a new monitor, it’s essential to investigate any recently installed software or updates that may be causing conflicts. Follow these steps to identify and resolve the issue:
- Open the “Control Panel” on your computer.
- Select “Programs” or “Programs and Features”.
- Review the list of recently installed software or updates.
- If you suspect any particular software or update is causing the problem, try uninstalling or rolling back that software.
- Restart your computer to see if the display issue is resolved.
Investigating recently installed software or updates can help identify any conflicts that may be affecting your new monitor’s display performance. By uninstalling or rolling back problematic software, you can restore your monitor’s functionality.
Monitor Not Displaying: Adjust Configurations
When you encounter a situation where your new monitor is not displaying anything, it can be frustrating and puzzling. Before jumping to conclusions and assuming a faulty monitor, there are several configurations you can check to ensure a smooth display. In this article, we will explore three important adjustments that can help resolve the issue: resetting the monitor to factory settings, checking for any overclock settings, and reviewing dual-monitor setup configurations.
Reset The Monitor To Factory Settings
If your monitor is not displaying any content, it is worth considering a factory reset. This process will revert all settings back to their default values, potentially resolving any misconfigurations or conflicts that may be inhibiting the display. Follow these steps to perform a factory reset:
- Access the monitor’s OSD (On-Screen Display) menu by pressing the corresponding button on the monitor.
- Navigate through the OSD menu using the monitor’s buttons to find the “Factory Reset” option.
- Select the “Factory Reset” option and confirm to initiate the reset.
- Wait for the monitor to complete the reset process, and then check if the display issue is resolved.
Check For Any Overclock Settings
Overclocking your monitor can lead to display issues, including a blank screen. If you have overclocked your monitor or if it came pre-overclocked, try reverting the settings to their default values. Follow these steps to check for and modify any overclock settings:
- Access the monitor’s OSD menu by pressing the corresponding button on the monitor.
- Navigate through the OSD menu to find the “Overclock” or “Refresh Rate” settings.
- Adjust the settings to their default values or disable the overclock feature entirely.
- Save the changes and check if the monitor now displays correctly.
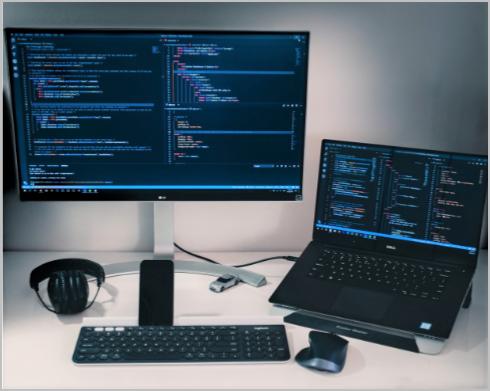
Review Dual-monitor Setup Configurations
If you are using multiple monitors, there may be configuration issues causing the new monitor to not display anything. Ensure that each monitor is properly connected and recognized by your computer’s graphics card. Follow these steps to review the dual-monitor setup:
- Open the display settings on your computer.
- Check if the new monitor is detected and recognized by the system.
- Verify that the display settings are correctly configured to extend or duplicate the desktop onto the new monitor.
- Try disconnecting the other monitors temporarily to troubleshoot any conflicts.
- Confirm if the new monitor now displays as expected.
By performing a factory reset, checking for overclock settings, and reviewing dual-monitor setups, you can potentially resolve the issue of your new monitor not displaying. Remember to verify the connections and ensure all cables are securely plugged in. If the problem persists, further troubleshooting or professional assistance may be required.
Potential Graphic Card Concerns
If your new monitor is not displaying anything, first check if the cable connecting your PC to the monitor is secure. If it’s not, try changing the cable to see if the previous one was faulty. You can also try using the monitor with a different system to rule out any other potential issues.
Ensure The Graphic Card Is Properly Seated
One of the potential causes for a new monitor not displaying anything is a graphic card concern. It is crucial to ensure that the graphic card is properly seated in the computer’s PCIe slot. A loose or improperly inserted graphic card can result in a lack of connection between the card and the monitor, resulting in no display.
Test With Known Working Graphic Card
If you have ruled out the possibility of a loose or improperly seated graphic card, the next step is to test the monitor with a known working graphic card. This will help determine if the issue lies with the graphic card itself or if it is a compatibility problem between the graphic card and the monitor.
Look For Graphic Card Compatibility With Monitor
Graphic card compatibility is another factor to consider when troubleshooting a new monitor not displaying anything. Different monitors have specific requirements for graphic card compatibility, such as the supported resolution and connectivity options. Consult the monitor’s documentation or manufacturer’s website to ensure that the graphic card you are using is compatible with your monitor.
In conclusion, when faced with a new monitor not displaying anything, it is essential to check for potential graphic card concerns. Ensure that the graphic card is properly seated in the computer, test the monitor with a known working graphic card, and verify the compatibility between the graphic card and the monitor. By following these steps, you can troubleshoot and resolve the issue, ensuring a smooth and seamless display experience.
Considering Expert Assistance
When troubleshooting steps fail to resolve the issue with your new monitor not displaying, it may be time to consider seeking expert assistance. Sometimes, the problem may go beyond what can be resolved through basic troubleshooting. In such cases, experts can provide the necessary expertise and tools to diagnose and fix the issue efficiently.
When Previous Steps Fail To Resolve The Issue
If previous troubleshooting steps, such as checking the cable connections and trying different cables, have failed to resolve the issue, it indicates a more complex problem. Further diagnostics from a professional are recommended to identify the root cause and provide a solution.
If Hardware Damage Is Suspected
If you suspect that the new monitor may have suffered hardware damage, it is crucial to consult an expert. Hardware damage can occur due to various reasons, including mishandling during transportation or manufacturing defects. Professionals will be able to assess the extent of the damage and suggest appropriate repair or replacement options.
Guidance On Warranty Usage Or Replacement Parts
If your new monitor is still under warranty, seeking expert assistance is essential to ensure that you utilize the warranty effectively. Professionals can guide you on the necessary steps to make a warranty claim and provide information on the availability of replacement parts if needed. They can also offer recommendations for reliable repair services, if applicable.
Frequently Asked Questions On New Monitor Not Displaying
Why Is My Monitor Working But No Display?
If your monitor is working but not displaying anything, it could be due to damaged or loose cables. Check all connections and try changing the cable connecting the monitor. It’s also worth trying the monitor with a different system. Other possible reasons include incorrect display settings, faulty GPU or RAM, incorrect BIOS settings, faulty peripherals, or a damaged power supply unit (PSU).
Why Won’t My Computer Recognize My New Monitor?
If your computer won’t recognize your new monitor, check the cable connection between your computer and the monitor. Try using a different cable or connecting the monitor to a different system to see if it works. Also, ensure that the monitor is getting power and that the display configuration is correct.
Why Won T My Brand New Monitor Turn On?
If your brand new monitor won’t turn on, double-check the cable connection between the monitor and computer. Make sure all connectors are firmly attached and replace any worn or damaged cables. If the issue persists, try using a different cable or connecting the monitor to another system.
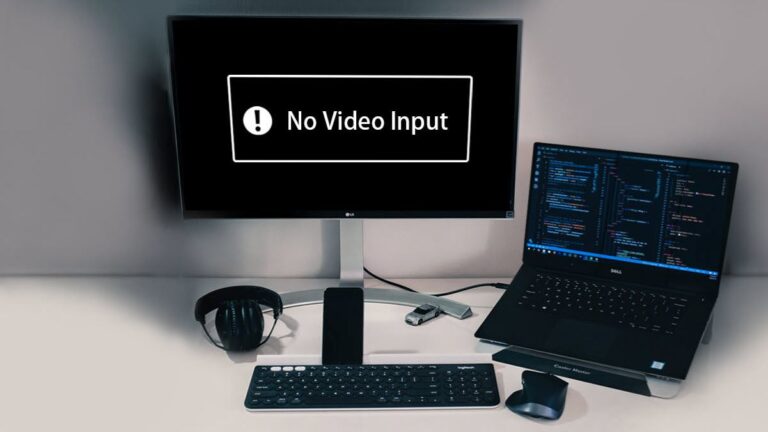
Why Does My New Monitor Say No Signal?
If your new monitor says “no signal,” first ensure that the cable connecting your PC to the monitor is secure. Try changing the cable to see if the previous one was faulty. Additionally, test the monitor with a different system to check for any issues.
Conclusion
To troubleshoot your new monitor not displaying, make sure the cable connecting your PC to the external monitor is secure. If the issue persists, try changing the cable to see if the previous one was faulty. Additionally, test the external monitor with a different system to determine if the problem lies with your computer.
Remember to check all cable connections and switch out worn or damaged cables. By following these troubleshooting steps, you can resolve the issue and enjoy a fully functional monitor display.