Msi Monitor Not Displaying: Troubleshooting Tips and Fixes
If your MSI monitor is not displaying, first check the power cord and display cable connections for any damage or loose connections. Having trouble with your MSI monitor not displaying?
Make sure to check the power cord and display cable connections for any damage or loose connections. It’s important to ensure that the power cord is securely inserted into the back of your monitor and the wall power socket. Additionally, make sure that the display cable, whether it’s HDMI, DisplayPort, VGA, or DVI, has a secure connection.
Taking these precautionary steps can help troubleshoot and resolve the issue of your MSI monitor not displaying properly.
Inspect Physical Connections
When your MSI monitor is not displaying anything, it can be frustrating. However, before you start panicking, it’s important to check the physical connections of your monitor to ensure everything is properly connected. By inspecting the power cord and display cable connections, you can troubleshoot and resolve the issue effectively.
Ensure Power Cord Is Inserted Correctly
One of the first things you should check is the power cord connection. Ensure that the power cord is securely inserted into the back of your monitor and the wall power socket. A loose connection can prevent the monitor from receiving power, resulting in a blank screen.
Verify Display Cable Connections
Along with the power cord, it’s essential to examine the display cable connections. Display cables like HDMI, DisplayPort (DP), VGA, and DVI should be securely connected to your monitor and the graphics card on your computer. Any loose or damaged connections can result in a lack of display.
If you are unsure about the connection type, refer to your monitor and graphics card documentation for guidance. Make sure there are no bent pins or visible signs of damage on the display cable.
By inspecting the physical connections of your MSI monitor, you can address any potential issues and ensure that your monitor is connected correctly, allowing for optimal display performance. So, take a moment to double-check your power cord and display cable connections to troubleshoot the “MSI Monitor Not Displaying” problem.
Examine Cable And Hardware Integrity
To troubleshoot an MSI monitor not displaying, check the power cord and display cable connections for any damage and ensure they are securely inserted. Search online for additional fixes or follow tutorials on platforms like YouTube to resolve the issue.
To troubleshoot an MSI monitor not displaying properly, the first step is to examine the cable and hardware integrity. There are a few key aspects to check under this category:Look For Damage In Power Cord And Display Cable
Start by inspecting the power cord and display cable for any visible damage. Ensure that the power cord is securely inserted into the back of the monitor and the wall power socket to eliminate any loose connections. If you notice any frayed wires, cuts, or other signs of damage in the power cord or display cable, it’s essential to replace them. Damaged cables can lead to inadequate power supply or data transfer, resulting in a monitor not displaying correctly.Check Monitor’s Power Source And Outlet
In addition to examining cables, it’s crucial to make sure the monitor is connected to a reliable power source. Verify that the power outlet is functioning correctly by connecting another device to it. If the outlet is faulty, you may need to plug the monitor into a different outlet or consider using a surge protector. Ensure that the monitor’s power source is secure and providing a stable connection. Loose power connections can interrupt the display signal and prevent the monitor from functioning correctly. By thoroughly examining the cable and hardware integrity, including checking for damage in the power cord and display cable and confirming the monitor’s power source and outlet, you can troubleshoot and resolve MSI monitor display issues effectively. To avoid any further complications, always ensure proper cable connections, and promptly replace any damaged cables to maintain optimal performance from your MSI monitor.Assess Display Settings And Sources
To troubleshoot an MSI monitor that is not displaying, first check if the power cord and display cable are securely connected. Inspect these cables for any visible damage. Ensure that the monitor is well attached to the power supply and that the power indicator is lit.
If the issue persists, consider checking external factors such as the graphics card and proper settings.
Evaluate Monitor’s Input Source Selection
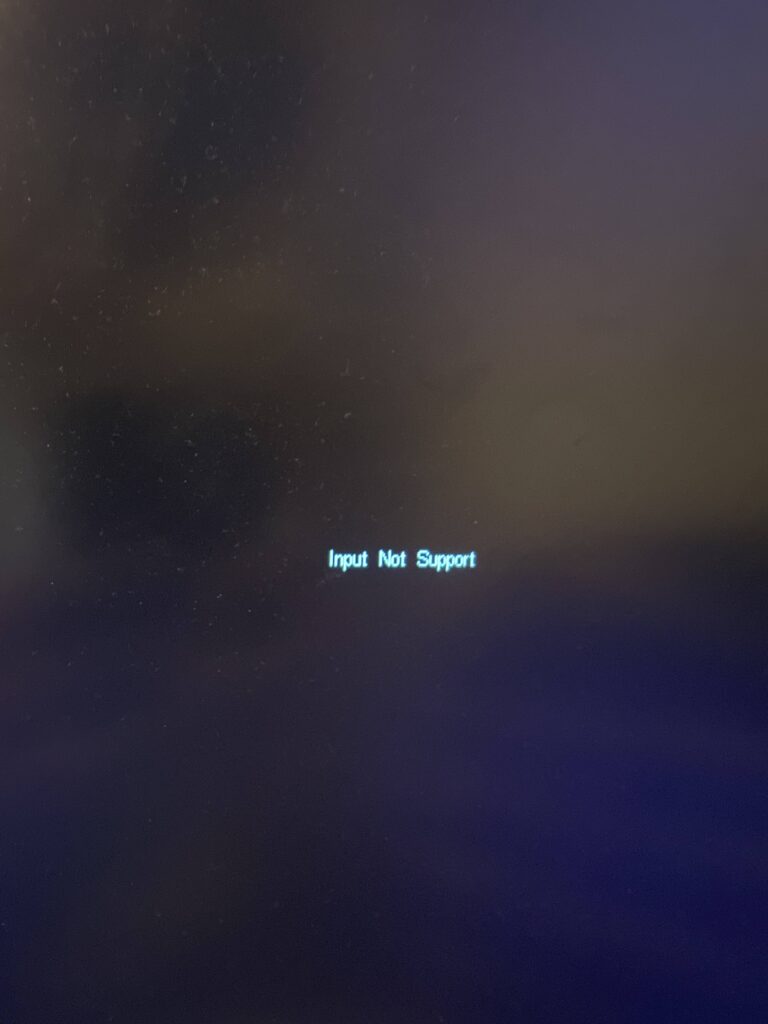
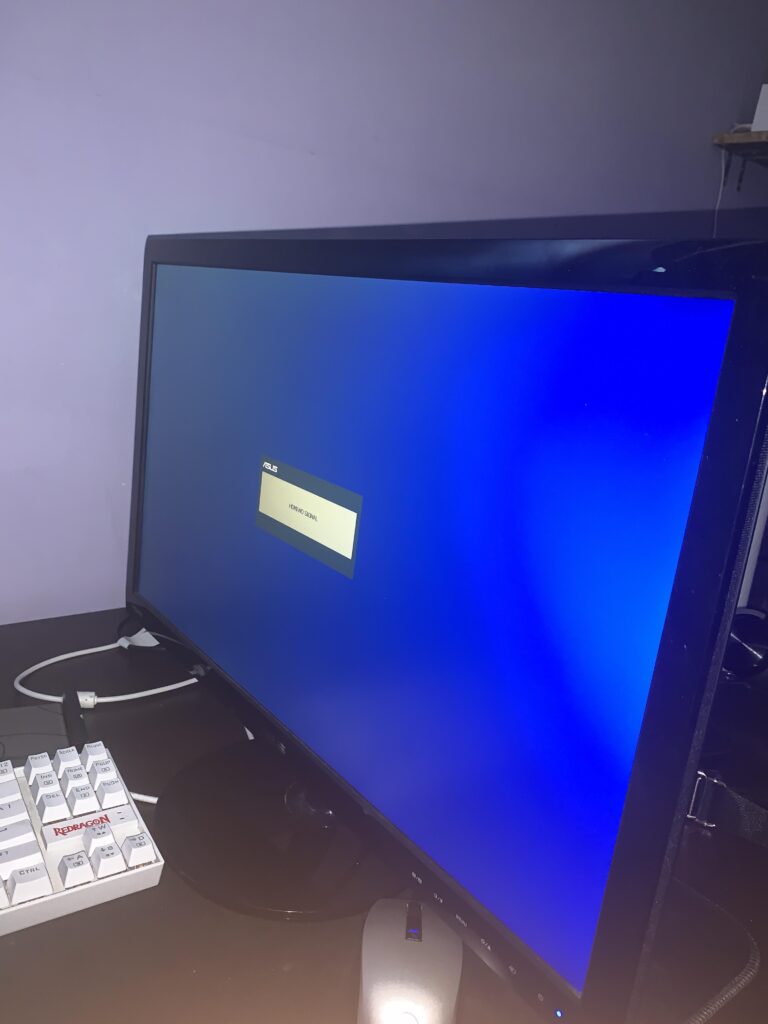
If your MSI monitor is not displaying anything, one of the first things you should check is the input source selection. Sometimes, the monitor may be set to the wrong input source, resulting in no display. To assess the input source selection, follow these steps:- On the front or side panel of your MSI monitor, look for the input/source button. It is usually represented by an arrow pointing towards a box or a similar icon.
- Press the input/source button to cycle through the available input sources. Common input sources include HDMI, DisplayPort (DP), VGA, and DVI. Refer to the user manual of your MSI monitor if you are unsure which input source to select.
- Once you have selected the correct input source, wait for a few seconds to see if the display appears on your monitor. If not, continue troubleshooting.
Adjust Display Settings On The Computer
If the input source selection is not the issue, you might need to adjust the display settings on your computer. Follow these steps to ensure the display settings are properly configured:- On your computer, right-click anywhere on the desktop and select “Display settings” or “Screen resolution” from the context menu.
- In the display settings window, check if the correct monitor is selected. If multiple monitors are connected, ensure that the MSI monitor is set as the primary or main display.
- Next, check the resolution and refresh rate settings. Make sure they are set to values supported by your MSI monitor. Refer to the monitor’s user manual for the recommended resolution and refresh rate.
- If the display still does not appear, you can try changing the display orientation. Options like landscape, portrait, or extended display can be found in the display settings window.
- After making any necessary changes, click “Apply” and then “OK” to save the settings. Wait for a few moments to see if the display appears on your MSI monitor.
Credit: www.reddit.com
Update Or Roll Back Drivers
If you’re facing the issue of your MSI monitor not displaying anything, it could be due to incompatible or faulty graphics card drivers. Graphics card drivers act as the bridge between your operating system and the display hardware, enabling proper communication and optimal performance.
Guide For Updating Graphics Card Drivers
One of the first steps you can take to troubleshoot the issue is to update your graphics card drivers. Here’s a step-by-step guide to help you through the process:
- Identify the brand and model of your graphics card. You can usually find this information in the device manager or by checking the manufacturer’s website.
- Visit the manufacturer’s website and navigate to the support or driver download section.
- Select the appropriate drivers for your graphics card model and the operating system you’re using.
- Download the latest drivers and save them to a location on your computer.
- Once the download is complete, open the downloaded file and follow the on-screen instructions to install the drivers.
- Restart your computer to apply the changes.
Steps To Roll Back Recent Driver Updates
In some cases, a recent driver update can cause compatibility issues and result in a non-responsive or black screen on your MSI monitor. To resolve this, you can roll back to the previous driver version. Follow these steps:
- Open the Device Manager on your computer. You can do this by right-clicking on the Start button and selecting Device Manager from the menu.
- Expand the “Display adapters” category to reveal your graphics card.
- Right-click on your graphics card and select “Properties” from the context menu.
- In the Properties window, go to the “Driver” tab.
- Click on the “Roll Back Driver” button.
- Follow the on-screen instructions to complete the rollback process.
- Restart your computer to apply the changes.
Performing the above steps should help you update or roll back your graphics card drivers, which may resolve the issue of your MSI monitor not displaying anything. If the problem persists, you may need to consult a professional or contact the MSI support team for further assistance.
Perform Monitor Reset And Tests
If you are experiencing issues with your MSI monitor not displaying anything, performing a monitor reset and conducting tests can help identify and resolve the problem. Follow the steps below to troubleshoot:
Reset Monitor To Factory Settings
To begin, try resetting your monitor to its factory settings. This will eliminate any potential software or configuration issues. Follow these steps:
- Power off your monitor by pressing the power button.
- Unplug the power cord from the wall socket and wait for a few minutes.
- While the monitor is still unplugged, press and hold the power button for about 30 seconds.
- Plug the power cord back into the wall socket and turn on your monitor.
Performing a factory reset will restore your monitor to its default settings, potentially resolving any display issues caused by incorrect configurations.
Test Monitor With Alternative Devices
If resetting your monitor doesn’t resolve the issue, it’s essential to check if the problem lies with the monitor itself or with the devices connected to it. To do this, follow these steps:
- Disconnect the current device (such as a computer or gaming console) from the monitor.
- Connect the monitor to an alternative device using a different display cable, such as HDMI, DisplayPort (DP), VGA, or DVI.
- Power on both the monitor and the alternative device.
- Check if the monitor displays content when connected to the alternative device. If it does, the issue might be with the previous device or its settings.
- If the monitor still doesn’t display anything, try connecting it to another alternative device using a different cable.
- If the monitor works with the second alternative device, it could indicate an issue with the previous device or cable.
By testing the monitor with alternative devices and cables, you can determine whether the problem lies with the monitor itself or with the devices connected to it. This will help you narrow down the possible causes and find an appropriate solution.
If the above steps do not resolve the issue, it is recommended to contact MSI technical support for further assistance. They will be able to provide tailored troubleshooting steps or initiate any necessary repairs.
Inspect Graphics Card Performance
When your MSI monitor is not displaying anything, one possible reason could be issues with the graphics card. Inspecting the graphics card performance can help identify and resolve the problem. Here are a few steps you can take:
Ensure Proper Seating Of The Graphics Card
First, check if the graphics card is properly seated in the motherboard’s PCI-E slot. Sometimes, due to vibrations or improper installation, the graphics card can become loose, causing the monitor not to display anything.
To ensure proper seating of the graphics card:
- Turn off your computer and unplug the power cord.
- Open the case of your computer.
- Locate the graphics card inserted into the PCI-E slot on the motherboard.
- Gently press down on the graphics card to ensure it is firmly seated in the slot.
- Close the case of your computer and plug in the power cord.
- Turn on your computer and check if the MSI monitor is now displaying.
Test With An Alternate Graphics Card If Possible
If ensuring the proper seating of the graphics card does not resolve the issue, you can try testing with an alternate graphics card (if available). This will help determine if the problem lies with the graphics card itself.
- Turn off your computer and unplug the power cord.
- Open the case of your computer.
- Remove the current graphics card from the PCI-E slot.
- Insert the alternate graphics card into the PCI-E slot.
- Close the case of your computer and plug in the power cord.
- Turn on your computer and check if the MSI monitor is now displaying.
If the alternate graphics card works and the monitor displays, it indicates that the original graphics card may be faulty and needs to be replaced.
Inspecting the performance of the graphics card can help troubleshoot why your MSI monitor is not displaying anything. Ensure the proper seating of the graphics card and test with an alternate graphics card if possible to identify and resolve the issue.
Bios And Firmware Considerations
To troubleshoot the issue of an MSI monitor not displaying, start by checking the power cord and display cable connections for secure attachment and any visible damage. Ensure that the power indicator is lit on the monitor and the cable connection between the computer and the monitor is proper.
Additionally, make sure that the monitor itself is turned on. If the issue persists, further troubleshooting may be required.
Accessing And Navigating Bios For Display Issues
To troubleshoot display issues with your MSI monitor, it can be helpful to access and navigate the BIOS settings on your computer. The BIOS (Basic Input/Output System) is a firmware that resides on your computer’s motherboard and controls various hardware settings. Here’s how you can access and navigate the BIOS to address display issues: 1. Restart your computer and continuously press the specified key to enter the BIOS setup. The key to access the BIOS may vary depending on your computer’s manufacturer. Common keys include F2, DEL, ESC, or F10. Consult your computer’s manual or the manufacturer’s website for the exact key. 2. Once you’re in the BIOS setup, navigate using the arrow keys on your keyboard. Look for options related to display settings or video configuration. 3. Check if the monitor is properly recognized by the BIOS. Look for options like “Primary Display” or “Video Output” and ensure that the correct display device is selected. 4. If you have multiple display ports on your computer, confirm that the correct port is enabled and active. 5. Additionally, you can try resetting the BIOS settings to their default values. Look for an option like “Load Optimized Defaults” or “Reset to Default” and select it. Save the changes and exit the BIOS setup.Checking For Firmware Updates For The Monitor
Firmware updates can often resolve compatibility issues and improve the overall performance of your MSI monitor. To ensure you have the latest firmware version, follow these steps: 1. Visit the MSI website and navigate to the “Support” or “Drivers & Downloads” section. 2. Enter the model number or name of your MSI monitor to find the appropriate drivers and firmware updates. 3. Look for the latest firmware update specifically designed for your monitor model and operating system. 4. Download the firmware update file to your computer and follow the instructions provided by MSI for installing the update. 5. Make sure to follow the update process carefully and avoid interrupting the firmware update, as it can cause serious issues. By accessing and navigating the BIOS for display issues and checking for firmware updates for your MSI monitor, you can troubleshoot and address potential software-related problems effectively. Ensure that you follow the correct procedures and guidelines provided by MSI to avoid any complications during the process.Seek Professional Support
If you have tried all the troubleshooting steps mentioned above and your MSI monitor is still not displaying anything, it is time to seek professional support. Here are a couple of options:
Contacting Msi Customer Service
If you believe that the issue lies with the monitor itself, reaching out to MSI customer service is a good first step. They have dedicated support teams who can guide you through the process of diagnosing and resolving the problem. To contact MSI customer service, follow these steps:
- Visit the MSI official website.
- Navigate to the support or contact page.
- Find the relevant contact details, such as email, phone number, or live chat option.
- Reach out to their customer service team, providing them with all the necessary details about your monitor and the issue you are facing.
- Follow their instructions and troubleshooting steps to resolve the problem.
Finding A Certified Technician
In some cases, the problem may not be specific to the monitor alone, but could be related to other components of your system. In such instances, it might be necessary to consult a certified technician who has the expertise to diagnose and fix the issue. Here’s how you can find a certified technician:
- Search for local computer repair shops or technicians who specialize in monitor repairs.
- Check their qualifications and certifications to ensure they are qualified to work on your MSI monitor.
- Read customer reviews and ratings to get an idea of their reputation and quality of service.
- Contact the technician or repair shop to discuss your issue and schedule an appointment if necessary.
- Bring your MSI monitor to the technician, explaining the problem you are experiencing.
- Allow the certified technician to diagnose and repair your monitor professionally.
Remember, seeking professional support can save you time and frustration when dealing with complex technical issues. Whether you choose to contact MSI customer service or find a certified technician, their expertise will help you get your MSI monitor back up and running smoothly.
Monitor Replacement Scenarios
When your MSI monitor is not displaying anything or refuses to turn on, it can be a frustrating experience. However, there are several scenarios to consider before jumping to the conclusion that you need to replace your monitor. Exploring warranty and repair services or considering a new monitor purchase are two common options to resolve the issue.
Exploring Warranty And Repair Services
If your MSI monitor is still within the warranty period, it’s worth checking if the issue you’re experiencing is covered. Most manufacturers provide warranty service for a specific duration, which varies depending on the model and purchase date.
To determine if your monitor is eligible for warranty service:
- Refer to the user manual or the MSI website to understand the warranty terms and conditions.
- Ensure that the issue falls under the scope of the warranty. Common warranty coverage includes defects in materials or workmanship.
- Contact MSI’s customer support to initiate the warranty claim process. Be prepared to provide the necessary details, such as the monitor’s serial number, purchase date, and a description of the problem.
- Follow the instructions given by the customer support representative to proceed with the repair or replacement of your MSI monitor.
Considering A New Monitor Purchase
If your MSI monitor is no longer covered by warranty or the issue is not eligible for repair, you might need to consider purchasing a new monitor. Before buying a new monitor, it’s essential to ensure compatibility with your system and consider your specific requirements.
To make an informed decision when purchasing a new monitor:
- Determine the specific features and specifications you need, such as screen size, resolution, refresh rate, and connectivity options (HDMI, DisplayPort, VGA, DVI).
- Research different monitor brands and models to find the one that best fits your budget and requirements.
- Read reviews and user feedback to get insights into the performance and reliability of the monitors you’re considering.
- Compare prices from different retailers to find the best deal.
- Make your purchase from a reputable seller or authorized dealer to ensure product authenticity and customer support.
By exploring warranty and repair services or considering a new monitor purchase, you can effectively tackle the issue of your MSI monitor not displaying anything or refusing to turn on. Whether you opt for warranty service or decide to invest in a new monitor, it’s important to choose the option that suits your needs and budget.
Frequently Asked Questions Of Msi Monitor Not Displaying
Why Is My Msi Monitor Showing No Signal?
To resolve the issue of your MSI monitor showing no signal, check the power cord connection to the monitor and wall socket. Ensure the display cable (HDMI, DisplayPort, VGA, DVI) is securely connected. Inspect the power cord and display cable for any damage.
How Do I Fix My Msi Black Screen?
To fix your MSI black screen issue, try the following steps: 1. Ensure the power cord is securely inserted into the monitor and the wall socket. 2. Check the display cable (like HDMI, DisplayPort, VGA, or DVI) for a secure connection.
3. Examine the power cord and display cable for any damage. 4. Make sure the power indicator on the monitor is lit. 5. If the screen remains black, try pressing the power button on the monitor. If these steps don’t resolve the issue, consult MSI support or seek professional assistance.
How Do I Get My Msi Monitor To Work?
To get your MSI monitor to work, follow these steps: 1. Check if the power cord is securely inserted into the back of the monitor and the wall socket. 2. Ensure that the display cable (HDMI, DisplayPort, VGA, DVI) is securely connected.
3. Examine the power cord and display cable for any damage. 4. Make sure the monitor is well attached to the power supply. 5. Check if the power indicator is lit. If the issue persists, refer to troubleshooting guides or contact MSI support for further assistance.
How Do I Change My Msi Monitor To Hdmi?
To change your MSI monitor to HDMI, follow these steps: 1. Ensure your monitor and computer are turned off. 2. Connect one end of the HDMI cable to your MSI monitor’s HDMI port. 3. Connect the other end of the HDMI cable to your computer’s HDMI output port.
4. Turn on your monitor and computer. 5. Use the monitor’s menu buttons to navigate to the input source settings. 6. Select HDMI as the input source. 7. Your MSI monitor should now be switched to HDMI.
Conclusion
To troubleshoot an MSI monitor not displaying, it’s important to check the power cord and display cable connections for secure attachment. Additionally, examining these cables for any damage is essential. If the monitor still won’t turn on or displays a black screen, ensure the power indicator is lit and try pressing the power button.
If the issue persists, it could be due to a loose or improper cable connection. By following these steps, you can easily fix the problem and get your MSI monitor up and running again.