Monitor Not Working With New Graphics Card: Troubleshooting Guide
If your monitor is not working with a new graphics card, try checking the connections to ensure that the graphics card is securely seated in the PCIe slot and that the power cables are properly connected. Also, make sure that the monitor cable is plugged into the graphics card and not the motherboard.
Faulty connections or incorrect cable placement can cause a “no signal” issue on the monitor.
Confirm Cable And Power Connections
Confirming cable and power connections is crucial when troubleshooting a monitor that is not working with a new graphics card. Ensure that all cables are securely connected and the power supply is properly connected and functioning.
When you encounter the frustrating issue of your monitor not working with your new graphics card, the first step is to confirm your cable and power connections. This is a crucial troubleshooting step that can help identify and resolve the underlying issue. Take the following steps to ensure that your connections are properly established:
Verify Monitor Power Supply Is Connected And On
- Check if the power cable is securely plugged into both the monitor and the power outlet. If not, firmly insert the cable into the appropriate connectors.
- Ensure that the power switch on the monitor is turned on. It may seem obvious, but sometimes a simple oversight can lead to unnecessary troubleshooting.
- Double-check if the power indicator light on the monitor is illuminated. If it is not, there might be an issue with the power supply. Consider trying a different power outlet or testing the monitor with a known working power cable.
Check All Cables Between Monitor And New Graphics Card
- Inspect the cable connecting your monitor to the new graphics card. Make sure it is securely plugged into both the monitor’s video input port and the graphics card’s video output port.
- If you are using an HDMI cable, ensure that it is firmly inserted into the HDMI ports on both the monitor and the graphics card.
- If you are using a DisplayPort cable, make sure it is securely connected to the DisplayPort ports on both the monitor and the graphics card.
- Consider trying a different cable or using an adapter if available, as sometimes a faulty cable or incompatible connection can cause display issues.
Inspect For Any Visible Damage Or Loose Connections
- Thoroughly examine the cables for any signs of physical damage or wear. Look for bent pins, frayed wires, or broken connectors.
- If you notice any visible damage, replace the cable with a new one to rule out cable-related issues.
- Additionally, check for loose connections by ensuring all cables are securely attached to their respective ports on both the monitor and the new graphics card. A loose connection can result in a lack of display signal.
By confirming your cable and power connections, you can effectively troubleshoot and address the issue of your monitor not working with your new graphics card. Ensure all connections are secure, cables are in good condition, and power is supplied to both the monitor and the graphics card. Taking these steps will bring you one step closer to a resolution.
Ensure Correct Input Source
If your monitor is not working with your new graphics card, there could be several reasons for it. One common issue is incorrect input source settings. Ensure that your monitor is set to the correct input source to establish a proper connection with the graphics card.
Navigate Monitor’s Osd Menu To Select Correct Input
If you are experiencing issues with your monitor not working with your new graphics card, the first step is to ensure that you have selected the correct input source. Sometimes, the monitor automatically detects the input source, but in some cases, manual selection may be required. To navigate the monitor’s OSD (On-Screen Display) menu and select the correct input source, follow these steps:- Locate the OSD buttons on your monitor. These are usually located on the bottom or side of the monitor.
- Press the appropriate OSD button to access the menu. This can vary depending on the make and model of your monitor, but it is usually labeled as Menu, OSD, or something similar.
- Use the navigation buttons on the monitor to select the input or source option within the OSD menu.
- Select the input source that corresponds to the port you have connected your new graphics card to (e.g., HDMI, DisplayPort, DVI).
- Save the changes and exit the OSD menu.
Rule Out Monitor Input Source Misconfiguration
Another common reason for a monitor not working with a new graphics card is input source misconfiguration. This can happen if the monitor is set to a different input source than the one you have connected your graphics card to. To rule out monitor input source misconfiguration, follow these steps:- Access the OSD menu on your monitor using the steps mentioned in the previous section.
- Check the current input source selected in the OSD menu.
- Ensure that the input source selected matches the port you have connected your new graphics card to.
- If the input source is incorrect, select the appropriate input source and save the changes.
Confirm New Graphics Card Is Set As Primary Display
In some cases, the new graphics card may not be set as the primary display, leading to the monitor not working. To confirm and set the new graphics card as the primary display, follow these steps:- Right-click on the desktop and select “Display settings” from the context menu.
- In the Display settings window, scroll down to the “Multiple displays” section.
- Select the new graphics card from the “Multiple displays” drop-down menu.
- Check the box that says “Make this my main display” to set the new graphics card as the primary display.
- Click on “Apply” and then “OK” to save the changes.
Assess Graphics Card Compatibility
Assessing graphics card compatibility is crucial when experiencing issues with a monitor not working after installing a new graphics card. Troubleshooting steps such as checking connections, trying different cables, or connecting the monitor to the onboard GPU can help identify the problem.
It’s essential to ensure proper ventilation and heat dissipation within the PC case to prevent components malfunctioning.
When it comes to troubleshooting a monitor that is not working with a new graphics card, it is crucial to assess the compatibility of the graphics card with your system. In this section, we will review the motherboard and new GPU compatibility, check for sufficient power supply unit rating, and examine potential BIOS restrictions or limitations.
Review Motherboard And New Gpu Compatibility
One of the first steps in assessing graphics card compatibility is to review the compatibility between your motherboard and the new GPU. Not all motherboards are compatible with every graphics card, especially if you have an older model. To determine compatibility, refer to the manufacturer’s documentation or website for a list of supported graphics cards. Additionally, you can cross-reference the model numbers of both your motherboard and GPU to ensure they are compatible.
Check For Sufficient Power Supply Unit Rating
Inadequate power supply can also cause issues with a new graphics card. It is essential to check if your power supply unit (PSU) has a sufficient rating to support the power requirements of the GPU. To determine the power requirements of your GPU, refer to the manufacturer’s documentation or website. Ensure that your PSU meets or exceeds the recommended wattage to avoid any power-related issues.
Examine Potential Bios Restrictions Or Limitations
Some motherboards have BIOS settings that can restrict or limit the functionality of certain graphics cards. It is important to examine these settings and make any necessary adjustments to ensure proper compatibility. Access your BIOS by restarting your computer and pressing the designated key during the boot process (usually Del, F2, or F10). Inside the BIOS, navigate to the graphics card-related settings and make sure they are configured correctly to allow the use of the new GPU.
By carefully reviewing the motherboard and new GPU compatibility, checking for sufficient power supply unit rating, and examining potential BIOS restrictions or limitations, you can troubleshoot and address issues with a monitor not working with a new graphics card more effectively.
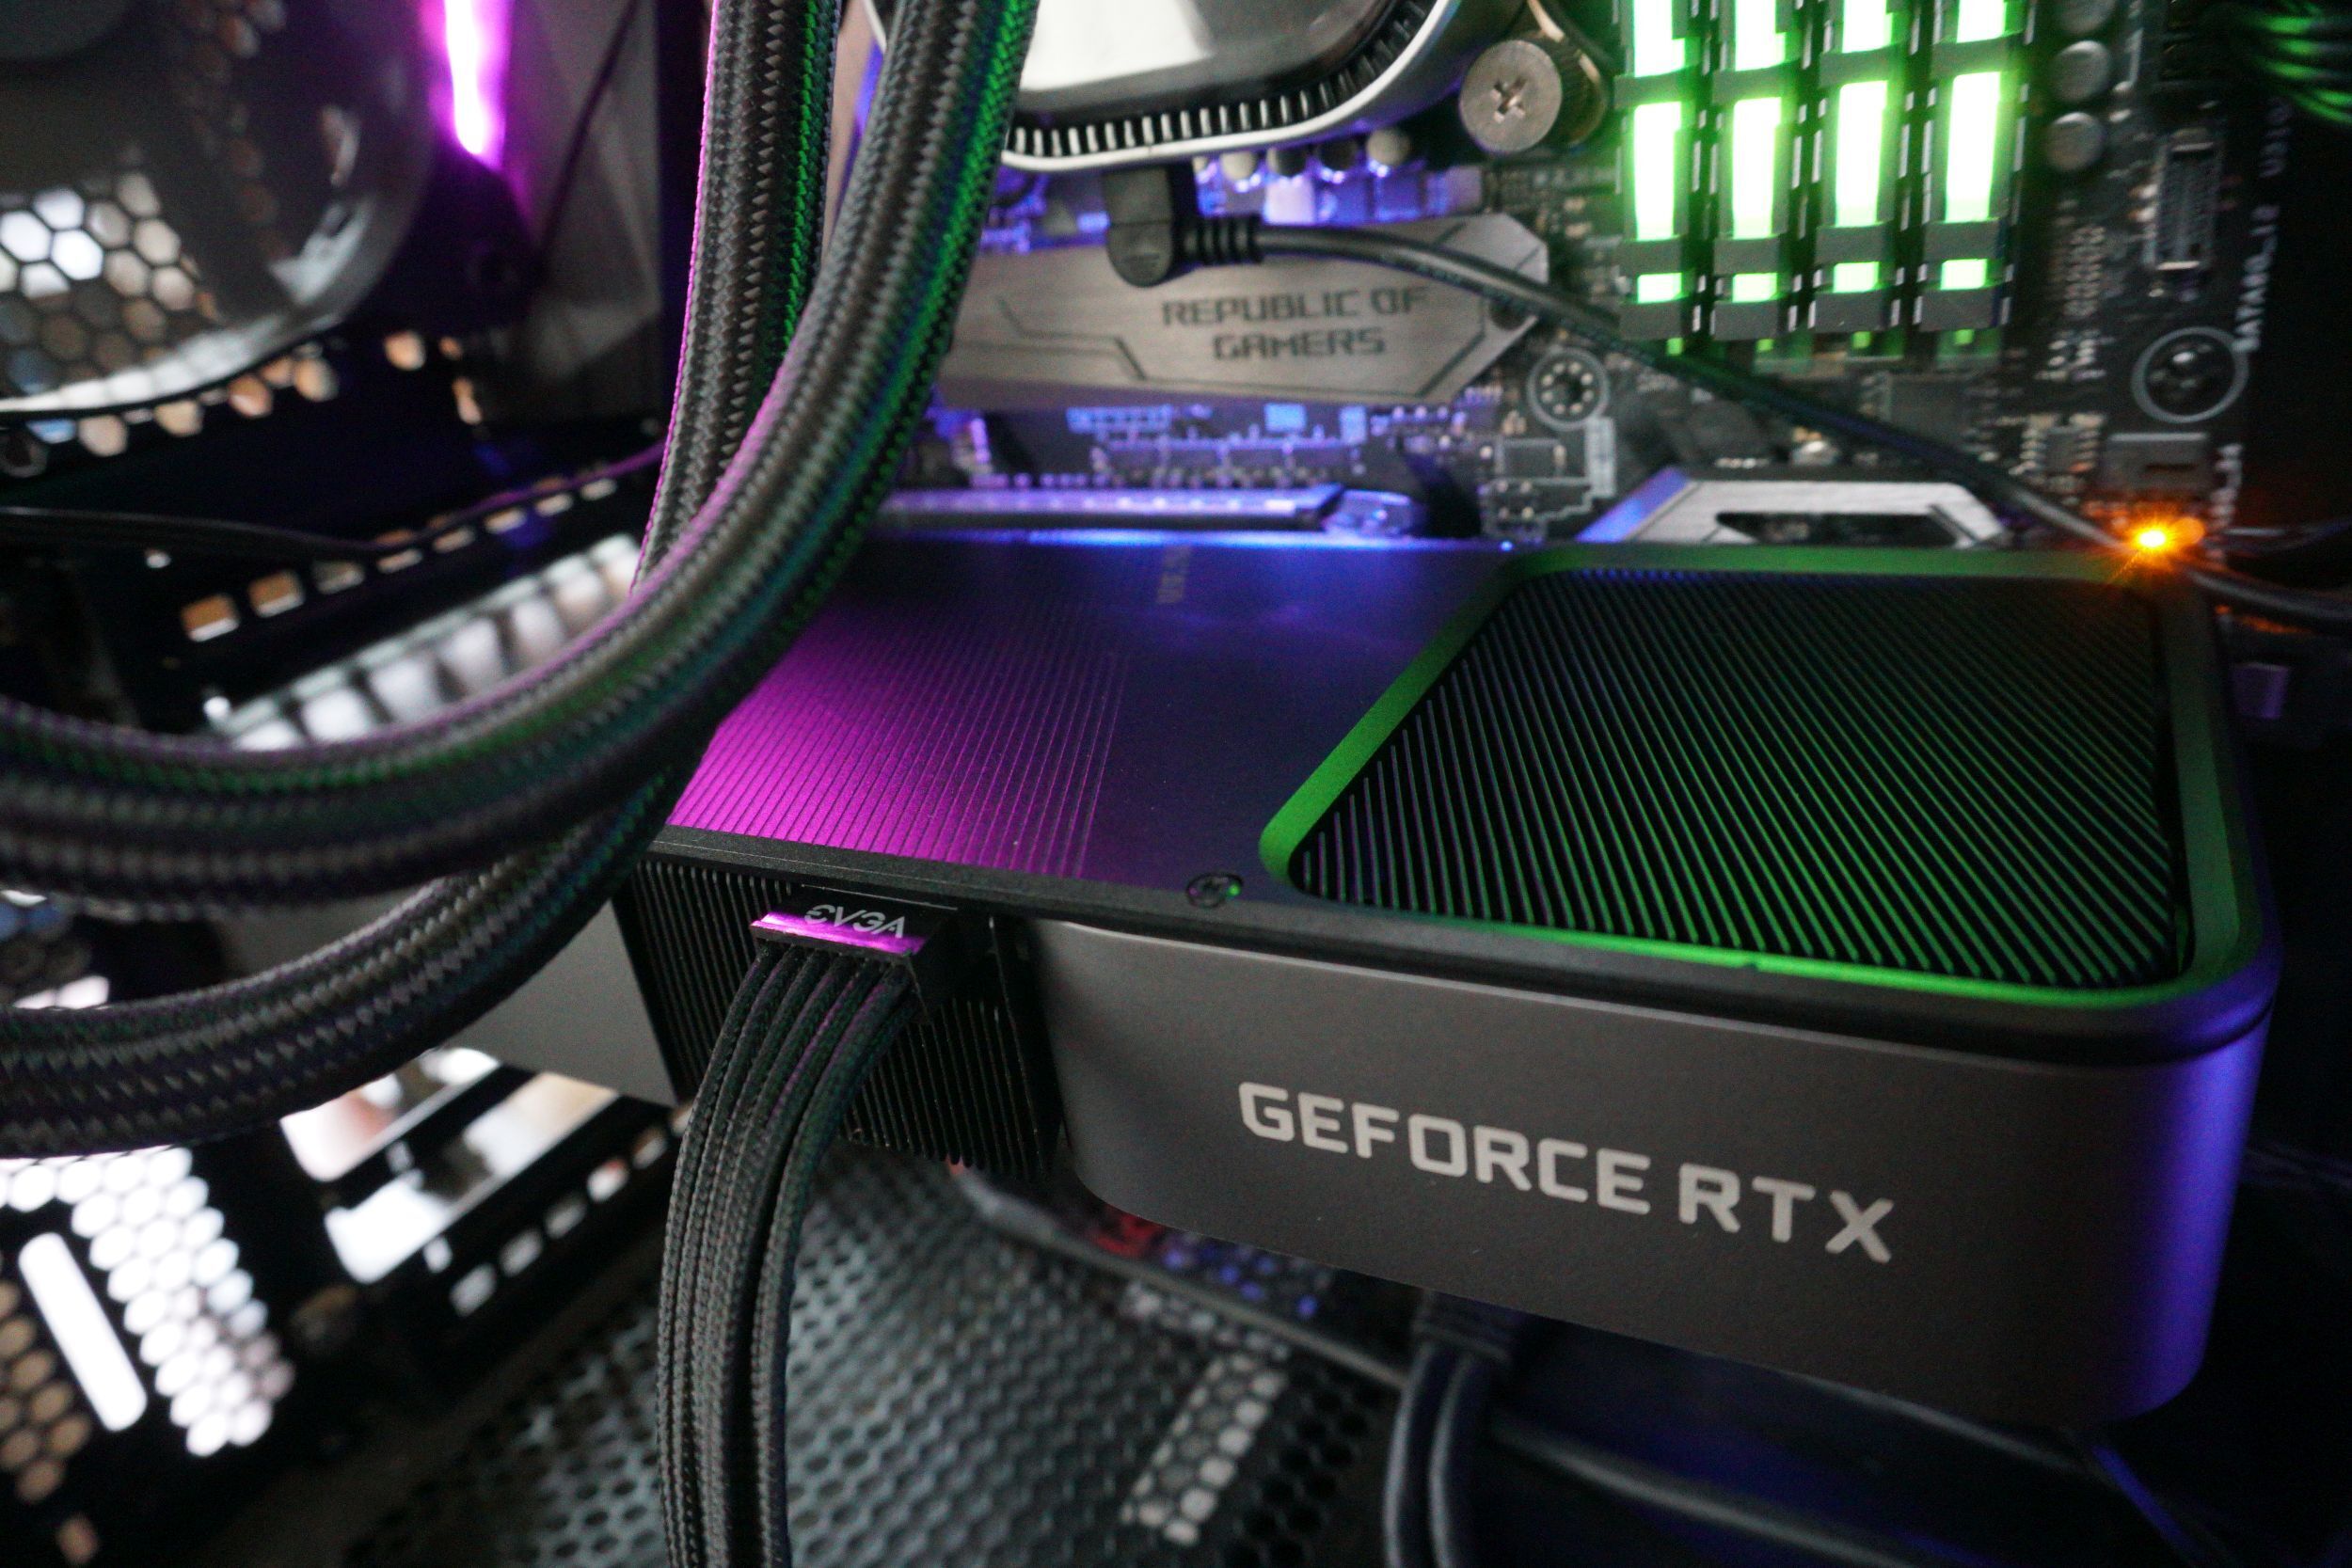
Credit: www.avg.com
Memory And Slot Inspection
When you encounter issues with your monitor not working after installing a new graphics card, it’s important to perform a thorough memory and slot inspection. This step will help you identify any underlying issues that may be causing the problem. In this section, we will look at three crucial aspects: ensuring the graphics card is properly seated in the slot, inspecting the RAM modules’ influence on GPU functionality, and looking for signs of physical damage on the card.
Ensure Graphics Card Is Properly Seated In The Slot
In some cases, the graphics card may not be fully inserted into the slot, resulting in a lack of proper connection. To resolve this issue, follow these steps:
- Turn off your computer and disconnect all power cables.
- Open the computer case and locate the graphics card slot on the motherboard.
- Gently remove the graphics card from the slot.
- Inspect the slot for any debris or obstruction and clean it if necessary.
- Align the graphics card with the slot and firmly push it back in until it is securely seated.
- Double-check that the card is properly aligned with the slot and the metal bracket is securely fastened.
- Reconnect all power cables and turn on your computer to see if the display now works.
Inspect Ram Modules Influence On Gpu Functionality
The RAM modules in your computer can also influence the functionality of your graphics card. Follow these steps to ensure the RAM modules are not causing any issues:
- Turn off your computer and disconnect all power cables.
- Open the computer case and locate the RAM modules.
- Gently remove each RAM module from its slot.
- Inspect the RAM modules for any visible damage, such as broken pins or cracks.
- Clean the RAM slots if necessary, removing any dust or debris.
- Reinsert the RAM modules back into their respective slots, ensuring they are securely seated.
- Reconnect all power cables and turn on your computer to see if the display now works.
Look For Signs Of Physical Damage On The Card
If the above steps did not resolve the issue, it’s crucial to also inspect the graphics card itself for any signs of physical damage. Follow these steps:
- Turn off your computer and disconnect all power cables.
- Remove the graphics card from the slot.
- Inspect the card for any visible damage, such as bent pins, cracks, or burnt components.
- Pay close attention to the connectors on the card, ensuring they are clean and undamaged.
- If you find any physical damage, it is recommended to consult a professional for repair or replacement.
- Replace the graphics card back into the slot, ensuring it is properly seated.
- Reconnect all power cables and turn on your computer to see if the display now works.
By thoroughly inspecting the memory and slot, you can rule out any potential issues that may be causing your monitor not to work with your new graphics card. Following these steps will help you identify and resolve the problem efficiently.
Monitor Not Working With New Graphics Card: Driver Update
When you install a new graphics card in your computer, one of the most common issues you might encounter is a non-functional monitor. This can be extremely frustrating, especially if you were looking forward to experiencing improved graphics and performance. However, before you start panicking, there is a high probability that the issue can be resolved by updating your graphics card drivers. In this guide, we will walk you through the process of updating your drivers, uninstalling old ones, and installing the correct new drivers to ensure your monitor works flawlessly with your new graphics card.
Guide On Updating Drivers For The New Graphics Card
Updating drivers for your new graphics card is essential to ensure compatibility and optimal performance. Below, we provide a step-by-step guide on how to update your drivers:
- Visit the manufacturer’s website: Start by visiting the website of the graphics card manufacturer. Most brands have dedicated support sections where you can download the latest driver software for your specific model.
- Locate the driver download section: Once you are on the manufacturer’s website, navigate to the driver download section. Look for the drivers that correspond to your graphics card model and the version of the operating system you are using.
- Download the latest drivers: Download the latest drivers for your graphics card. Ensure that you are downloading the correct version for your operating system and architecture (32-bit or 64-bit).
- Uninstall old drivers: Before installing the new drivers, it is important to uninstall the old ones. This can be done through the Device Manager on Windows or through the manufacturer’s software if available.
- Install the new drivers: Once the old drivers have been uninstalled, proceed with installing the new drivers. Follow the on-screen instructions provided by the installer.
- Restart your computer: After the installation process is complete, restart your computer to apply the changes.
Uninstalling Old Drivers And Installing Correct New Ones
Uninstalling the old drivers and installing the correct new drivers is a crucial step in resolving monitor compatibility issues with your new graphics card. Here’s a breakdown of the process:
- Access the Device Manager: On Windows, press the Windows key + R, type “devmgmt.msc,” and hit Enter.
- Expand the Display Adapters section: In the Device Manager window, locate and expand the “Display Adapters” section.
- Uninstall the old drivers: Right-click on the old graphics card driver and select “Uninstall device.” Follow the on-screen prompts to complete the uninstallation process.
- Remove old driver remnants: After uninstalling the old drivers, it is recommended to use a driver cleaning software or utility to remove any leftover remnants. This ensures a clean installation of the new drivers and reduces the possibility of conflicts.
- Install the correct new drivers: With the old drivers completely removed, proceed to install the correct new drivers for your graphics card by following the steps outlined in the previous section.
Considerations For Driver Conflicts And Versioning
When updating your graphics card drivers, it is important to consider potential conflicts and versioning issues. Here are some key points to keep in mind:
- Driver conflicts: In some cases, installing new drivers can lead to conflicts with other system components or software. To minimize the chances of conflicts, make sure to update other drivers and software on your system as well.
- Version compatibility: Ensure that the drivers you download are compatible with your specific graphics card model and the version of the operating system you are using. Installing incompatible drivers can cause instability and functionality issues.
- Regular updates: Graphics card manufacturers regularly release driver updates to fix bugs, improve performance, and add new features. It is recommended to periodically check for driver updates and install them to keep your system running smoothly.
By following the steps outlined in this guide and considering driver conflicts and versioning, you can address the issue of your monitor not working with your new graphics card. Updating your drivers will not only resolve compatibility issues but also unlock the full potential of your graphics card, allowing you to enjoy a seamless and visually immersive computing experience.
Bios Configuration And Update
If your monitor is not working with a new graphics card, it could be due to a variety of reasons. Firstly, ensure that the monitor is connected properly to the graphics card and that all cables are securely plugged in.
Additionally, make sure that the graphics card is properly installed and seated in the motherboard. If the issue persists, try updating the BIOS configuration and drivers for the graphics card, as outdated software can sometimes cause compatibility issues.
Navigate To Bios Settings For Gpu Configuration
An important step in troubleshooting a monitor not working with a new graphics card is accessing the BIOS settings to configure the GPU. To do this, follow these steps:
- Power on your computer and press the designated key (e.g., Del, F2, F10) to enter BIOS.
- Once in the BIOS settings, navigate to the “Advanced” or “Advanced Settings” tab using the arrow keys on your keyboard.
- Look for an option related to “Integrated Graphics” or “Primary Graphics Adapter” and select the option that corresponds to your new graphics card. This will prioritize the GPU for display output.
- If necessary, disable any “Onboard Graphics” or “Integrated Graphics” options to prevent conflicts with the new GPU.
- Save your changes and exit the BIOS settings. Your computer will restart.
How To Update Bios To Ensure Gpu Recognition
Updating your computer’s BIOS can sometimes resolve compatibility issues with new hardware, including graphics cards. Here’s how to update your BIOS:
- Visit the manufacturer’s website for your motherboard.
- Search for the latest BIOS update specific to your motherboard model.
- Download the BIOS update file to a USB drive.
- Restart your computer and enter the BIOS settings.
- Navigate to the “Tool” or “Update” tab in the BIOS settings.
- Select the option to update the BIOS using the downloaded file from the USB drive.
- Follow the on-screen instructions to complete the BIOS update process.
Importance Of Firmware Compatibility With New Hardware
Ensuring firmware compatibility is crucial when installing a new graphics card. Incompatible firmware can lead to issues such as no display output. Here are a few reasons why firmware compatibility is important:
- Hardware recognition: Software updates in new graphics cards may require updated firmware to be recognized by the motherboard.
- Driver compatibility: Updated firmware ensures seamless compatibility with the latest graphics card drivers for optimal performance.
- Error prevention: Incompatible firmware can cause system errors, crashes, or failure to boot.
- System stability: Updated firmware enhances system stability, ensuring a smooth and reliable computing experience.
By following the steps above to configure the GPU settings in BIOS and updating the BIOS to ensure compatibility, you can troubleshoot and resolve the issue of a monitor not working with a new graphics card. Remember to always refer to the motherboard manufacturer’s instructions and guidelines when performing BIOS updates to avoid any potential risks or damage to your system.
Testing With Alternate Displays Or Gpus
Ensure that the monitor is properly connected to the new graphics card. If there is still no display, try troubleshooting by connecting the monitor to the onboard GPU or using a different cable. In some cases, the issue may be caused by faulty drivers or a malfunctioning computer component.
One of the frustrating issues that can occur when installing a new graphics card is encountering a blank or black screen on your monitor. This can leave you feeling frustrated and clueless about what to do next. However, before jumping to conclusions and assuming that your new graphics card is faulty, it is important to conduct some tests to pinpoint the actual cause of the problem.Use A Different Monitor To Test The New Graphics Card
Firstly, try connecting a different monitor to your system. This will help determine if the issue lies with your monitor or the new graphics card. Sometimes, compatibility issues can arise between certain monitors and graphics cards. By connecting a different monitor, you can confirm if the problem persists or if it resolves itself. If the new monitor works fine with the new graphics card, it would indicate that the issue lies with your original monitor.Try The New Graphics Card In Another Pc Setup
Next, you can try installing the new graphics card in another PC setup. This is another effective way to determine if the problem lies with the graphics card or some other component of your system. By swapping the graphics card into another PC, you can test its compatibility and functionality. If the new graphics card works perfectly fine in an alternate setup, it would suggest that there might be an incompatibility issue or a problem with another component in your original PC setup.Utilize An Older Graphics Card With The Current Monitor
To further isolate the problem, you can try using an older, known-working graphics card with your current monitor. By doing this, you can determine whether the monitor is the culprit. Connect the older graphics card to your monitor and see if it displays properly. If it does, it would indicate that your original monitor has compatibility issues with the new graphics card. Remember, troubleshooting issues with a monitor not working with a new graphics card requires a systematic approach. By following the steps mentioned above, you can identify the source of the problem and take the necessary steps to resolve it.Advanced Monitor And Gpu Settings
Having trouble getting your monitor to work with your new graphics card? Don’t worry, we’ve got you covered. In this section, we’ll delve into some advanced monitor and GPU settings to help you troubleshoot and resolve the issue.
Tweaking Resolution And Refresh Rate Settings
One of the first things you can try is tweaking the resolution and refresh rate settings on your monitor. Sometimes, incompatible settings can cause display issues. Here’s how you can do it:
- Right-click on your desktop and select “Display settings” or “Screen resolution.”
- Under the “Display resolution” section, try selecting a different resolution and see if the display comes back.
- If that doesn’t work, navigate to the “Advanced display settings” or “Advanced settings” option.
- Here, you can adjust the refresh rate by selecting a different value from the drop-down menu.
- Apply the changes and check if the screen starts working with the new graphics card.
Investigating Gpu-specific Control Panel Settings
If tweaking the monitor settings didn’t resolve the issue, it’s time to explore the GPU-specific control panel settings. Each graphics card manufacturer provides a control panel with various options that can affect the display output. Follow these steps:
- Right-click on your desktop and look for an option that says “Graphics settings,” “Nvidia Control Panel,” or “AMD Radeon Settings” depending on your graphics card.
- Once inside the control panel, navigate to the display settings or display configuration section.
- Here, you may find options related to multiple displays, scaling, color profiles, or even GPU performance modes.
- Double-check if any settings are misconfigured or conflicting with your monitor.
- Make the necessary adjustments and apply the changes before testing if the monitor starts working.
Overcoming Potential Hdcp Handshake Issues
Another common issue that can prevent the monitor from working with a new graphics card is HDCP (High-bandwidth Digital Content Protection) handshake errors. HDCP is a copy protection protocol used by some video and audio sources.
If your monitor supports HDCP and you suspect handshake issues, follow these steps:
- Disconnect all cables from your monitor and graphics card.
- Turn off your computer and monitor.
- Reconnect the cables, ensuring they are securely plugged in.
- Power on your monitor first and wait for it to fully power up.
- Then, power on your computer and check if the display appears with the new graphics card.
By following these troubleshooting steps and exploring advanced monitor and GPU settings, you should be able to resolve the issue of your monitor not working with the new graphics card and enjoy a seamless computing experience once again!
Crafting Effective Solutions
Experiencing no display on your monitor after installing a new graphics card? This issue can be resolved by checking the connections and ensuring proper ventilation and heat dissipation inside your PC case. It is also recommended to try connecting your monitor to the onboard GPU or using a different cable.
cause your graphics card to not display to your monitor. Here are some key steps you can take to craft effective solutions and troubleshoot this issue:Summarize Key Steps Taken From Previous Sections
- Check all cable connections: Ensure that all cables, including the power cable and display cables, are securely connected to both the graphics card and the monitor.
- Verify power supply: Ensure that your power supply is sufficient to support the new graphics card. Check the power supply specifications and compare it with the requirements of your graphics card.
- Update graphics card drivers: Make sure you have installed the latest drivers for your graphics card. Visit the manufacturer’s website to download and install the appropriate drivers.
- Check BIOS settings: Access your computer’s BIOS settings and ensure that the primary display is set to the graphics card instead of the onboard graphics.
- Test with a different monitor or cable: If possible, try connecting your graphics card to a different monitor or using a different cable to rule out any issues with the current monitor or cable.
- Reset CMOS: Clear the CMOS settings on your motherboard to reset any potential conflicts or incorrect settings. Consult your motherboard’s manual for instructions on how to perform a CMOS reset.
Highlights Of Best Practices In Maintaining Gpu And Monitor Setup
- Regularly clean the GPU: Over time, dust and debris can accumulate on the GPU, affecting its performance. Use compressed air or a specialized GPU cleaning kit to remove dust and ensure proper ventilation.
- Monitor GPU temperature: Install monitoring software to keep an eye on the GPU temperature. High temperatures can lead to performance issues or even hardware damage. Ensure proper ventilation and consider additional cooling options if necessary.
- Update GPU drivers regularly: Graphics card manufacturers often release driver updates to optimize performance, fix bugs, and enhance compatibility. Stay up to date with the latest drivers for your GPU.
- Use high-quality cables: Invest in high-quality display cables to ensure a stable and clear connection between your GPU and monitor. Low-quality or worn-out cables can lead to display issues.
- Avoid overclocking unless necessary: Overclocking your GPU can provide a performance boost, but it can also lead to instability and potential display issues. Only overclock if you have adequate cooling and understand the risks involved.
Recommendations For When To Seek Professional Technical Support
While troubleshooting your monitor not working with a new graphics card, there may come a time when it is best to seek professional technical support. Consider the following situations:- If you have followed all the troubleshooting steps mentioned above and still cannot get your monitor working with the new graphics card.
- If you suspect a hardware issue with either the graphics card or the monitor.
- If you are not comfortable performing advanced troubleshooting or manipulating hardware settings.
Frequently Asked Questions For Monitor Not Working With New Graphics Card
Why Is My Graphics Card Not Displaying To My Monitor?
If your graphics card is not displaying to your monitor, ensure that the connections are secure and properly plugged in. Check that the graphics card is securely seated in the PCIe slot and that the power cables are connected correctly.
Also, make sure the monitor cable is connected to the graphics card, not the motherboard. Additionally, verify that the ventilation and heat dissipation inside your PC case are adequate to prevent components from malfunctioning due to excessive temperature.
Why Wont My Monitor Turn On With A New Gpu?
If your monitor is not turning on with a new GPU, check the connections. Make sure the graphics card is securely seated in the PCIe slot and power cables are properly connected. Also, ensure the monitor cable is plugged into the graphics card, not the motherboard.
Why Does My New Graphics Card Monitor Say No Signal?
If your new graphics card monitor says no signal, check the connections. Make sure the graphics card is securely seated in the PCIe slot and that power cables are properly connected. Also, ensure the monitor cable is plugged into the graphics card, not the motherboard.
Why Does My Pc Show A Black Screen After Installing A New Graphics Card?
If your PC shows a black screen after installing a new graphics card, check the connections. Make sure the graphics card is securely seated in the PCIe slot and that the power cables are properly connected. Also, ensure that the monitor cable is plugged into the graphics card, not the motherboard.
Conclusion
In troubleshooting a monitor not working with a new graphics card, it is important to check the connections and ensure that the graphics card is securely seated in the PCIe slot. Additionally, double-check that the power cables are properly connected and that the monitor cable is plugged into the graphics card, not the motherboard.
If these steps do not resolve the issue, it may be necessary to try a different cable or consult with technical support for further assistance. Maintaining proper ventilation and heat dissipation within the PC case is also crucial to prevent components from malfunctioning.