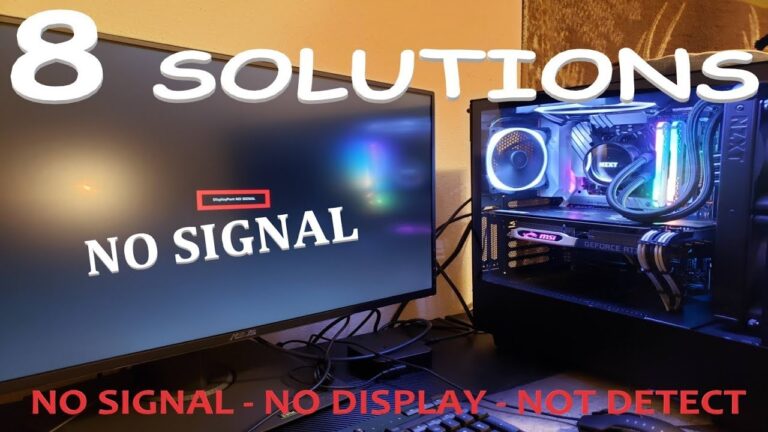
Monitor Not Turning on After Installing RAM: Troubleshooting Tips
If your monitor is not turning on after installing RAM, the most likely cause is that the RAM has not been installed correctly or is not compatible with the motherboard. Make sure to remove and reinstall the RAM carefully, ensuring that it is firmly seated in the RAM slots and that the retaining clips are secure.

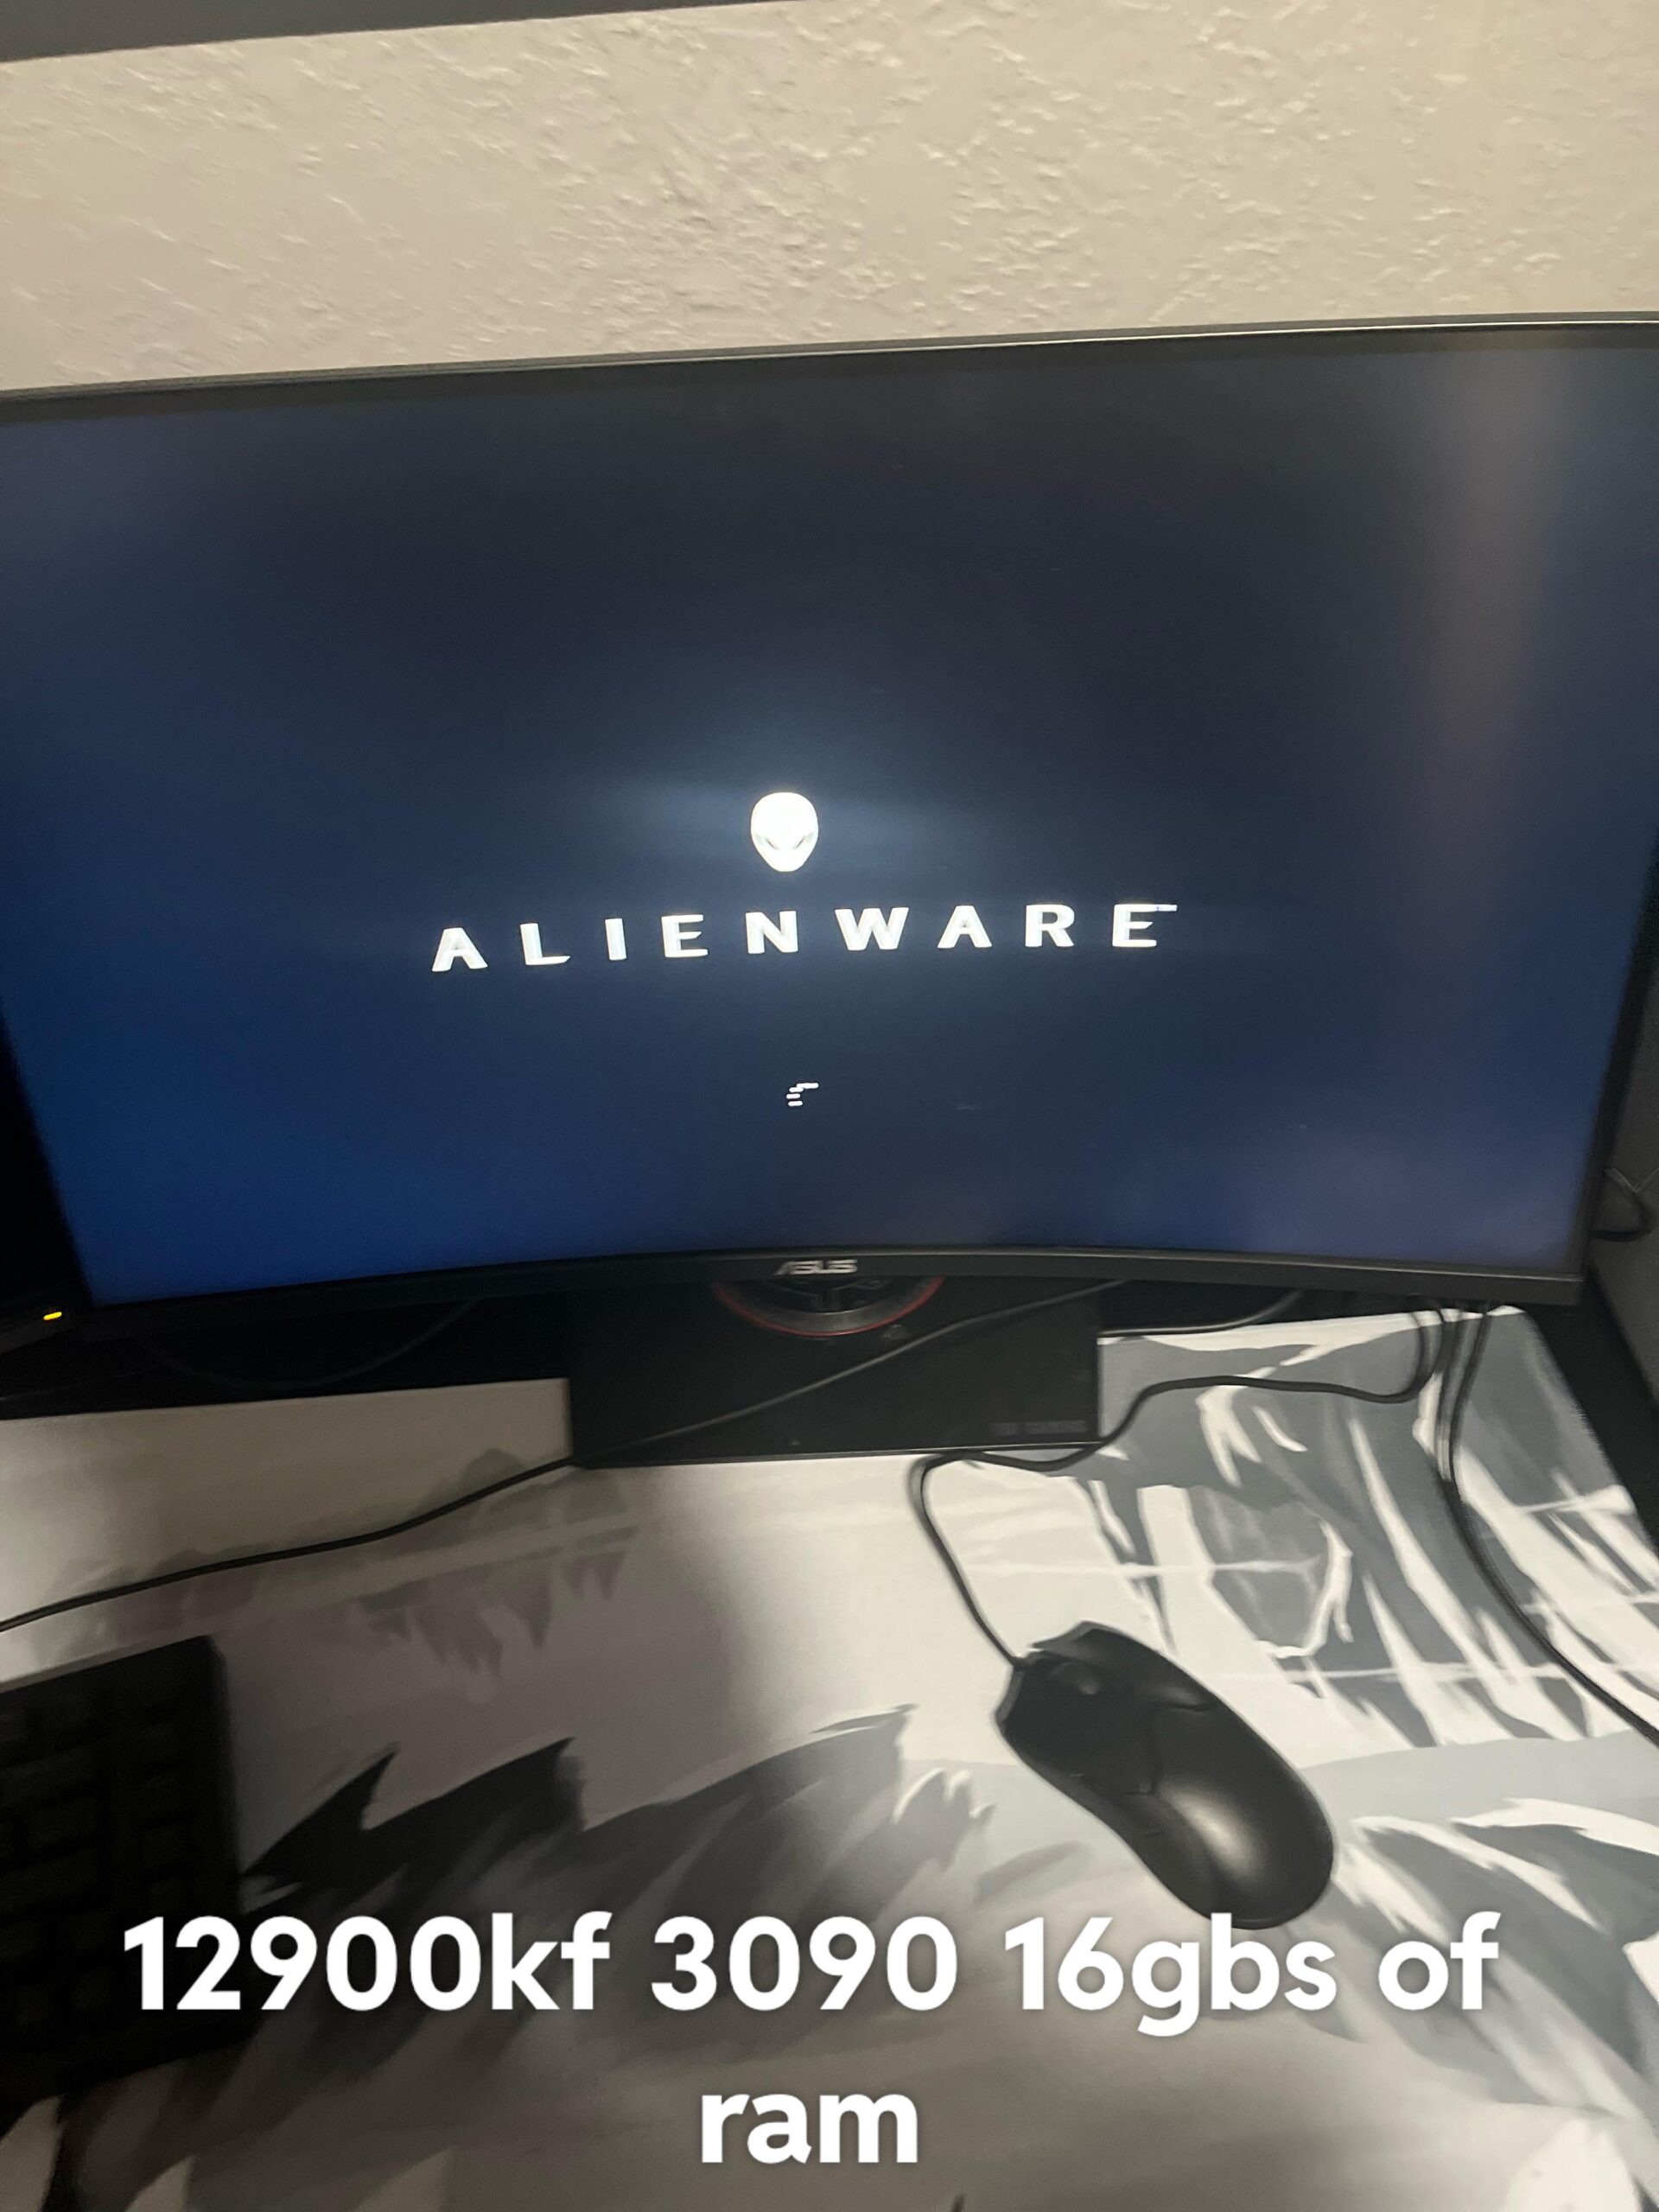
Credit: www.reddit.com
Diagnosing Post-ram Installation Problems
Upgrading or installing new RAM is a common way to enhance a computer’s performance. However, sometimes issues may arise after the installation, with the monitor not turning on being one of them. In this article, we will discuss some potential solutions to diagnose post-RAM installation problems and get your computer up and running again.
Ensure Correct Ram Installation
The most common cause of a monitor not turning on after RAM installation is incorrect installation. It is important to ensure that the RAM modules are properly seated in their slots. Here are some steps to follow:
- Power off your computer and unplug the power cable.
- Remove the RAM modules carefully from their slots and set them aside.
- Inspect the RAM slots for any dust or debris and clean them if necessary.
- Insert the RAM modules back into their slots, making sure they are fully pressed home on both ends.
- Double-check the alignment of the RAM modules with the slots to ensure they are properly inserted.
- Finally, plug the power cable back in and power on your computer.
Check Compatibility With Motherboard
Another possible reason for the monitor not turning on after RAM installation is compatibility issues between the RAM modules and the motherboard. To check for compatibility:
- Refer to your computer’s user manual or the manufacturer’s website to determine the supported types and capacities of RAM for your motherboard.
- Compare the specifications of the RAM modules you have installed with the supported RAM specifications of your motherboard.
- If the RAM modules are not compatible, consider replacing them with ones that are supported by your motherboard.
Verify Bios Settings And Recognition
Incorrect BIOS settings or the motherboard not recognizing the new RAM modules can also cause the monitor not to turn on. Here’s what you can do:
- Restart your computer and enter the BIOS setup by pressing the specified key during the boot process (such as F2 or Delete).
- Navigate to the memory or RAM settings in the BIOS menu.
- Ensure that the BIOS recognizes the installed RAM modules and that the settings are configured correctly.
- If necessary, consult the motherboard’s user manual or the manufacturer’s website for guidance on adjusting the BIOS settings for RAM.
- Save any changes made in the BIOS settings and exit.
Examine The Ram Seating And Clamps
If the above steps do not resolve the issue, it is worth examining the seating of the RAM modules and the clamps:
- Power off your computer and unplug the power cable.
- Remove the RAM modules once again.
- Inspect the RAM slots and ensure that the clamps on each end of the slots are properly secured and not loose.
- Carefully reseat the RAM modules, making sure they are firmly inserted into the slots and the clamps are securely fastened.
- Plug the power cable back in and power on your computer.
By following these troubleshooting steps, you should be able to diagnose and resolve the issue of the monitor not turning on after RAM installation. However, if the problem persists, it may be necessary to seek professional assistance or consider replacing the RAM modules entirely.
Addressing No Display After Ram Installation
When you upgrade your RAM module and experience no display on your monitor, it can be a frustrating situation. This issue is commonly seen when the computer fails to complete the Power-On Self Test (POST) due to a problem with the new RAM.
The most common cause of no display after RAM installation is the improper seating of the RAM module. It is essential to ensure that the RAM module is securely and fully inserted into its slot. Sometimes, inexperienced PC builders or those new to upgrading components may not press the RAM module firmly enough on both ends, leading to a lack of proper connection. Therefore, it is crucial to double-check the seating of the RAM module during installation.
Incompatibility can also be a potential cause of no display. Not all RAM modules are compatible with every motherboard, so it is important to check the compatibility of the RAM module with your specific motherboard model.
Before jumping to advanced inspections, it is essential to perform some basic checks to ensure there are no issues with power connections or video cables.
1. Ensure that your computer is completely powered off and unplugged from the power source.
2. Check the power connections to the motherboard, ensuring they are securely plugged in.
3. Verify the video cables are properly connected to the GPU port and not the onboard graphics port (if applicable).
4. Inspect the video cables for any signs of damage and replace them if necessary.
If the basic checks did not resolve the no display issue, it is time to conduct more advanced inspections.
1. Carefully remove the RAM module and inspect the memory slots. Look for any signs of dirt, dust, or debris that may be causing improper contact between the RAM and the slot. Clean the slots if necessary, using a can of compressed air or a soft brush.
2. Check your motherboard’s RAM compatibility. Refer to the manufacturer’s documentation or website to ensure that the RAM module you installed is supported by your specific motherboard.
3. Test each RAM module individually by inserting it into different slots to identify if any individual module or slot is causing the issue.
4. If available, update your motherboard’s BIOS to the latest version. Sometimes, outdated firmware can cause compatibility issues with newer RAM modules.
5. If all else fails, consider seeking professional assistance or contacting the manufacturer for further guidance.
By addressing these RAM-related no display symptoms, potential causes, and conducting basic checks and advanced inspections, you can troubleshoot and resolve the issue of no display after RAM installation. Remember to always follow proper installation procedures and ensure compatibility between your RAM and motherboard for a seamless upgrade experience.
Step By Step Ram Installation Review
Having trouble with your monitor not turning on after installing RAM? This issue can occur if the RAM is not correctly installed or incompatible with your motherboard. Make sure to remove and reseat the RAM, ensuring it is firmly seated in the slots.
If the problem persists, try using different RAM modules.
nterestingly, one of the most common issues that users encounter after installing RAM is their monitor not turning on. This can be quite frustrating, especially after eagerly anticipating the upgrade. However, there’s no need to panic just yet. In this step-by-step RAM installation review, we will guide you through the process of installing RAM properly to avoid any errors and ensure a smooth boot-up.Pre-installation Ram Handling Best Practices
Before delving into the installation process, it’s crucial to follow some best practices to ensure the longevity and optimal performance of your RAM. Consider these steps:- Handle with care: RAM modules are sensitive components, so make sure to ground yourself to avoid any static discharge that could damage them. Wear an anti-static wristband or touch a grounded object before handling the RAM.
- Choose compatible RAM: Ensure that the RAM you’ve purchased is compatible with your motherboard. Refer to your motherboard’s manual or manufacturer’s website to determine the supported RAM specifications.
- Power off and unplug: Before beginning the installation process, shut down your computer and unplug the power cable. Safety first!
Detailed Installation Steps To Avoid Errors
Now that we’ve covered the pre-installation precautions, let’s dive into the steps to install the RAM correctly. Follow these detailed instructions:- Locate RAM slots: Identify the RAM slots on your motherboard. They are typically DIMM slots, and you’ll usually find them near the CPU socket.
- Prepare the slots: Open the retaining clips on both sides of the RAM slot by pressing them down. This will create space for the RAM module.
- Insert the RAM: Holding the RAM module by its edges, align the notch on the module with the slot’s notch. Gently push down until the retaining clips snap back into place, securing the RAM.
- Repeat for additional modules: If you’re installing multiple RAM modules, repeat the previous step for each one, ensuring they are correctly aligned and fully seated.
- Double-check: Give the RAM modules a gentle wiggle to ensure they are firmly installed. Additionally, cross-verify that the retaining clips are securely holding the RAM in place.
Post-installation: Booting Procedures And Possible Error Codes
Once the RAM is securely installed, it’s time to turn on your computer and ensure a successful boot-up. Follow these post-installation procedures:- Reconnect all cables: Make sure all cables, including the power cable, display cables, and peripherals, are securely connected to your computer.
- Power on: Plug in the power cable and press the power button to turn on your computer. Listen for any beeps or error codes that may indicate post-installation issues.
- Troubleshoot: If your monitor still shows no signal or if you encounter any error codes during the boot-up process, consult your motherboard’s manual or the manufacturer’s website to identify the specific error and troubleshooting steps.
Monitor Not Turning On: Common Pitfalls
When it comes to upgrading your computer’s performance, installing new RAM can provide a significant boost. However, it can be frustrating if your monitor refuses to turn on after installing the new RAM. In this article, we will discuss some common pitfalls that may cause this issue and how to troubleshoot them.
Incorrect Memory Slot Usage
One common pitfall when installing new RAM is using the incorrect memory slots on the motherboard. Ensure that you consult your motherboard’s manual to identify the correct slots for installing the RAM modules. Usually, the slots should be labeled, such as “DIMM1,” “DIMM2,” and so on.
It’s essential to note that different motherboards have different slot configurations. Some motherboards require matching RAM modules to be inserted in specific slots. Failure to adhere to these guidelines can prevent the system from recognizing the new RAM and result in the monitor not turning on.
Static Discharge Impact On Ram Modules
Static discharge is another common pitfall that can affect RAM modules. When handling RAM or any other computer components, it’s crucial to discharge static electricity before touching them. To protect your components from static damage:
- Make sure you’re grounded by touching a metal surface.
- Avoid wearing static-prone clothing.
- Handle the RAM modules by the edges and avoid touching the gold pins or any exposed circuitry.
Avoiding static discharge can prevent damage to the RAM modules, ensuring they function correctly when installed and preventing any issues with the monitor turning on.
Resetting Bios To Recognize New Ram Installation
In some cases, the system’s BIOS may not immediately recognize the newly installed RAM. This can cause the monitor not to turn on. To resolve this issue, you can try resetting the BIOS by following these steps:
- Completely power off your computer and unplug the power cable.
- Remove the RAM modules from their slots.
- Locate the CMOS battery on the motherboard and remove it for a couple of minutes. Remember the battery’s orientation to ensure you can insert it properly later.
- After a few minutes, reinsert the CMOS battery and the RAM modules into their corresponding slots.
- Plug the power cable back in and power on your computer.
By resetting the BIOS, you are allowing it to recognize the new RAM installation, which should resolve any issues with the monitor not turning on.
By being aware of these common pitfalls and following the necessary steps, you can troubleshoot and resolve the issue when your monitor does not turn on after installing new RAM. Remember to double-check the correct memory slot usage, prevent static discharge, and reset the BIOS if needed. With these measures in place, you’ll be able to enjoy the enhanced performance of your upgraded RAM while ensuring your monitor functions flawlessly.
Troubleshooting Tips For Display Restoration
If you recently upgraded your computer’s RAM and are experiencing a black screen or no display on your monitor, don’t panic. This common issue can be easily resolved with a few troubleshooting tips. In this article, we will explore three effective solutions to get your monitor up and running again.
1. Clearing Cmos To Reset Memory Settings
One of the first steps to take when troubleshooting a monitor display issue after installing new RAM is to clear the CMOS (Complementary Metal-Oxide-Semiconductor) settings. This will help reset the memory settings and can often resolve any conflicts caused by the RAM upgrade.
To clear the CMOS, simply follow these steps:
- Power off your computer completely and unplug the power cable.
- Locate the CMOS battery on your motherboard. It is a small, round battery usually found near the center.
- Remove the CMOS battery and wait for a couple of minutes.
- Reinsert the CMOS battery in the correct orientation.
- Plug in the power cable and power on your computer.
This process will reset the memory settings and can often restore the display on your monitor.
2. Alternative Testing: Using Old Ram Versus New
If clearing the CMOS does not resolve the monitor display issue, it might be worth considering an alternative testing method using the old RAM versus the new RAM. This can help rule out any compatibility or faulty RAM issues.
Follow these steps to perform the alternative testing:
- Power off your computer and unplug the power cable.
- Remove the new RAM modules that you recently installed.
- Reinstall the old RAM modules that were previously working.
- Plug in the power cable and power on your computer.
- If the monitor display is restored with the old RAM, it indicates that there might be compatibility issues with the new RAM. In this case, you may need to contact the manufacturer for further assistance or consider replacing the new RAM.
3. Seeking Professional Assistance Or Manufacturer Support
If the above troubleshooting tips do not resolve the monitor display issue, it is recommended to seek professional assistance or contact the manufacturer for support. They will have specialized knowledge and expertise to diagnose and fix the issue.
When contacting professional technicians or the manufacturer’s support team, provide them with detailed information about your computer model, the RAM modules you installed, and the steps you have already taken to troubleshoot the issue. This will help them provide accurate guidance and solutions tailored to your specific situation.
Remember, troubleshooting a monitor not turning on after installing RAM requires patience and careful analysis. By following these troubleshooting tips and seeking appropriate assistance if needed, you can successfully restore the display on your monitor and get your computer up and running again.
Frequently Asked Questions On Monitor Not Turning On After Installing Ram
Why Won T My Monitor Turn On After Installing Ram?
Most likely the new RAM is either not installed properly or is not compatible with the motherboard. Remove the new RAM and reinstall it carefully to ensure it is firmly seated in the RAM slots. Make sure the retaining clips “click” into place.
If the issue persists, try using different RAM or seek professional assistance.
Why Is My Screen Black After Installing Ram?
The screen may be black after installing RAM due to improper installation or compatibility issues. Make sure the RAM is firmly seated in the slots and try removing and reinstalling it. If the problem persists, the RAM may be faulty or not compatible with the motherboard.
Can Ram Issue Cause No Display?
Yes, faulty RAM can cause a no display issue on a computer. It is important to ensure that the RAM is properly installed and seated in the socket. If the RAM is correctly installed and the issue still persists, it may indicate a problem with the RAM itself.
Why Is My Desktop Not Turning On After Ram Upgrade?
If your desktop is not turning on after a RAM upgrade, make sure the RAM is properly installed and seated in the socket. Also, check if the RAM is compatible with your motherboard. Remove and reinstall the RAM carefully, ensuring it is firmly seated and the retaining clips are secure.
Conclusion
If your monitor is not turning on after installing RAM, there are a few potential solutions to consider. Firstly, ensure that the RAM is properly installed and seated in the slots. Check for compatibility issues between the motherboard and the new RAM.
Additionally, try reseating the RAM and reconnecting all cables to ensure a secure connection. If the issue persists, it may be necessary to remove the new RAM and test with the old RAM to determine if it is faulty. Overall, troubleshooting the installation of RAM can help resolve the monitor display issue.
