Monitor Not Turning on After Building PC: Troubleshooting Tips
If your monitor is not turning on after building a PC, it may be due to faulty or damaged cables connecting the power, PC, and monitor. Additionally, the issue could be caused by a problem with the CPU, motherboard, RAM, power supply, or graphics card not being properly connected.
Try reseating all of these components to ensure they are securely connected. It is also recommended to check the cables and ensure they are not damaged. If the problem persists, you can try connecting the monitor to another source to determine if the issue is with the PC or the monitor itself.
Initial Checks For Display Issues
Experiencing display issues can be frustrating, especially when you’ve just finished building your new PC. The excitement of powering it on for the first time quickly turns into disappointment when the monitor refuses to turn on. However, before you panic, there are a few initial checks you can perform to troubleshoot the issue.
Ensure Power Cables Are Securely Connected
The first step is to ensure that all power cables are securely connected. Loose connections can lead to a lack of power supply and, consequently, a non-responsive monitor. Here’s what you can do:
- Check if the power cable from the monitor is firmly plugged into both the monitor and the electrical outlet.
- Inspect the power cable connected to your PC’s power supply unit (PSU). Make sure it is tightly connected on both ends.
- If you have a modular PSU, verify that the cable connecting the PSU to the motherboard is properly seated.
Verify Monitor Power And Input Source
The next step is to verify that your monitor is receiving power and is set to the correct input source. Here’s what you can do:
- Check if the power indicator light on the monitor is lit up. If not, ensure that the power cable is securely connected and try a different electrical outlet.
- Press the power button on the monitor to double-check if it is in the ‘on’ position.
- Confirm that the input source selected on the monitor matches the video output from your PC. If you’re using HDMI, ensure the monitor is set to HDMI input, or if you’re using DisplayPort, ensure the monitor is set to DisplayPort input.
- If your monitor has multiple input ports, try switching to a different port to rule out any potential issues with the current port.
By performing these initial checks, you can often resolve common display issues and get your monitor up and running. However, if the problem persists, further troubleshooting may be required. Make sure to consult your PC’s manual or seek assistance from a professional to diagnose and resolve the issue.
Monitor Not Turning On After Pc Build Insights
After assembling your brand new PC with excitement, you press the power button with the hope of seeing your monitor come to life. However, to your dismay, the monitor remains stubbornly blank. Don’t panic just yet! In this section, we will explore common reasons for monitor issues and guide you on how to evaluate the monitor’s status and error messages. By following these steps, you can troubleshoot and potentially resolve the frustrating problem of a monitor not turning on after a PC build.
Explore Common Reasons For Monitor Issues
When faced with a monitor that refuses to turn on after a PC build, there are several potential culprits that could be causing the issue. Here are the most common reasons:
- Loose connections: Check all cables connecting the monitor to the PC. Ensure that they are securely plugged into their respective ports on both ends.
- Incompatible cables or ports: Verify that the cables being used are compatible with your monitor and PC. Some modern monitors may require specific types of connections, such as HDMI or DisplayPort.
- Graphics card issues: If you have a dedicated graphics card, make sure it is properly seated in the PCIe slot. Improper installation or a faulty graphics card can prevent the monitor from receiving a signal.
- Incorrect BIOS settings: Check your BIOS settings to ensure that the primary display output is set correctly. If the settings are misconfigured, the monitor may not receive any signal.
- Faulty monitor: While less likely, it is possible that the monitor itself is defective. Consider testing the monitor with another device to confirm if it is indeed the source of the problem.
Evaluate The Monitor’s Status And Error Messages
When faced with a monitor that remains black, it is essential to gather as much information as possible. The monitor may display error messages or exhibit specific behaviors that can help identify the underlying issue. Here’s how to evaluate the monitor’s status:
| Possible Monitor Behaviors | Possible Interpretation |
|---|---|
| No display or signal | The monitor is not receiving any signal from the PC. Check the cable connections and make sure they are secure. |
| Black screen with power indicator on | The monitor is receiving power but unable to display any content. Observe if there are any error messages or blinking lights on the monitor for further clues. |
| Error messages or unusual behavior | Take note of any error messages or unusual behavior displayed by the monitor. These messages might provide valuable insights into the specific cause of the problem. |
By carefully examining the monitor’s status and any error messages, you can narrow down the potential causes and proceed with the appropriate troubleshooting steps to resolve the issue.
Now that you are aware of common reasons for monitor issues and how to evaluate the monitor’s status and error messages, you can confidently troubleshoot the problem of a monitor not turning on after a PC build. Stay patient and methodical in your approach, as finding the solution may require a few trial and error attempts. Good luck!
Basic Troubleshooting Steps
Experiencing a monitor that won’t turn on after building your PC can be frustrating. However, there are some basic troubleshooting steps you can take to resolve the issue. Before diving into more complex solutions, it’s important to ensure that all internal cable connections are properly checked and that a breadboarding process is performed.
Recheck All Internal Cable Connections
One of the first steps to take when troubleshooting a monitor that won’t turn on is to recheck all internal cable connections. It’s possible that during the build process, a cable may not have been fully seated or may have become loose. To properly recheck the internal cable connections:
- Turn off the PC and unplug it from the power source to avoid any electrical mishaps.
- Open the PC case and visually inspect all the internal cables, paying close attention to the ones connected to the motherboard and power supply.
- If any cables appear loose, gently push them back into their respective connectors until they are firmly seated. Take care not to use excessive force, as this may damage the connectors.
- Once all the cables have been checked and secured, close the PC case and reconnect the power source.
- Turn on the PC and check if the monitor now displays.
Perform A “breadboarding” Process
If rechecking the internal cable connections doesn’t resolve the issue, performing a “breadboarding” process can help identify any potential hardware conflicts or faulty components. Breadboarding is a troubleshooting technique that involves removing all unnecessary components and testing the PC with only the essential parts.
- Turn off the PC and unplug it from the power source.
- Open the PC case and disconnect all non-essential components, including extra hard drives, graphics cards, and any additional RAM sticks.
- Leave only the essential components connected, such as the motherboard, CPU, power supply, and one stick of RAM.
- Reconnect the power source and turn on the PC.
- If the monitor now displays, it indicates that one of the previously disconnected components may be causing the issue. You can then reconnect each component one by one, testing the monitor display after connecting each, to identify the problematic component.
- If the monitor still doesn’t display during the breadboarding process, it may indicate a more significant issue, such as a faulty motherboard or CPU. In such cases, seeking professional assistance or contacting the manufacturer for further support may be necessary.
By following these basic troubleshooting steps, you can potentially resolve the issue of a monitor not turning on after building your PC. Remember to always exercise caution when working with computer hardware and consult professional assistance if needed.
Advanced Monitor Troubleshooting Techniques
Having trouble with your newly built PC not displaying anything on your monitor? Don’t worry, we’ve got you covered with some advanced monitor troubleshooting techniques to help you identify and resolve the issue. Follow these steps to get your monitor up and running in no time:
Test With An Alternative Video Output
First, let’s ensure that the issue is not with your monitor itself. Try connecting your monitor to an alternative video output source, such as a laptop or another computer. If the monitor works with the alternative source, that means the problem lies within your PC. If the monitor still does not show any display, then it might be time to investigate further.
Update Or Clear Motherboard Bios/cmos
In some cases, the motherboard BIOS/CMOS settings can cause compatibility issues with your monitor. To resolve this, you can update or clear the BIOS/CMOS settings.
Updating the BIOS/CMOS can be done by following the instructions provided by your motherboard manufacturer. Visit their website and look for the latest BIOS update for your specific motherboard model. Once downloaded, follow the instructions to update the BIOS.
If updating the BIOS does not solve the issue, you can try clearing the BIOS/CMOS settings. This can be done by locating the CMOS jumper on your motherboard and following the instructions provided in your motherboard’s manual. Clearing the CMOS will reset the BIOS settings to default, which might help resolve any compatibility issues with your monitor.
Remember to take precautions while handling your motherboard and follow proper safety procedures as specified by the manufacturer. If you are not confident in performing these tasks, it is recommended to seek professional help.
By following these advanced troubleshooting techniques, you can identify and resolve the issue with your monitor not turning on after building your PC. If the problem persists, it might be a good idea to consult with a technician for further assistance.
Hardware Component Diagnostics
After building a new PC, it can be frustrating when you encounter issues with your monitor not turning on. In such cases, it is essential to perform hardware component diagnostics to identify and resolve the problem. By examining the status of the video card and RAM, as well as checking for motherboard error codes or beeps, you can troubleshoot the issue and get your monitor working again.
Examine The Status Of Video Card And Ram
One of the common reasons for a monitor not turning on is a faulty video card or RAM. To troubleshoot this, follow these steps:
- Check if the video card is properly seated in the PCI-e slot. Sometimes, during the PC building process, the card can become loose. Gently push it back in to ensure a secure connection.
- Inspect the video cable for any damages or loose connections. Make sure it is firmly connected to both the video card and the monitor.
- If you have a spare video card or onboard graphics, try swapping it out to see if the monitor receives a signal. This will help identify if the issue lies with the video card.
- Similarly, reseat the RAM modules in their respective slots. Ensure that they are inserted correctly and firmly. A loose or improperly inserted RAM stick can cause display issues.
- Try booting the PC without any RAM modules. If you hear continuous beeps from the motherboard, it indicates a RAM-related problem. In such cases, consult your motherboard’s manual to decipher the error code and troubleshoot accordingly.
Check For Motherboard Error Codes Or Beeps
If the above steps do not resolve the issue, it is crucial to check for any error codes or beeps from the motherboard. These can provide valuable insights into the underlying problem. Here’s how you can do it:
- Refer to your motherboard’s manual to understand the meaning behind various error codes or beeps. Each motherboard manufacturer may have different indicators.
- Power on your PC and pay close attention to any error codes displayed on the motherboard’s LED screen, if applicable.
- If your motherboard does not have an LED screen, listen for any beeps during the booting process. Different beep patterns indicate different issues. Again, consult the manual for accurate interpretation.
By following these hardware component diagnostics, you can effectively identify and resolve the issue of a monitor not turning on after building your PC. Remember to consult your motherboard and video card’s manuals for specific instructions and troubleshoot accordingly. Stay tuned for more troubleshooting tips to ensure a seamless PC experience.
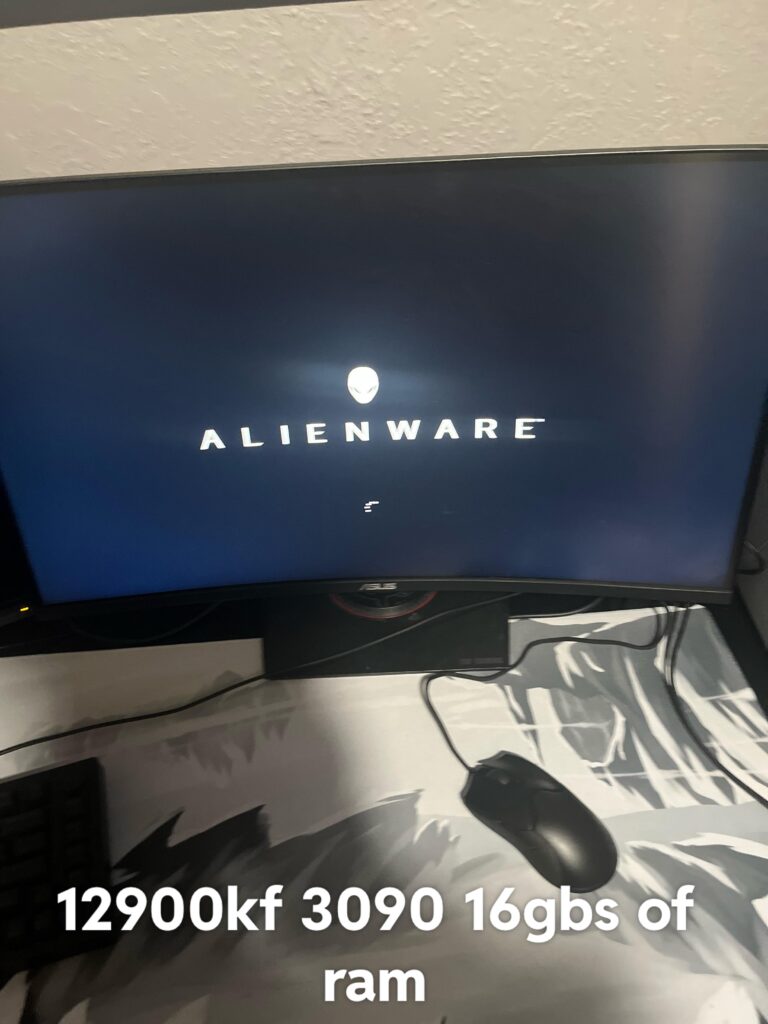
Credit: www.reddit.com
Resolving No Signal Problems
If you’ve just built your PC and are experiencing the frustrating issue of your monitor not turning on, fear not – you’re not alone. This common problem can be caused by a variety of factors, including hardware or software issues. However, with a systematic approach and a few troubleshooting steps, you can easily resolve the “No Signal” problem and get your monitor up and running.
Steps To Troubleshoot A “no Signal” Monitor
- Check physical connections:
- Ensure that the monitor is properly connected to your PC via the appropriate cable (e.g., HDMI, DisplayPort, DVI-D).
- Inspect the cable for any visible damage or loose connections, and replace it if necessary.
- Verify power supply:
- Confirm that both your PC and monitor are receiving power.
- Check if the power cables are securely plugged into the respective power outlets.
- Try using a different power outlet or power cable to rule out any power-related issues.
- Utilize onboard graphics if available:
- If your CPU has integrated graphics capability, connect your monitor to the motherboard’s video output instead of the dedicated graphics card.
- This can help determine whether the issue is related to your graphics card or its drivers.
- Restart your PC:
- Perform a proper shutdown of your PC and wait for a few seconds before turning it back on.
- Often, a simple restart can resolve temporary software glitches.
- Check graphics card and drivers:
- If utilizing onboard graphics didn’t help, ensure that your dedicated graphics card is correctly inserted into its PCIe slot.
- If necessary, remove and reseat the graphics card to establish a secure connection.
- Update the graphics card drivers to the latest version available from the manufacturer’s website.
- Reset BIOS settings:
- Access the BIOS settings by restarting your PC and pressing the designated key (e.g., Del, F2, F10) during the boot process.
- Look for an option to reset the BIOS to its default settings.
- Save the changes and exit the BIOS. Your PC will reboot and hopefully, the monitor will receive a signal.
- Test with a different monitor:
- If possible, connect your PC to a different monitor to ensure the issue isn’t with the monitor itself.
- If the alternate monitor works, it could imply a problem with your original monitor or its cables.
- Seek professional assistance:
- If all else fails, it may be worth consulting with a computer technician who can diagnose and fix the issue.
- They can perform more advanced troubleshooting steps and identify any underlying hardware problems.
By following these steps in a logical sequence, you have a high chance of resolving the “No Signal” problem and getting your monitor to turn on after building your PC. Remember to double-check each step and be patient while troubleshooting. Best of luck!
Final Tips For Monitor Setup Success
If your monitor is not turning on after building a PC, there are a few possible solutions to consider. First, check if the BIOS is updating on its own. Additionally, ensure all cables are securely connected and try reseating the CPU, RAM, power supply, and graphics card.
If the issue persists, seek further troubleshooting assistance from forums or professionals.
Recap Of Effective Troubleshooting Tips
When your monitor fails to turn on after building your new PC, it can be frustrating. But don’t worry, there are several troubleshooting tips you can try before seeking professional help. Let’s recap some of the most effective troubleshooting methods:
- Check the power connections: Ensure that the power cable is firmly connected to both the monitor and the power outlet. Consider trying a different power cable or outlet to rule out any issues with the power source.
- Verify the cable connections: Inspect the cable connections between your PC and the monitor. Make sure the cables are securely plugged into the correct ports. Consider trying different cables or ports to eliminate any potential cable-related problems.
- Perform a hard reset: Turn off your PC and disconnect the power cable from the wall outlet. Press and hold the power button on your PC for about 10-15 seconds to drain any residual power. Reconnect the power cable and turn on your PC to check if the monitor turns on.
- Update your graphics card drivers: Outdated or incompatible graphics card drivers can sometimes cause display issues. Visit the manufacturer’s website to download and install the latest drivers for your graphics card.
- Reset the BIOS settings: Access the BIOS settings on your PC and check if the display settings are properly configured. Consider resetting the BIOS to its default settings and saving the changes.
- Test the monitor on another device: Connect your monitor to another working device, such as a laptop or another PC, to determine if the issue lies with the monitor or the PC itself. If the monitor works on another device, the problem likely lies with your PC.
Consider Professional Help If Necessary
If you’ve tried all the troubleshooting tips mentioned above and your monitor still refuses to turn on, it may be time to seek professional help. A qualified technician can diagnose and fix any hardware or software-related issues that might be preventing your monitor from functioning correctly.
Remember, building a PC can be a complex process, and sometimes it’s best to rely on the expertise of professionals to ensure everything is set up correctly. They can provide the necessary tools and knowledge to identify the root cause of the problem and offer a suitable solution.
While professional help may come at an additional cost, it can save you time and frustration in the long run.
Don’t let a non-responsive monitor dampen your excitement after building your new PC. Go through the troubleshooting steps mentioned earlier, and if needed, don’t hesitate to reach out to professionals for assistance. With the right approach, you’ll have your monitor up and running in no time!
Frequently Asked Questions On Monitor Not Turning On After Building Pc
Why Wont My Monitor Turn On With My New Pc?
If your monitor won’t turn on with your new PC, it could be due to a few reasons. First, check if the cables connecting the power, PC, and monitor are properly connected. It’s also possible that there might be an issue with the display drivers.
Additionally, ensure that the CPU, motherboard, RAM, power supply, and graphics card are all properly connected. If needed, try reseating them or testing them in another computer.
Why Does My New Pc Turn On But No Display?
When a new PC turns on but there is no display, it could be due to improper connection of components like the CPU, motherboard, RAM, power supply, or graphics card. Try reseating these components and ensure they are properly connected.
You can also check if the components are working by testing them in another computer. Additionally, check for issues with the cable connections and display drivers.
Why Is There No Signal To My Monitor When My Pc Turns On?
There can be several reasons why there is no signal to your monitor when your PC turns on. It could be due to issues with the cable connecting the power, PC, and monitor, or faulty/damaged display drivers. Make sure the connections are secure and try updating or reinstalling the display drivers.
Why Does My Pc Not Turn On After I Build It?
There may be several reasons why your PC does not turn on after you build it. It could be due to issues with the BIOS updating, a faulty power button, or a problem with the display. It’s recommended to check these components and ensure they are properly connected and functioning.
Additionally, try connecting the monitor to another source to rule out any cable or driver issues.
Conclusion
If your monitor is not turning on after building your PC, there can be a few potential reasons. It could be due to the BIOS updating on its own, faulty cable connections, damaged display drivers, or issues with the CPU, motherboard, RAM, power supply, or graphics card.
It is recommended to troubleshoot by checking and reconnecting all the cables, ensuring the components are seated properly, and testing them in another computer if possible. Remember to seek professional help if needed.