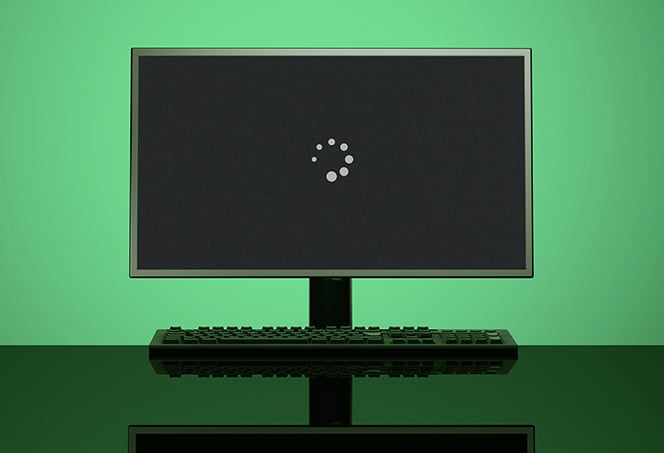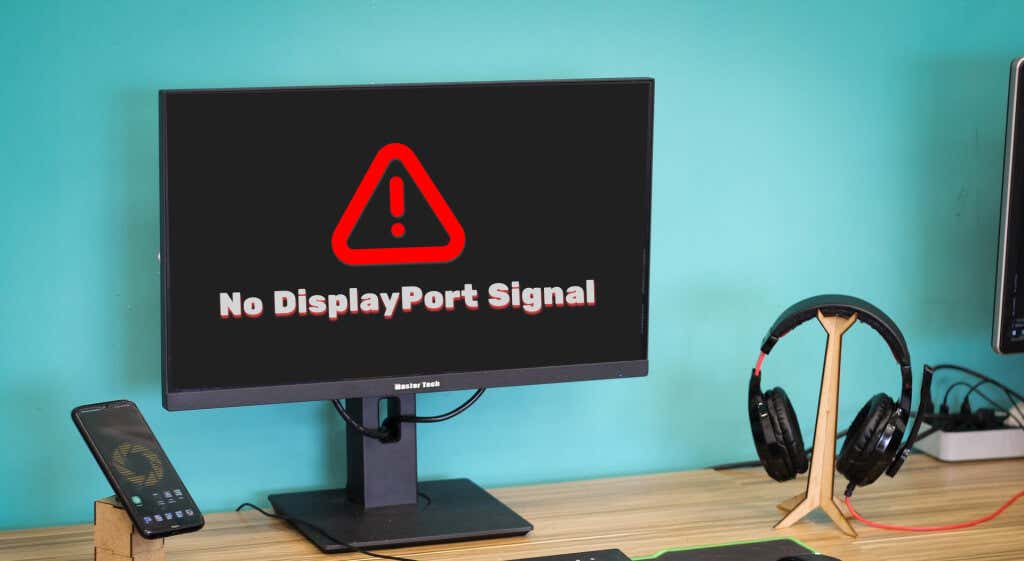
Monitor Not Receiving Signal from CPU: Troubleshooting Guide
When a monitor is not receiving a signal from the CPU, it could be due to a faulty or loose cable connection. Make sure the cable between the monitor and the CPU is securely plugged in.
Additionally, ensure that the cable is correctly connected to the appropriate port on both the monitor and the CPU, such as HDMI or DisplayPort. It is also essential to check if the monitor is set to receive input from the correct source, especially if you have multiple display options.
Troubleshooting these cable and connectivity issues can often resolve the problem of the monitor not receiving a signal from the CPU.
Credit: www.drivereasy.com
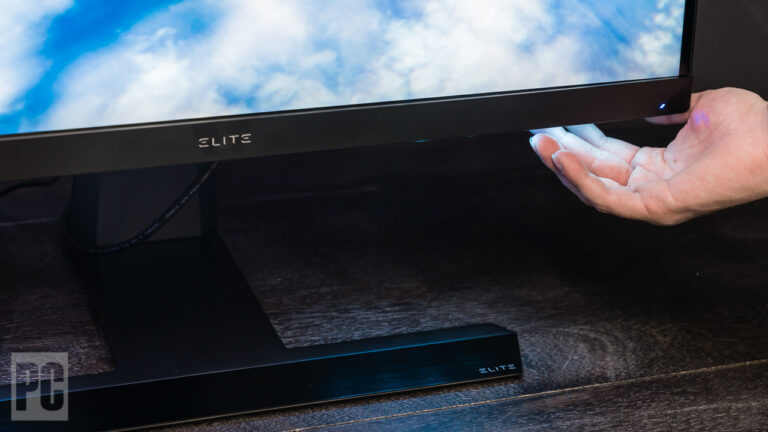
Visual Inspection For Loose Connections
Ensure that your monitor cables are securely attached to both the CPU and the monitor itself. Loose connections can often cause a lack of signal between the two devices.
Check Monitor And Cpu Power Cables
First and foremost, visually inspect the power cables connected to both the monitor and CPU. Ensure that the cables are securely plugged into the respective power outlets. Look for any signs of damage or loose connections.
Inspect Video Cable And Port Integrity
Next, inspect the integrity of the video cable and its connection to the CPU and monitor. If you’re using an HDMI cable, check for any bent or damaged pins. Ensure that the video cable is properly inserted into the corresponding ports on both the CPU and monitor.
Verify Proper Input Source On Monitor Settings
It’s essential to verify that the monitor is set to the correct input source. Use the monitor’s buttons or on-screen display to navigate through the settings. Select the input source that matches the connection type (e.g., HDMI, VGA, DVI) used between the CPU and monitor. This step ensures that the monitor receives the signal from the correct source.
If you’ve followed these visual inspection steps and the monitor still doesn’t receive a signal from the CPU, there may be other underlying issues that require further troubleshooting.
Testing With Alternative Hardware
If your monitor is not receiving a signal from your CPU, it can be frustrating and prevent you from using your computer effectively. However, there are several troubleshooting steps you can take to resolve this issue. Testing with alternative hardware is one of the most effective ways to identify the cause of the problem. By switching monitors, using different cables, and trying another graphics card if available, you can rule out display issues, check for cable defects, and assess the graphics card functionality. Below, we’ll walk you through each step in detail.
Switch Monitors To Rule Out Display Issues
An important first step in troubleshooting a monitor not receiving a signal from the CPU is to switch monitors. This will help determine if the issue lies with the monitor itself or with the CPU. Follow these steps to switch monitors:
- Turn off both the CPU and the current monitor.
- Disconnect the current monitor from the CPU by removing the cable from both ends.
- Connect a different monitor to the CPU using a new cable. Ensure that the cable is securely plugged into both the CPU and the monitor.
- Turn on the CPU and the new monitor.
- Observe if the new monitor receives a signal from the CPU. If it does, it indicates that the previous monitor may be the cause of the issue.
Use Different Cables To Check For Defects
If switching monitors did not resolve the issue, the next step is to check for cable defects. Faulty or loose cables can prevent the signal from reaching the monitor. Follow these steps to use different cables:
- Turn off both the CPU and the monitor.
- Disconnect the current cable from both the CPU and the monitor.
- Replace the cable with a new one, ensuring it is the correct type and compatible with the CPU and monitor.
- Securely plug the new cable into both the CPU and the monitor.
- Turn on the CPU and the monitor and check if the new cable resolves the issue.
Try Another Graphics Card If Available
If the previous steps did not solve the problem, it’s time to assess the graphics card. A faulty graphics card can prevent the monitor from receiving a signal. If you have another graphics card available, follow these steps to try it:
- Turn off the CPU and the monitor.
- Disconnect the current graphics card from the CPU.
- Install the alternative graphics card into the appropriate slot on the CPU.
- Securely connect the monitor to the new graphics card using a compatible cable.
- Turn on the CPU and the monitor to see if the new graphics card resolves the issue.
By following these steps and testing with alternative hardware, you can troubleshoot the issue of a monitor not receiving a signal from the CPU. If the problem persists, it could indicate a more complex hardware or software problem that may require professional assistance.
Updating Or Re-installing Drivers
If your monitor is not receiving a signal from your CPU, one possible solution is to update or re-install your drivers. This can help ensure that your system is communicating properly and resolve any compatibility issues that may be causing the problem.
Navigate To Device Manager For Graphic Drivers
To resolve the issue of your monitor not receiving a signal from the CPU, one of the potential solutions is to update or re-install your graphic drivers. Here’s the process broken down step-by-step:Instructions For Updating Graphic Drivers
1. Start by opening the Device Manager on your computer. To do this, press the Windows key + X on your keyboard and select Device Manager from the menu that appears. 2. In the Device Manager window, locate the “Display Adapters” category and click on the arrow next to it to expand the list. 3. Right-click on your graphics card driver (it might be labeled as NVIDIA, AMD, Intel, or something similar) and select “Update Driver.” 4. Choose the option to search automatically for updated driver software. Windows will then check for the latest driver version and install it if available. 5. If Windows doesn’t find an updated driver, you can visit the manufacturer’s website (NVIDIA, AMD, or Intel) and download the latest driver manually. Make sure to select the correct driver for your graphics card model and operating system. 6. Once the driver download is complete, run the installer and follow the on-screen instructions to update the driver. 7. After the driver installation is finished, restart your computer to apply the changes.Process For Complete Driver Re-installation
If updating the driver doesn’t solve the issue, you may need to perform a complete driver re-installation. Here’s how to do it: 1. Start by uninstalling the current driver. Go back to the Device Manager, right-click on your graphics card driver, and select “Uninstall device.” Tick the box that says “Delete the driver software for this device” if available. 2. Once the driver is uninstalled, restart your computer. 3. After the restart, download the latest driver for your graphics card from the manufacturer’s website. 4. Run the driver installer and follow the on-screen instructions to complete the installation. 5. Once the installation is finished, restart your computer again. This complete driver re-installation should help in resolving the issue of your monitor not receiving a signal from the CPU. Remember to always keep your graphic drivers updated to ensure optimal performance and compatibility with your monitor.Bios And Firmware Considerations
When your monitor is not receiving a signal from the CPU, it can be a frustrating experience. However, before you start troubleshooting hardware components, it’s crucial to consider the BIOS and firmware settings. These settings play a vital role in establishing a stable connection between your CPU and monitor. In this section, we will explore three essential aspects of BIOS and firmware considerations to help you resolve the issue. Let’s dive in!
Ensure Latest Bios Version Is Installed
The BIOS (Basic Input/Output System) is responsible for initializing hardware components during the boot process. It also serves as a bridge between the operating system and your computer’s hardware. Therefore, having an outdated BIOS version can potentially cause compatibility issues, resulting in a monitor not receiving a signal from the CPU.
To ensure that you have the latest BIOS version installed, follow these steps:
- Visit the manufacturer’s website and navigate to the support section.
- Search for your specific motherboard model and locate the BIOS downloads.
- Download the latest BIOS version available.
- Follow the manufacturer’s instructions to update the BIOS.
Updating the BIOS should address any compatibility issues and improve the overall stability of your system.
Checking For Motherboard Firmware Updates
In addition to the BIOS, modern motherboards often have additional firmware components that control various aspects of the hardware. These firmware updates can improve system performance, stability, and address compatibility issues.
To check for motherboard firmware updates, follow these steps:
- Visit the manufacturer’s website and navigate to the support section.
- Find the firmware downloads for your specific motherboard model.
- Download the latest firmware update.
- Follow the manufacturer’s instructions to update the motherboard firmware.
Updating the motherboard firmware can help resolve compatibility issues and ensure optimal performance.
Resetting Bios To Default Settings
If you’ve made changes to your BIOS settings in the past or suspect that incorrect settings may be causing the monitor signal issue, resetting the BIOS to default settings can be a useful troubleshooting step.
To reset the BIOS to default settings, follow these steps:
- Restart your computer and access the BIOS setup.
- Look for the “Load Defaults” or “Reset to Default” option.
- Select the option and confirm your choice.
- Save the changes and exit the BIOS setup.
Resetting the BIOS to default settings will revert any changes you’ve made and restore the original configuration, potentially resolving compatibility issues that may be causing the monitor not receiving a signal.
By considering these BIOS and firmware aspects, you can effectively troubleshoot the issue of a monitor not receiving a signal from the CPU. Updating the BIOS and motherboard firmware, along with resetting the BIOS to default settings, will help establish a stable connection and ensure optimal performance between your CPU and monitor. Now that we have covered the BIOS and firmware considerations, let us move on to the next section to explore other potential solutions to this common issue.
Motherboard And Cpu Diagnostics
If your monitor is not receiving a signal from your CPU, it can be frustrating and prevent you from using your computer effectively. However, by utilizing some motherboard and CPU diagnostic methods, you can troubleshoot and resolve the issue. Here are some steps you can take:
Utilize Motherboard Diagnostic Leds Or Beep Codes
If your motherboard has diagnostic LEDs or beep codes, they can provide valuable information about the hardware issue. These indicators are designed to identify specific problems with the motherboard or CPU, helping you narrow down the cause of the signal loss. Refer to your motherboard’s user manual to decipher the meaning of the LEDs or beep codes. It is important to note that different motherboard manufacturers may have different LED or beep code systems, so make sure to check the manual specific to your motherboard model.
Testing Cpu In Another System Setup
An effective diagnostic method is to test the CPU in another system setup. By removing the CPU from the current setup and installing it in a different working computer, you can determine if the issue lies with the CPU or other components. If the CPU functions properly in the other setup, it indicates that the problem is with the original motherboard or related components. On the other hand, if the CPU fails to work in the different setup, it suggests that the CPU itself may be faulty.
Consultation With A Professional If Necessary
If you have tried the above diagnostic methods and are still unable to identify the cause of the monitor signal loss, it may be time to seek professional assistance. Consulting with a knowledgeable computer technician or contacting the manufacturer’s support team can provide expert guidance in resolving complex hardware issues. They can offer specialized diagnostics tools and advice tailored to your specific setup, helping you get your monitor back up and running smoothly.
Frequently Asked Questions Of Monitor Not Receiving Signal From Cpu
Why Does My Cpu Turn On But No Signal On Monitor?
If your CPU turns on but there is no signal on your monitor, make sure you have properly connected the cables to the correct HDMI or DisplayPort. Double-check if your monitor is plugged into the dedicated graphics card instead of the motherboard.
Check the HDMI cable for loose connections or damaged pins. Ensure your PC is set to output video to the correct HDMI port.
Why Is My Monitor Not Detecting My Pc?
If your monitor is not detecting your PC, check if the cables are properly connected and if you are using the correct ports on your PC. Ensure that the HDMI or DisplayPort cable is securely plugged in and not damaged.
If you have a dedicated graphics card, use its connections. Also, make sure the PC is outputting video to the correct HDMI port.
How Do I Fix My Cpu But No Display?
To fix your CPU but no display issue, follow these steps: 1. Check the monitor cables and ports, ensuring they are securely plugged in. 2. Verify that the monitor is connected to the correct HDMI or DisplayPort on your PC. 3.
Inspect the HDMI cable for any loose connections or damaged pins. 4. Ensure that your PC is set to output video to the correct HDMI port. 5. If using a dedicated graphics card, connect the monitor to the appropriate connections on it.
By following these steps, you can resolve the no display problem on your CPU.
Why Is There No Hdmi Signal From Pc To Monitor?
If you’re experiencing no HDMI signal from your PC to the monitor, it could be due to a faulty or improperly connected HDMI cable. Ensure that the cable is securely attached to both the PC and the monitor, and check for any bent or damaged pins.
Also, make sure that your PC is set to output video to the correct HDMI port.
Conclusion
If your monitor is not receiving a signal from the CPU, there are a few troubleshooting steps you can take. First, check the cables and ports to ensure they are properly connected. If you are using a dedicated graphics card, make sure you are connected to the correct HDMI or DisplayPort.
Additionally, examine the HDMI cable for any loose connections or damaged pins. By carefully checking these factors, you may be able to resolve the issue and restore the signal to your monitor.