Monitor Not Getting Signal from Docking Station: Troubleshooting Guide
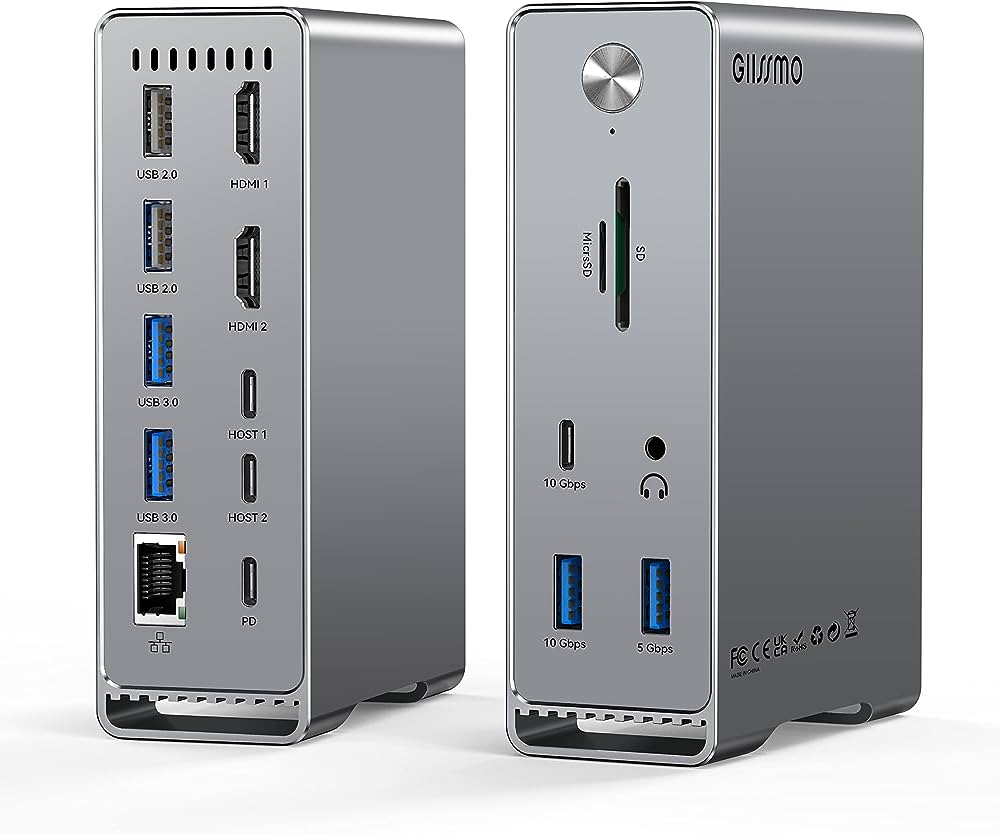
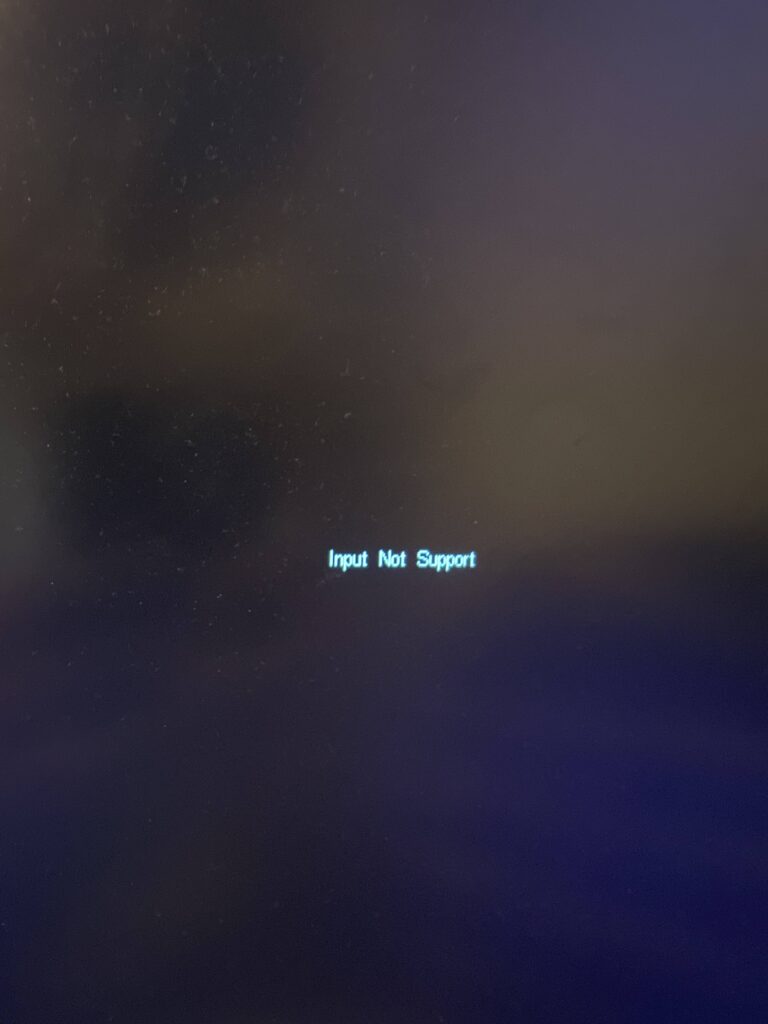
To fix the issue of a monitor not getting a signal from a docking station, try disconnecting and reconnecting the docking station to the laptop. Also, check for any damaged or bent pins on both ends of the video cable and securely reconnect the cable to the monitor and docking station.
Ensure that the video cable (HDMI or DisplayPort) is properly connected to both the monitor and the docking station. In addition, you can try installing the latest driver available for the docking station if it remains unresponsive and unable to detect the monitor.
By following these steps, you should be able to resolve the problem and get your monitor working again.
Checking Cable Connections
When your monitor is not getting a signal from the docking station, one of the first troubleshooting steps you should take is checking the cable connections. Faulty or improperly connected cables can often be the culprit behind this issue. By inspecting the physical condition of the cables and ensuring proper connection types are used, you can identify and resolve any cable-related problems.
Inspect For Physical Damage On Cables
Start by visually examining the cables for any signs of physical damage. Look for any frayed or bent cables, as well as damaged or bent pins at both ends of the video cable. These issues can disrupt the signal transmission and result in your monitor not receiving any signal. If you detect any physical damage, it’s recommended to replace the cable with a new one.
Verify Proper Connection Types Used
Ensure that you have used the correct connection types for your setup. If you’re using an HDMI cable, make sure it is securely connected to both the monitor and the docking station. Likewise, if you’re using a DisplayPort cable, verify that it is properly connected. Incorrect or loose connections can prevent the signal from being transmitted effectively.
In summary, checking the cable connections is an essential step in troubleshooting when your monitor is not getting a signal from the docking station. By inspecting the cables for physical damage and verifying proper connection types, you can identify and resolve any cable-related issues, ensuring a proper and uninterrupted signal transmission.
Power Cycling The Dock
If you’re experiencing the frustrating issue of your monitor not getting a signal from your docking station, one simple troubleshooting step you can try is power cycling the dock. Power cycling is the process of turning off and then turning back on the device to reset it and clear any temporary glitches that might be causing the problem.
Process To Power Cycle The Dock
To power cycle the dock, follow these steps:
- Disconnect the power cord from the dock. This is usually the circular plug with a blue light indicator.
- Wait for about 10 seconds to ensure that the dock is completely powered off.
- Reconnect the power cord to the dock firmly.
- Turn on the dock by pressing the power button, if available.
- Wait for the dock to fully power on and establish a connection with your laptop.
- Check if the monitor now receives a signal from the docking station.
Power cycling the dock can often resolve issues related to the connection between the docking station and the monitor. It resets the dock and allows it to establish a fresh connection, ensuring that any minor glitches causing the lack of signal are cleared.
Importance Of Doing So
Power cycling the dock is an important troubleshooting step because it can help you quickly resolve the problem of your monitor not getting a signal from the docking station. By power cycling, you essentially reset the dock, allowing it to start afresh and establish a stable connection with your monitor.
Many times, temporary glitches or software conflicts can disrupt the communication between the dock and the monitor. Power cycling helps in resolving these issues by clearing any temporary data or conflicts that might be hindering the connection. It is a simple and effective solution that can save you a lot of time and frustration.
Remember, power cycling the dock should be done in addition to other troubleshooting steps, such as checking the video cable for damage, ensuring proper connections, and updating drivers if necessary. However, power cycling is often the first step recommended because of its simplicity and the success rate in resolving the issue.
Configuring Display Settings
When faced with the issue of your monitor not getting a signal from the docking station, one of the troubleshooting steps you can take is to configure the display settings. This will ensure that the correct display output is set, allowing the monitor to receive the signal it needs to function properly. In this section, we will guide you through the process of accessing the display control panel and adjusting the correct display output.
Accessing Display Control Panel
To begin, you need to access the display control panel on your computer. Follow these simple steps:
- Right-click on the desktop and select “Display settings” from the context menu.
- A new window will open, displaying the display settings.
- Scroll down and click on the “Advanced display settings” link.
- Another window will appear, showing the advanced display settings options. This is where you can make changes to the display output.
By accessing the display control panel, you now have the ability to adjust the display settings to resolve any issues with the monitor not receiving a signal from the docking station.
Adjusting The Correct Display Output
Once you have accessed the display control panel, you can proceed to adjust the correct display output. Follow these steps:
- In the advanced display settings window, you will see a list of connected monitors.
- Select the monitor that is connected to the docking station.
- Click on the “Display adapter properties” link.
- A new window will open, displaying the properties of the selected monitor.
In this window, you will be able to make adjustments to the display output, ensuring that it is set correctly for the docking station. Check the following settings:
- Resolution: Ensure that the resolution is set to the recommended value for your monitor.
- Refresh rate: Check that the refresh rate is set to the appropriate value for your monitor.
- Multiple displays: If you are using multiple monitors, make sure that the correct display is set as the primary display.
After making any necessary adjustments, click “Apply” to save the changes. You may need to restart your computer for the changes to take effect.
By configuring the display settings, you are taking important steps towards resolving the issue of your monitor not receiving a signal from the docking station. Make sure to double-check all connections and cables, as well as install any necessary drivers for your docking station. With these troubleshooting measures in place, you should be able to get your monitor working with the docking station once again.

Credit: plugable.com
Updating Dock Firmware
One of the common issues faced by users is when their monitor is not getting a signal from the docking station. This can be frustrating and hinder your productivity. However, one effective solution is to update the docking station firmware. Firmware updates are essential as they fix bugs, improve performance, and enhance compatibility. In this section, we will discuss the importance of firmware updates and the steps to update the docking station firmware.
Importance Of Firmware Updates
Firmware updates play a vital role in ensuring optimal functioning of your docking station. They provide several benefits, such as:
- Bug fixes: Firmware updates address any known bugs or issues in the previous version, minimizing errors and improving overall stability.
- Performance enhancements: By updating the firmware, you can experience improved performance, faster data transfer speeds, and better compatibility with various devices.
- Compatibility: Firmware updates often include updates for compatibility with the latest operating systems, ensuring seamless integration with your laptop and peripherals.
Steps To Update The Docking Station Firmware
Follow these steps to update the firmware of your docking station:
- Step 1: Visit the manufacturer’s website: Go to the official website of your docking station’s manufacturer to find the latest firmware update.
- Step 2: Download the firmware: Look for the download section or support page on the manufacturer’s website. Locate the firmware update file specific to your docking station model and download it to your computer.
- Step 3: Prepare the docking station: Ensure that your docking station is connected to your laptop and powered on. Make sure no devices are connected to the docking station’s USB ports, as the update process may interfere with their functionality.
- Step 4: Run the firmware update: Open the downloaded firmware update file and follow the on-screen instructions to initiate the update process. It is crucial to follow the manufacturer’s instructions carefully to avoid any potential issues.
- Step 5: Wait for the update to complete: During the update process, your docking station may restart or display indicators to show progress. Be patient and wait for the update to finish.
- Step 6: Restart your system: After the firmware update is complete, restart your laptop and reconnect the docking station. This ensures that the updated firmware is fully integrated with your system.
Updating the firmware of your docking station can help resolve issues related to the monitor not receiving a signal. It is an essential step in troubleshooting and improving the performance of your docking station. By following the steps mentioned above and keeping your firmware up to date, you can ensure a smooth and hassle-free experience with your docking station and connected devices.
Testing With Alternative Hardware
To troubleshoot a monitor not receiving a signal from a docking station, try disconnecting and reconnecting the docking station to the laptop. Check both ends of the video cable for any damaged or bent pins, then securely reconnect the cable to both the monitor and docking station.
Additionally, make sure the video cable is properly connected to both the monitor and docking station. Finally, consider installing the latest drivers for the docking station to resolve any unresponsiveness or detection issues.
If your monitor is not getting a signal from the docking station, it could be due to compatibility issues or faulty hardware. To troubleshoot this problem, you can try testing with alternative hardware to identify the root cause. Here are two methods you can use:
Trying Different Monitors Or Docks
If you have access to another monitor or docking station, you can try connecting your laptop to these alternative devices to see if the issue persists. This will help determine if the problem lies with your current monitor or docking station. Follow these steps:
- Disconnect and reconnect the docking station to the laptop.
- Disconnect both ends of the video cable and check for any damaged or bent pins.
- Securely reconnect the cable to both the monitor and the docking station.
- Ensure that the video cable, whether HDMI or DisplayPort, is connected properly to both the monitor and the docking station.
If the alternative monitor or docking station works without any issues, it’s likely that the problem lies with your original hardware. In this case, you may need to replace or repair the malfunctioning device.
Using Different Cables For Testing
An alternative method to test your setup is to use different cables. Sometimes, faulty or damaged cables can prevent the signal from reaching your monitor. Follow these steps to test with different cables:
- Disconnect and reconnect the docking station to your laptop.
- Disconnect both ends of the video cable and inspect them for any visible damage.
- Replace the current video cable with a new one, ensuring it is securely connected to both the monitor and the docking station.
- If possible, try using a different type of video cable (such as HDMI instead of DisplayPort) to see if that resolves the problem.
By testing with alternative hardware and different cables, you can narrow down the cause of the issue and take appropriate action. If the problem persists even after trying these troubleshooting methods, it is recommended to consult a professional technician for further assistance.
Resolving Driver Conflicts
If your monitor is not getting a signal from the docking station, it could be due to driver conflicts. Drivers are software that allow hardware devices, such as your monitor and docking station, to communicate with your computer effectively. When drivers are outdated or incompatible, it can result in various issues, including the lack of signal to your monitor. In this section, we will explore two crucial steps in resolving driver conflicts:
Identifying And Updating Drivers
The first step in resolving driver conflicts is to identify and update the drivers for your docking station and monitor. Outdated or incompatible drivers can prevent proper communication between these devices, resulting in a lack of signal. Here’s how you can update your drivers:
- Visit the manufacturer’s website for your docking station and monitor.
- Search for the support or downloads section on the website.
- Look for the latest driver versions available for your specific model.
- Download and install the updated drivers following the instructions provided by the manufacturer.
Updating your drivers ensures that you have the latest software necessary for your devices to function correctly. This step can often resolve driver conflicts and restore the signal to your monitor.
Instructions On Reinstalling Drivers
If updating the drivers did not resolve the issue, you may need to reinstall the drivers for your docking station and monitor. Reinstalling drivers can help fix any corrupt or missing files that could be causing the signal problem. Follow these steps to reinstall your drivers:
- Open the Device Manager on your computer.
- Expand the “Display adapters” or “Monitors” section.
- Right-click on the docking station and monitor drivers and select “Uninstall.”
- Confirm the uninstallation and restart your computer.
- After the restart, your computer should automatically reinstall the drivers.
Reinstalling the drivers allows your computer to refresh the software and fix any issues that may have been causing the signal problem. Once the drivers are reinstalled, check if the monitor is receiving the signal from the docking station.
By identifying and updating drivers as well as reinstalling them if necessary, you can effectively resolve driver conflicts and restore the signal from your docking station to your monitor.
Monitor Signal Troubleshooting Guide
Having trouble with your monitor not getting a signal from your docking station? This can be a frustrating issue to deal with, but don’t worry – we’ve got you covered. In this step-by-step guide, we will walk you through the troubleshooting process to help you get your monitor up and running again.
Step-by-step Guide To Address The Issues
- Start by disconnecting and reconnecting the docking station to your laptop. This simple step can often resolve connectivity issues.
- Disconnect both ends of the video cable and check for any signs of damage or bent pins. These can cause interruptions in the signal transmission.
- Securely reconnect the video cable to both the monitor and the docking station, ensuring a snug fit.
- Verify that the video cable, whether HDMI or DisplayPort, is connected properly to both the monitor and the docking station.
- If the issues persist, try unplugging the power cord from the dock and plugging it back in. Sometimes a power cycle can help reset the connection.
- Ensure that you have installed the latest driver for your docking station. Check the manufacturer’s website for any available updates and install them if needed.
Following these steps should help you address most common issues with your monitor not getting a signal from your docking station. However, to avoid future signal problems, it’s important to take some preventive measures.
Tips On Avoiding Future Signal Problems
- Regularly check the video cable for any signs of wear or damage, and replace it if necessary.
- Make sure all cables between the docking station, monitor, and computer are securely connected.
- Restart your computer periodically to resolve any temporary issues that might affect the signal transmission.
- If possible, avoid moving the docking station and monitor frequently as this can cause loose connections.
- Keep your docking station driver up to date by regularly checking for updates on the manufacturer’s website.
By following these tips, you can ensure a stable and consistent signal connection between your monitor and docking station, minimizing the chances of encountering any future signal problems.
When To Contact Support
If your monitor is not getting a signal from the docking station, try disconnecting and reconnecting the docking station and video cable. Check for any damaged or bent pins on the video cable and ensure that it is securely connected to both the monitor and docking station.
If the issue persists, consider updating the driver for your docking station.
If you’ve followed the troubleshooting steps for your monitor not getting a signal from the docking station and you’re still facing issues, it may be time to reach out to support for further assistance. Here are a few situations where contacting support is necessary:Identifying When Self-troubleshooting Isn’t Enough
Sometimes, despite your best efforts, self-troubleshooting may not be enough to resolve the issue. If you’ve tried disconnecting and reconnecting the docking station to the laptop, checking for damaged or bent pins on the video cable, and ensuring the cable is securely connected to both the monitor and the docking station, but the problem persists, it’s time to seek help. Support can provide in-depth analysis and guide you through advanced troubleshooting steps to identify and resolve the underlying cause of the problem.What Information To Prepare When Contacting Support
Before contacting support, there are a few key pieces of information you should gather to streamline the troubleshooting process. This information will allow support to understand your setup better and provide targeted solutions. Here’s what you should prepare: 1. Make and model of your docking station: Provide the specific details of your docking station, including the make and model. This information will help support identify any known issues or compatibility concerns. 2. Laptop details: Share the make and model of your laptop with support. Different laptops have different hardware configurations and compatibility requirements, so this information is crucial for troubleshooting. 3. Video cable type: Specify the type of video cable you’re using, such as HDMI or DisplayPort. Additionally, mention if you have tried using a different cable to rule out any cable-related issues. 4. Operating system and driver versions: Provide details of your operating system (e.g., Windows, macOS) and the driver versions installed on your laptop. This will help support determine if any updates or driver revisions are necessary. 5. Description of the issue: Explain the problem you’re experiencing in detail. Be sure to mention any error messages or specific behaviors observed. Providing a clear and concise description will help support quickly identify potential causes and solutions. By gathering this information before contacting support, you’ll be well-prepared to provide all the necessary details for an efficient troubleshooting process. Remember, support is there to assist you, so don’t hesitate to reach out when self-troubleshooting isn’t yielding the desired results.Frequently Asked Questions For Monitor Not Getting Signal From Docking Station
Why Won’t My Docking Station Detect My Monitor?
If your docking station is not detecting your monitor, try the following steps: 1. Disconnect and reconnect the docking station to your laptop. 2. Check for any damaged or bent pins on both ends of the video cable. 3. Ensure that the video cable (HDMI or DisplayPort) is securely connected to both the monitor and the docking station.
4. Unplug the power cord from the docking station and plug it back in. 5. Install the latest driver for your docking station. If the issue still persists, you may need to consult the manufacturer’s support or contact a professional for further assistance.
How Do I Get My Monitor To Work With My Docking Station?
To get your monitor to work with your docking station, follow these steps: 1. Disconnect and reconnect the docking station to your laptop. 2. Check for damaged or bent pins on both ends of the video cable and reconnect it securely to the monitor and docking station.
3. Make sure the video cable (HDMI or DisplayPort) is properly connected to the monitor and docking station. 4. Install the latest driver available for your docking station. 5. Restart your computer to resolve any temporary issues. (Source: UConn Knowledge Base, Microsoft Community, TechNewsToday)
Why Is My Usb-c Docking Station Not Getting Hdmi Signal?
To fix the issue of your USB-C docking station not getting an HDMI signal, disconnect and reconnect the docking station and the video cable. Check for any damaged or bent pins and ensure the cable is securely connected to the monitor and the docking station.
Also, make sure the latest driver is installed.
How Do I Get My Computer To Recognize My Docking Station?
To get your computer to recognize your docking station, follow these steps: 1. Disconnect and reconnect the docking station to your laptop. 2. Check for any damaged or bent pins on both ends of the video cable and securely reconnect it to the monitor and docking station.
3. Ensure that the video cable (HDMI, DisplayPort) is properly connected to both the monitor and docking station. 4. Install the latest driver available for your docking station. 5. Restart your computer to resolve any temporary issues. By following these steps, you should be able to get your computer to recognize your docking station successfully.
Conclusion
If your monitor is not getting a signal from the docking station, there are a few troubleshooting steps you can take to resolve the issue. First, try disconnecting and reconnecting the docking station to the laptop. Check both ends of the video cable for any damaged or bent pins and securely reconnect the cable to the monitor and docking station.
Make sure the video cable (HDMI or DisplayPort) is correctly connected to both the monitor and the docking station. If the problem persists, it may be necessary to install the latest driver for your docking station. By following these steps, you should be able to get your monitor working properly with the docking station.


