Troubleshooting Guide: Monitor Not Recognized by Docking Station
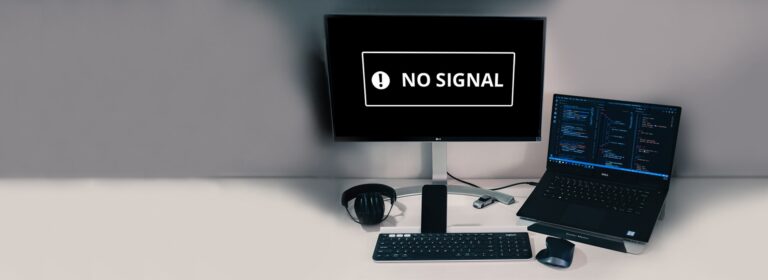
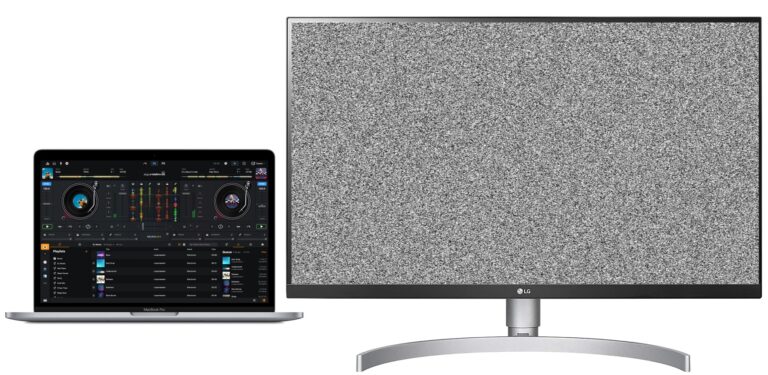
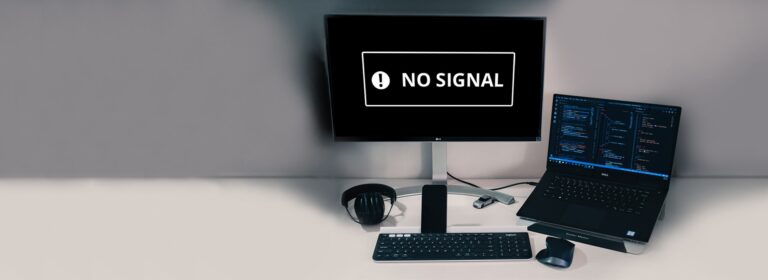
To fix the issue of a monitor not being recognized by a docking station, try disconnecting and reconnecting the docking station to the laptop. Also, check for any damaged or bent pins on both ends of the video cable and securely reconnect the cable to the monitor and docking station.
Make sure that the video cable (HDMI or DisplayPort) is properly connected to both the monitor and the docking station. Restarting the computer and updating or reinstalling the graphics driver can also help resolve the problem. Ensuring that all the cables between the docking station, monitor, and computer are securely connected is important as well.
Additionally, check if the docking station and monitor meet the system requirements and try restarting both the docking station and the PC.

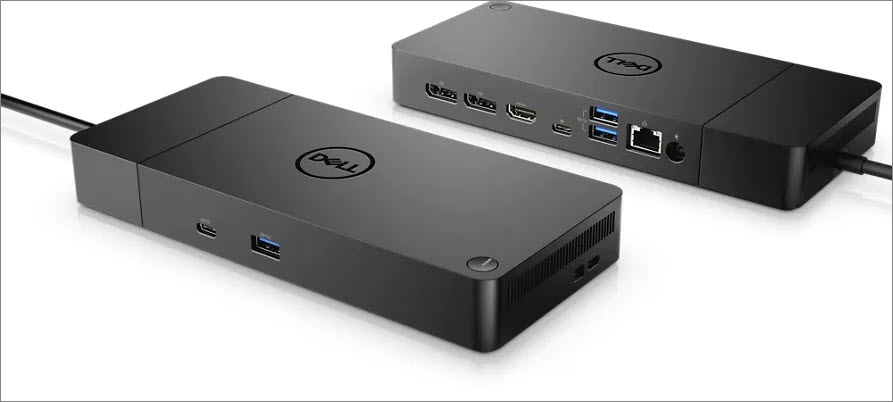
Credit: www.amazon.com
Identifying Connective Issues
If your monitor is not being recognized by the docking station, try disconnecting and reconnecting both ends of the video cable to check for any damage. Make sure the cable is securely connected to both the monitor and docking station.
Additionally, ensure that the video cable is properly connected and try restarting both the docking station and your computer to resolve any temporary issues.
When your monitor is not being recognized by the docking station, it can be frustrating and hinder your productivity. But don’t worry, there are a few steps you can take to identify and resolve connective issues. By checking physical connections between the monitor and docking station, inspecting for damaged cables or ports, and verifying the monitor power status and input settings, you can troubleshoot and potentially resolve the problem.
Check Physical Connections Between Monitor And Docking Station
One of the first steps to take when your monitor is not being recognized by the docking station is to check the physical connections. Make sure both ends of the video cable are securely connected to the monitor and the docking station. Look for any damaged or bent pins on the cable and ensure they are free from defects. By ensuring a proper physical connection, you can eliminate any potential connectivity issues that may be causing the problem.
Inspect For Damaged Cables Or Ports
In addition to checking the physical connections, it’s important to inspect the cables and ports for any damages. Look for any visible signs of wear or damage on the video cable and make sure it is in good condition. Likewise, inspect the ports on both the monitor and the docking station for any debris or obstructions that may prevent a secure connection. By identifying and resolving any damaged cables or ports, you can improve the chances of your monitor being recognized by the docking station.
Verify Monitor Power Status And Input Settings
Another factor that can contribute to the issue of the monitor not being recognized by the docking station is the power status and input settings. Ensure that the monitor is powered on and receiving power from the appropriate source. Additionally, check the input settings on the monitor to make sure it is set to the correct input source, such as HDMI or DisplayPort, that corresponds with the cable connected to the docking station. By verifying the power status and input settings, you can ensure that the monitor is ready to be recognized by the docking station.
Software And Drivers Review
Having trouble with your monitor not being recognized by the docking station? Try disconnecting and reconnecting the docking station to your laptop, checking for any damaged or bent pins on the video cable, and ensuring that the video cable is properly connected to both the monitor and the docking station.
Additionally, you can update, reinstall, or downgrade the driver to resolve the issue.
Confirm Compatibility Of Docking Station With Operating System
Before troubleshooting any issues with the docking station not recognizing the monitor, it is essential to confirm that the docking station is compatible with your operating system. Incompatible software or drivers can often lead to compatibility issues and hinder the proper functioning of the docking station.
Update Docking Station Drivers
To ensure that the docking station recognizes the monitor correctly, it is crucial to update the drivers for the docking station. Outdated or incompatible drivers can prevent proper communication between the docking station and the computer, leading to unrecognized monitors.
Here are the steps to update docking station drivers:
- Disconnect the dock from the computer and power off the dock.
- Go to the manufacturer’s website and navigate to the support or drivers section.
- Search for the specific model of the docking station.
- Download the latest drivers available for your operating system.
- Once the drivers are downloaded, double-click on the installation file and follow the on-screen instructions to update the drivers.
- After the installation is complete, reboot your computer and reconnect the docking station.
Check For Graphic Driver Updates Or Reinstallation Needs
In addition to updating the docking station drivers, it is also crucial to check if there are any updates available for your graphic drivers. Outdated or incompatible graphic drivers can cause issues with the detection of the monitor by the docking station. Additionally, driver corruption can also lead to recognition problems.
To check for graphic driver updates or reinstallation needs:
- Open the Device Manager on your computer by right-clicking on the Start menu and selecting “Device Manager” from the list.
- Locate the “Display Adapters” category and expand it.
- Right-click on your graphics card driver and select either “Update Driver” or “Uninstall Device”.
- If you choose to update the driver, follow the on-screen instructions to download and install the latest driver version.
- If you choose to uninstall the device, reboot your computer after the uninstallation is complete, and the driver will be automatically reinstalled upon restart.
By confirming compatibility, updating docking station drivers, and checking for graphic driver updates or reinstallation needs, you can troubleshoot the issue of the monitor not being recognized by the docking station effectively. These steps ensure that both hardware and software components are in sync, allowing for seamless connectivity and optimal performance.
Adjusting Display Settings
If your monitor is not being recognized by the docking station, try disconnecting and reconnecting the docking station to your laptop. Additionally, check for any damaged or bent pins on the video cable and ensure it is properly connected to both the monitor and the docking station.
Adjusting Display Settings Navigate through control panel for display configuration To troubleshoot the issue of the monitor not being recognized by the docking station, adjusting display settings can often help. The first step is to navigate through the control panel for display configuration. 1. Open the Control Panel by clicking on the Windows Start button and typing “Control Panel” in the search bar. Select the Control Panel app from the search results. 2. In the Control Panel window, click on the “Appearance and Personalization” category, and then select “Display”. 3. In the Display settings window, you will see options to adjust the resolution, orientation, and multiple display settings. Utilize manufacturer utilities for monitor recognition If adjusting display settings through the control panel does not solve the issue, another option is to utilize manufacturer utilities specifically designed for monitor recognition. 1. Visit the manufacturer’s website of your monitor and search for the utilities or drivers section. 2. Locate the appropriate utility or driver for your specific monitor model and download it. 3. Install the utility or driver on your computer following the manufacturer’s instructions. 4. Once installed, launch the utility and look for any options related to monitor recognition or display troubleshooting. Adjust settings for multiple displays, if applicable If you are using multiple displays with your docking station, it is important to adjust the settings for each display. 1. Open the control panel and navigate to the display settings as mentioned earlier. 2. Under the “Multiple Displays” section, you will see options such as “Extend these displays”, “Duplicate these displays”, or “Show only on X”. 3. Select the desired option based on your preference and the configuration of your multiple displays. 4. Make sure to click on the “Apply” button to save the changes. Remember to disconnect and reconnect the docking station and check for any damaged or bent pins on the video cable. Additionally, ensure that the video cable is securely connected to both the monitor and the docking station. By following these steps and adjusting the display settings, you should be able to resolve the issue of the monitor not being recognized by the docking station. If the problem persists, it is recommended to check the manufacturer’s support website or contact their customer support for further assistance. No fluff here – just straightforward steps to help you get your monitor recognized by your docking station. By adjusting the display settings through the control panel or utilizing manufacturer utilities, and making any necessary adjustments for multiple displays, you’ll be on your way to a fully functional setup. Remember to properly connect the video cable and check for any damage to ensure a smooth connection experience.Power Management And Devices Reset
If your monitor is not being recognized by the docking station, try disconnecting and reconnecting both ends of the video cable, checking for any damaged or bent pins. Make sure the video cable is securely connected to both the monitor and the docking station.
Additionally, you can try disconnecting and reconnecting the docking station to the laptop.
# Power Management and Devices Reset ## Review power saving settings impacting docking station If your monitor is not being recognized by your docking station, one possible cause could be power management settings that are impacting the connection. Power-saving settings can sometimes interfere with the proper functioning of the docking station and result in the monitor not being detected. To troubleshoot this issue, it is essential to review and adjust the power-saving settings. Here’s how you can do it: 1. Step 1: Open the control panel on your computer. 2. Step 2: Locate and select the “Power Options” setting. 3. Step 3: Within the power options, choose the power plan you are currently using. 4. Step 4: Click on “Change plan settings” for the selected power plan. 5. Step 5: Look for an option related to “USB selective suspend setting” or “USB power saving mode” and disable it. 6. Step 6: Save the changes and close the control panel. By disabling the USB selective suspend or USB power saving mode, you are ensuring that the power management settings do not interfere with the connection between the docking station and your monitor. This is a common solution that has been found to resolve the issue of a monitor not being recognized by a docking station. ## Perform power cycle on docking system and monitor Another troubleshooting step you can take to resolve the issue of a monitor not being recognized by a docking station is performing a power cycle on both the docking system and the monitor. Power cycling involves completely turning off the devices and then turning them back on to clear any temporary issues or conflicts. Here’s how you can perform a power cycle on your docking system and monitor: 1. Step 1: Disconnect the docking station’s power cord from the electrical outlet. 2. Step 2: Disconnect the docking station from your laptop or computer. 3. Step 3: Turn off your monitor using the power button. 4. Step 4: Wait for about 30 seconds to allow any residual power to drain from the devices. 5. Step 5: Reconnect the docking station to your laptop or computer. 6. Step 6: Plug the docking station’s power cord back into the electrical outlet. 7. Step 7: Turn on your monitor using the power button. 8. Step 8: Wait for your computer and monitor to fully boot up before checking if the monitor is now recognized by the docking station. Performing a power cycle can help reset the devices and establish a fresh connection between the docking station and the monitor. This simple step has proven to be effective in resolving the issue of a monitor not being detected by a docking station. ## Reset and reconnect hardware devices If your monitor is still not being recognized by the docking station after reviewing power-saving settings and performing a power cycle, it may be necessary to reset and reconnect the hardware devices involved. Sometimes, loose connections or faulty cables can prevent proper communication between the monitor, docking station, and the computer. To ensure all hardware devices are properly connected and eliminate any potential issues, follow these steps: 1. Step 1: Turn off your computer and unplug the docking station’s power cord from the electrical outlet. 2. Step 2: Disconnect all cables connecting the docking station, monitor, and computer. 3. Step 3: Inspect each cable for any signs of damage, such as bent pins or frayed wires. Replace any damaged cables with new ones. 4. Step 4: Reconnect the cables, ensuring they are securely plugged in on both ends. 5. Step 5: Plug the docking station’s power cord back into the electrical outlet. 6. Step 6: Turn on your computer and wait for it to fully boot up. 7. Step 7: Turn on your monitor and give it a few moments to establish a connection with the docking station. By resetting and reconnecting all hardware devices, you are ensuring a clean and secure connection between the monitor, docking station, and the computer. This step can often resolve any issues related to a monitor not being recognized by a docking station. In conclusion, if you are facing the problem of your monitor not being recognized by your docking station, it is essential to review power management settings that may impact the connection. Additionally, performing a power cycle on the docking system and monitor, as well as resetting and reconnecting hardware devices, can help resolve this issue. By following these steps and ensuring proper connections, you should be able to establish a successful connection between your monitor and docking station.Troubleshooting With Advanced Techniques
Troubleshooting a monitor not being recognized by a docking station requires checking for damaged video cable pins, reconnecting the cable securely, and ensuring proper connection between the monitor and docking station. Updating, reinstalling, or downgrading the graphics driver and restarting the computer may also resolve the issue.
Explore Firmware Updates For The Docking Station
Firmware updates can often resolve compatibility issues between the docking station and the monitor. By updating the firmware, you ensure that your docking station is equipped with the latest software enhancements and bug fixes. Here’s how you can go about it:- Visit the official website of the docking station manufacturer.
- Look for the support or downloads section on their website.
- Find the firmware update specifically designed for your docking station model.
- Download the firmware update file to your computer.
- Connect your docking station to your computer using a USB cable.
- Locate the firmware update tool provided by the manufacturer.
- Launch the firmware update tool and follow the on-screen instructions to complete the update process.
- Once the firmware update is successful, restart your computer and check if the monitor is recognized by the docking station.
Check System Bios Options Relating To Docking Station
Sometimes, the docking station recognition issue can be resolved by making certain adjustments in the system BIOS. Follow these steps to check the BIOS options related to the docking station:- Restart your computer and access the BIOS menu by pressing the designated key (usually Del, F2, or F10) during the startup process.
- Navigate to the “Advanced” or “Peripherals” section in the BIOS menu.
- Look for options related to the docking station or video output.
- Ensure that the options are enabled or set to the correct settings.
- If you’re unsure about the specific BIOS options, refer to the motherboard or computer manufacturer’s documentation for guidance.
- Save the changes you made in the BIOS and exit the menu.
- Restart your computer and check if the monitor is now recognized by the docking station.
Use Alternative Connection Methods Or Adapters
Sometimes, using alternative connection methods or adapters can help in resolving the issue of the monitor not being recognized by the docking station. Here are some steps to try:- Check the ports available on your docking station and monitor.
- If possible, try using a different video cable (HDMI, DisplayPort, etc.) to connect the monitor to the docking station.
- If the docking station and monitor have different ports, check if you have the necessary adapters to make the connection.
- Ensure that all connections are secure and properly plugged in.
- Restart your computer and check if the monitor is now recognized by the docking station.
Frequently Asked Questions On Monitor Not Being Recognized By Docking Station
Why Won’t My Docking Station Detect My Monitor?
If your docking station isn’t detecting your monitor, try these steps: 1. Disconnect and reconnect the docking station to your laptop. 2. Check for damaged or bent pins on both ends of the video cable. 3. Securely reconnect the cable to the monitor and docking station.
4. Ensure the video cable (HDMI or DisplayPort) is connected properly. 5. Restart your computer and docking station. If the issue persists, update, reinstall, or downgrade the graphics driver on your computer. Also, make sure all cables are securely connected.
How Do I Get My Monitor To Work With My Docking Station?
To get your monitor to work with your docking station, follow these steps: 1. Disconnect and reconnect the docking station to the laptop. 2. Check for damaged or bent pins on both ends of the video cable. 3. Securely reconnect the cable to the monitor and docking station.
4. Ensure the video cable (HDMI or DisplayPort) is properly connected to both the monitor and docking station. 5. Restart your computer and try again. You can also search online for specific troubleshooting steps based on your docking station model and monitor.
Why Aren’t My Monitors Being Detected?
To troubleshoot monitors not being detected, try these steps: 1. Disconnect and reconnect the docking station to the laptop. 2. Check for damaged or bent pins on both ends of the video cable. 3. Reconnect the cable securely to the monitor and docking station.
4. Ensure the video cable is properly connected to both the monitor and docking station. 5. Restart the computer and docking station. Updating, reinstalling, or downgrading the graphics driver may also resolve the issue.
How Do I Fix My Hp Docking Station Not Detecting My Monitor?
To fix your HP docking station not detecting your monitor, follow these steps: 1. Disconnect and reconnect the docking station to your laptop. 2. Check the video cable for any damage or bent pins and reconnect it securely to the monitor and docking station.
3. Make sure the video cable (HDMI or DisplayPort) is properly connected to both the monitor and the docking station. 4. Restart both the docking station and your computer. 5. Update, reinstall, or downgrade the graphics driver. You can also search on Google for more specific solutions or visit relevant forums for further assistance.
Conclusion
In order to resolve the issue of your monitor not being recognized by the docking station, there are a few steps you can take. Firstly, try disconnecting and reconnecting the docking station to the laptop. Ensure that the video cable is securely connected to both the monitor and the docking station, checking for any damaged or bent pins.
Additionally, you can try updating, reinstalling, or downgrading the graphics driver to fix the problem. Restarting both the docking station and the PC may also help resolve temporary issues. By following these steps, you can address the issue and get your monitor working with the docking station again.
