Lenovo Docking Station Not Detecting Monitor After Update: Troubleshooting Guide
If your Lenovo docking station is not detecting your monitor after an update, try disconnecting the dock and the external monitors, then reload the laptop’s default BIOS settings and update the BIOS and drivers. It’s also recommended to check the cables and power connections, try different monitors or cables if available, and ensure the correct video source and resolution settings are selected.
Power-cycling the docking station may also help. If the issue persists, it may be necessary to contact Lenovo support for further assistance.
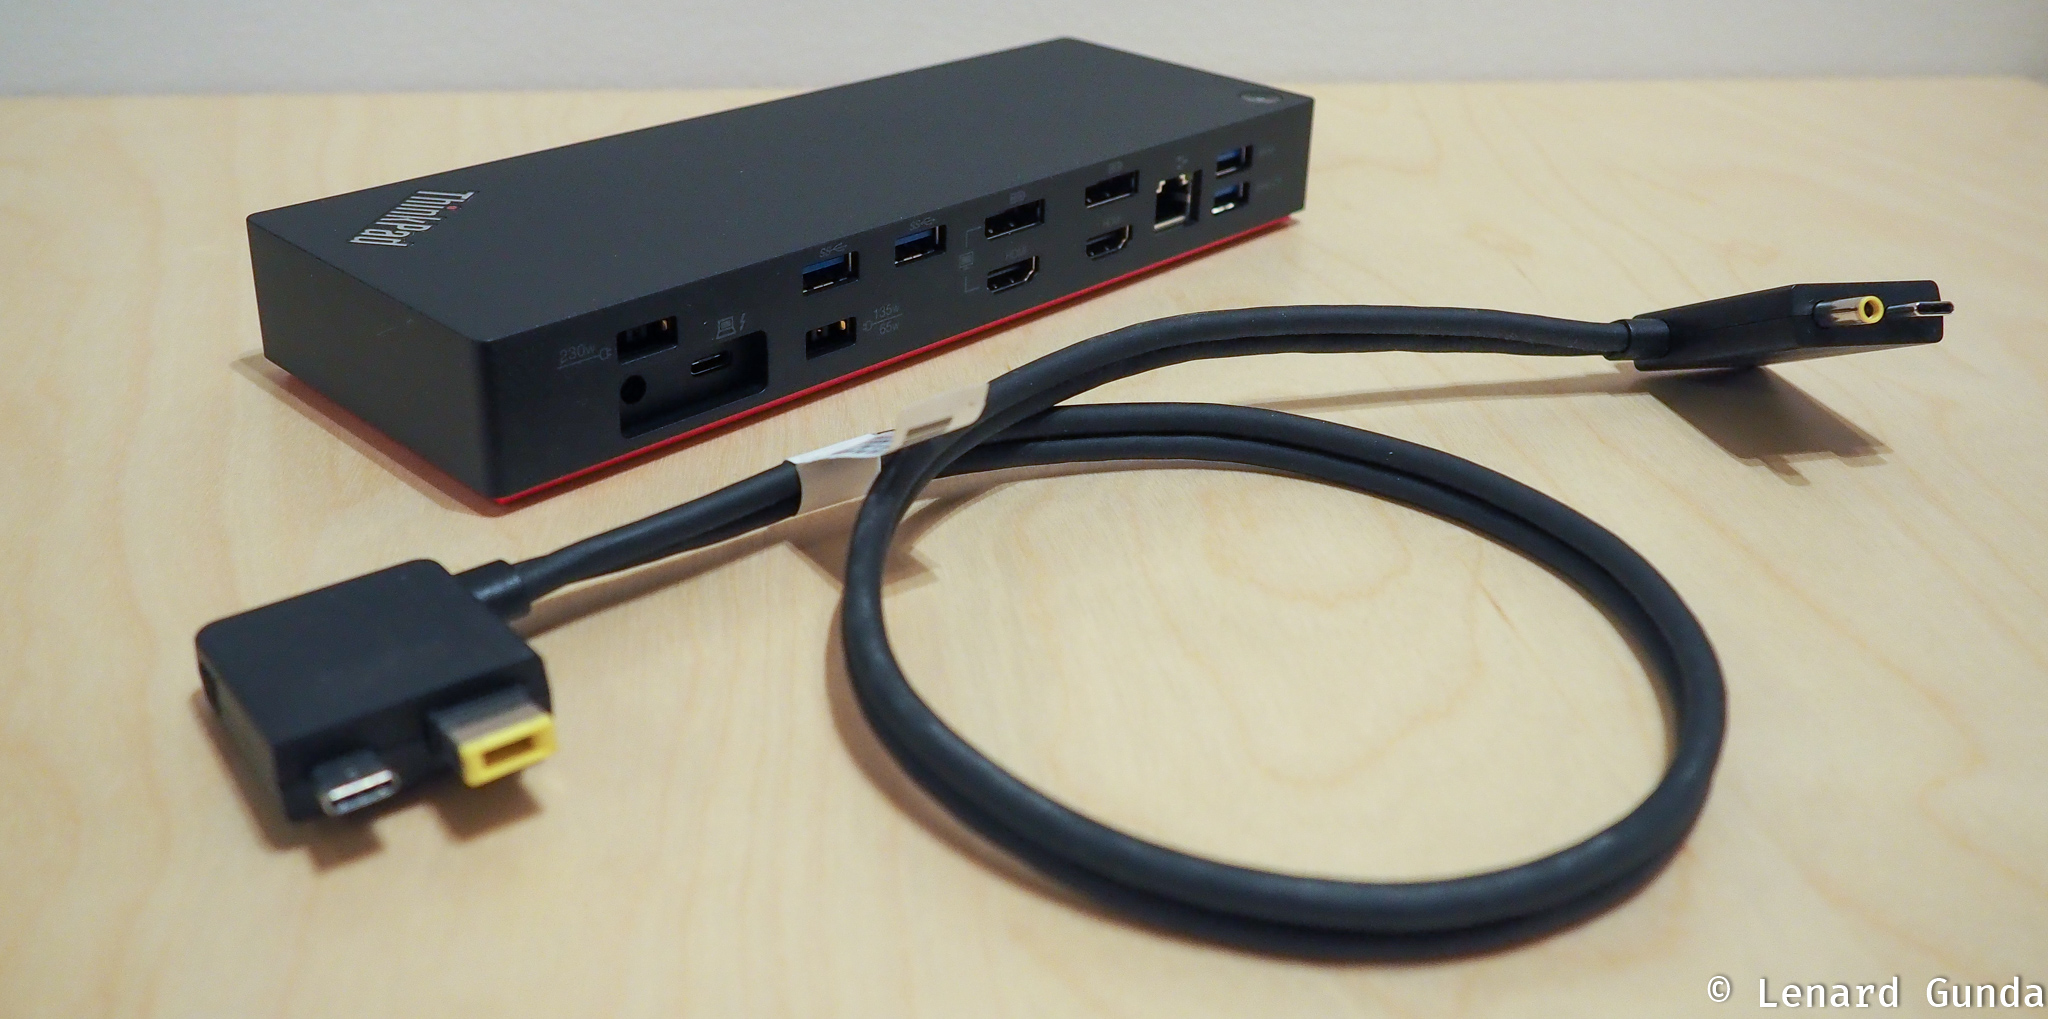
Credit: www.lenardgunda.com
Confirming Cable And Power Issues
One common issue faced by Lenovo users after a system update is the docking station’s failure to detect the monitor. This can be frustrating, but before jumping to conclusions or getting overwhelmed, it’s important to start troubleshooting step by step. In this section, we will focus on confirming cable and power issues as potential causes for the problem.
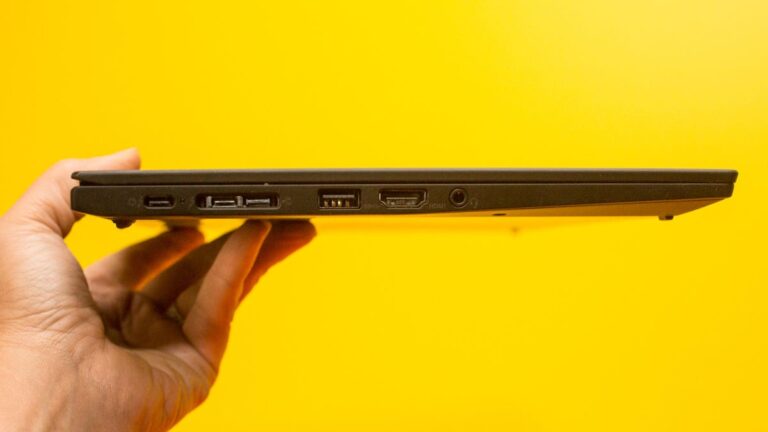
Check Cable Connections Between Monitor And Lenovo Docking Station
Loose or faulty cables often lead to connection issues, preventing the docking station from properly detecting the monitor. To ensure the cable connections are secure:
- 1. Inspect the video cable (HDMI, or DisplayPort) that connects the monitor and the docking station, ensuring it is properly plugged in at both ends.
- 2. If possible, try using a different cable to eliminate the possibility of a faulty cable.
Ensure The Power Cable Is Securely Attached To The Monitor
A loose power cable connection can also result in the monitor not being detected by the docking station. To address this issue:
- 1. Check the power cable connection at both ends, ensuring it is tightly plugged in.
- 2. Consider trying a different power cable or connecting the monitor to a different power source, if available.
Verify Monitor Power And Selected Correct Video Source
Incorrect video source selection or power issues with the monitor can play a role in the docking station’s inability to detect the monitor. Follow these steps:
- 1. Ensure the monitor is powered on and receiving power.
- 2. Consult the monitor’s documentation to identify the correct method for changing the video source, and verify that it is set correctly.
- 3. Check the resolution settings on your laptop to ensure they are compatible with the monitor.
Update Repercussions On Connectivity
When it comes to updating your Lenovo docking station, it’s important to be aware of how these updates might affect the connection with your monitor. Even the smallest update can sometimes disrupt the smooth functioning of your docking station, leading to a frustrating experience where your monitor is not detected. In this article, we will assess how updates can impact the dock-monitor connection and examine common post-update issues that arise with docking station detection.
Assess How Updates Might Affect Dock-monitor Connection
Updating your Lenovo docking station can bring various consequences, including potential issues related to the connection between the dock and your monitor. Some post-update scenarios can lead to your monitor not being recognized by the docking station, causing a temporary loss of productivity and a need for troubleshooting. Understanding how updates can impact the dock-monitor connection is essential in finding the right solution.
Examine Common Post-update Issues With Docking Station Detection
After updating your Lenovo docking station, it’s crucial to be prepared for possible issues that may arise. Some common post-update problems include connection issues due to loose or faulty cables, adapters, or connectors. These issues can hinder the docking station from properly detecting the connected monitor, resulting in a frustrating experience. It’s important to carefully check the cables, adapters, and connectors to ensure a secure and reliable connection.
Another potential issue lies in the resolution settings on your laptop. Updating the docking station’s firmware and drivers can sometimes lead to changes in resolution settings, causing the monitor not to display properly. Checking and adjusting the resolution settings on your laptop can help resolve this issue and restore the connection between the docking station and your monitor.
Overall, being aware of the possible repercussions of updates on connectivity is crucial to avoid frustrating experiences with your Lenovo docking station and monitor. By regularly checking and updating firmware, drivers, and resolution settings, you can ensure a smooth and uninterrupted dock-monitor connection.
Reviewing Driver And Firmware Status
If your Lenovo docking station is not detecting your monitor after an update, there are a few troubleshooting steps you can try. First, disconnect the dock and the external monitors and reload the laptop’s default BIOS settings. Then, update the BIOS, drivers, and firmware.
You can also try running dock firmware or using Lenovo Vantage or System Update for drivers and Windows updates. Make sure to test after each option to see if the issue is resolved.
Instructions On Updating Lenovo Drivers And Firmware
To resolve the issue of your Lenovo docking station not detecting your monitor after an update, it is crucial to review and update your drivers and firmware. Outdated or incompatible drivers and firmware can often cause conflicts and prevent proper communication between your docking station and monitor. Here are the steps to update your Lenovo drivers and firmware:- Start by visiting the Lenovo Support website (https://support.lenovo.com) and navigate to the “Drivers & Software” section.
- Enter your Lenovo product’s serial number or select the appropriate product category, model, and operating system.
- Once you have identified your product, locate the drivers and firmware sections and click on them to expand the options.
- Download the latest driver and firmware updates for your specific docking station model.
- After the download is complete, open the downloaded files and run the installation wizard.
- Follow the on-screen instructions to install the updated drivers and firmware. Ensure that you carefully read and accept any prompts or agreements.
- Once the installation is complete, restart your laptop to apply the changes.
Potential Conflicts With Outdated Docking Station Firmware
It is important to note that outdated docking station firmware can often lead to conflicts and prevent proper communication between your docking station and monitor. If you have recently updated your laptop or made changes to your monitor setup, it is crucial to check for any available firmware updates for your Lenovo docking station. Follow these steps to ensure your docking station firmware is up to date:- Visit the Lenovo Support website (https://support.lenovo.com) and navigate to the “Drivers & Software” section.
- Enter your Lenovo docking station’s model number or select the appropriate product category, model, and operating system.
- Locate the firmware section and click on it to expand the options.
- Download the latest firmware update for your specific docking station model.
- Open the downloaded firmware file and run the installation wizard.
- Follow the on-screen instructions to install the firmware update. Ensure that you carefully read and accept any prompts or agreements.
- Once the installation is complete, restart your laptop to apply the firmware update.
Bios And System Configuration Checks
If you’re experiencing issues with your Lenovo docking station not detecting your monitor after an update, there are several troubleshooting steps you can try. First, disconnect the dock and external monitors, then reload the laptop’s default BIOS settings and update the BIOS and drivers.
Additionally, ensure that all cables are securely connected and try power-cycling the docking station if necessary. Finally, consider trying a different monitor or cable if available.
Steps To Reload Laptop’s Bios To Default Settings
If you are facing the issue of your Lenovo docking station not detecting your monitor after an update, one of the first steps you can take is to reload your laptop’s BIOS to default settings. This can help reset any configuration changes that might be causing the problem. Here are the steps to follow:
- Start by turning off your laptop and disconnecting it from the docking station.
- Once the laptop is off, press the power button for about 10 seconds to discharge any remaining power.
- Next, turn on your laptop and press the specific key (usually F1 or F2) to access the BIOS setup utility. The key may vary depending on your laptop model, so refer to the manufacturer’s documentation for the correct key.
- In the BIOS setup utility, navigate to the “Exit” tab using the arrow keys on your keyboard.
- Select the option to “Load Setup Defaults” or “Load Optimized Defaults” and press Enter.
- Confirm your selection when prompted and save the changes.
- Exit the BIOS setup utility and restart your laptop.
Following these steps should reload your laptop’s BIOS to default settings, which can help resolve any configuration issues that might be preventing your docking station from detecting the monitor.
Guide On Bios Update And Modification For Monitor Recognition
In some cases, updating or modifying the BIOS of your Lenovo laptop can also help with monitor recognition issues. Here’s a guide to help you:
- Start by visiting the Lenovo support website and navigating to the page for your specific laptop model.
- Download the latest BIOS update file for your laptop.
- Once the file is downloaded, locate it on your computer and double-click to run the BIOS update utility.
- Follow the on-screen instructions provided by the utility to install the BIOS update.
- Once the BIOS update is installed, restart your laptop to apply the changes.
- After restarting, enter the BIOS setup utility using the specific key mentioned earlier (usually F1 or F2).
- Navigate to the “Display” or “Video” settings in the BIOS setup utility.
- Make sure that the external monitor or docking station is recognized and set as the primary display.
- Save the changes and exit the BIOS setup utility.
- Restart your laptop and reconnect it to the docking station.
By following this guide, you can update and modify your laptop’s BIOS to improve monitor recognition, potentially resolving the issue of your Lenovo docking station not detecting the monitor after an update.
Manual Detection And Display Settings
Force Manual Detection Of Monitor In Windows Settings
If you are experiencing issues with your Lenovo docking station not detecting your monitor after a recent update, there are a few troubleshooting steps you can take. One of the first things to try is forcing a manual detection of the monitor in the Windows settings. To do this, follow these steps:
- Right-click on the desktop and select “Display settings”.
- Scroll down and click on the “Advanced display settings” link.
- Click on the “Detect” button to manually detect the connected monitor.
This will prompt Windows to re-scan for connected displays and may help in resolving the issue if the docking station is not automatically detecting the monitor.
Adjusting Display Properties To Recognize External Monitors
If forcing a manual detection did not resolve the issue, you can try adjusting the display properties to recognize the external monitor. Here are the steps to follow:
- Right-click on the desktop and select “Display settings”.
- Scroll down and click on the “Advanced display settings” link.
- Click on the “Display adapter properties” link.
- In the Display Properties window, go to the “Monitor” tab.
- Check the box that says “Hide modes that this monitor cannot display”.
- Click on the “OK” button to save the changes.
By adjusting the display properties in this way, you are telling your Lenovo laptop to recognize external monitors that are connected via the docking station. This can help in resolving the issue of the docking station not detecting the monitor.
Keep in mind that these troubleshooting steps may vary depending on your specific Lenovo laptop model and the version of Windows you are using. It’s always a good idea to consult the official Lenovo support website or contact their customer support for further assistance if these steps do not resolve the issue.
Lenovo Support And Software Tools
When it comes to resolving issues with your Lenovo docking station not detecting the monitor after an update, Lenovo provides a range of support resources and software tools to help you troubleshoot and resolve the problem quickly. By utilizing these tools, you can ensure that both your system and dock are up to date, minimizing any compatibility issues and ensuring optimal performance.
Utilizing Lenovo Vantage For System And Dock Updates
One of the key tools offered by Lenovo is Lenovo Vantage. This software allows you to easily manage and update your system and dock firmware, drivers, and BIOS. By regularly checking for updates and installing them, you can ensure that any known issues affecting monitor detection are resolved. Here’s how you can utilize Lenovo Vantage for system and dock updates:
- Launch the Lenovo Vantage software on your laptop.
- Navigate to the “System Update” section.
- Click on “Check for updates” to scan for available firmware, driver, and BIOS updates.
- If any updates are found, select them and click on “Install” to update your system and dock.
- Once the updates are installed, restart your laptop and check if the docking station now detects the monitor.
Leveraging Lenovo Support Resources And Troubleshooting Tools
In addition to Lenovo Vantage, Lenovo provides a range of support resources and troubleshooting tools to help you diagnose and resolve issues with monitor detection on your docking station. Here are some resources and tools you can leverage:
- Lenovo Support Website: Visit the Lenovo support website to access various troubleshooting guides, knowledge base articles, and FAQs related to docking station issues. You can search for specific keywords or browse through the relevant topics for assistance.
- Online Forums and Communities: Engage with the Lenovo community by participating in online forums and communities where you can ask questions and seek solutions from other Lenovo users and experts. The Lenovo community is a valuable resource to get insights and troubleshooting advice.
- Live Chat and Phone Support: If you need immediate assistance or prefer direct communication, Lenovo offers live chat and phone support options. Simply reach out to their support team, provide them with details about your issue, and they will guide you through the troubleshooting process.
By leveraging these Lenovo support resources and troubleshooting tools, you can effectively diagnose and resolve the issue of your Lenovo docking station not detecting the monitor after an update. Remember to keep your system and dock updated using Lenovo Vantage to ensure compatibility and optimal performance.
Testing After Incremental Updates
When it comes to updating your system, it’s crucial to test the monitor connection on your Lenovo Docking Station to ensure everything is working seamlessly. Incremental updates can sometimes lead to conflicts, making it difficult for the docking station to detect the monitor. By following a proper testing procedure and employing strategies for rolling back updates, you can address this issue effectively.
H3procedure For Testing Monitor Connection After Each System Update/h3
After performing a system update, it’s essential to test the monitor connection on your Lenovo Docking Station. Follow these steps to ensure a smooth and successful connection:
- Disconnect the dock and the external monitors from your laptop.
- Reload your laptop’s default BIOS settings and save.
- Update the BIOS and drivers to their latest versions.
- Run dock firmware updates, Lenovo Vantage, or system updates for drivers and Windows.
- After each step, test the monitor connection to check if the issue has been resolved.
H3strategies For Rolling Back Updates If Conflicts Persist/h3
If the monitor connection issue on your Lenovo Docking Station persists even after performing the testing procedure mentioned above, you may need to consider rolling back updates. Here are some effective strategies to follow:
- Check if any specific update caused the conflict by reviewing the update history. Identify the update that coincides with the onset of the issue.
- Uninstall the problematic update by going to the Control Panel > Programs > Programs and Features. Locate the update and click on Uninstall.
- If rolling back the update does not resolve the issue, try performing a system restore to a date before the update was installed.
- Consider updating the docking station’s firmware to its latest version, as this can often address compatibility issues with updates.
- If all else fails, reach out to Lenovo support for further assistance and troubleshooting steps.
By following these strategies, you can effectively address conflicts and ensure a stable monitor connection on your Lenovo Docking Station.
Emergency Recovery And Replacement Options
If you’re experiencing issues with your Lenovo docking station not detecting your monitor after a recent update, don’t worry – there are several emergency recovery and replacement options you can try. In this article, we’ll guide you through the steps to determine when to seek professional support or replace hardware, as well as how to perform emergency recovery to restore monitor functionality.
Determining When To Seek Professional Support Or Replace Hardware
If you’ve exhausted all troubleshooting steps and your Lenovo docking station still fails to detect the connected monitor, it may be time to consider seeking professional support or replacing the hardware. Here are some signs that indicate when it’s necessary:
- No signal on the monitor: If your monitor consistently shows no signal when connected to the docking station, even after trying different cables, adapters, and connectors, it might indicate a hardware issue.
- Multiple troubleshooting attempts: If you’ve already followed various troubleshooting guides, ensuring everything is up to date and connections are secure, without any success, it’s advisable to consult with a professional technician.
- Compatibility concerns: If you suspect that the docking station and the monitor might not be compatible, or if you’ve recently upgraded your system and encountered issues, it may require professional intervention or a hardware replacement.
Summarizing Steps For Emergency Recovery Of Monitor Functionality
If you’re facing immediate issues with your Lenovo docking station not detecting the monitor, you can perform some emergency recovery steps in an attempt to restore functionality. Follow these steps:
- Check connections: Ensure all cables, adapters, and connectors are securely connected to both the docking station and the monitor. Double-check that the power cable is firmly attached.
- Force detect the monitor: Open the display settings on your Windows laptop and manually force detect the monitor. This can be done by right-clicking on the desktop, selecting “Display settings,” and clicking on the “Detect” button under the “Multiple displays” section.
- Update drivers and firmware: Visit the Lenovo website or use their official software, such as Lenovo Vantage or System Update, to check for any available driver and firmware updates for your docking station. Install any updates found and restart your system.
- Test with another monitor: If possible, try connecting the docking station to a different monitor to determine if the issue lies with the current monitor. This can help identify whether it’s a hardware problem or specific to the original monitor.
By following these emergency recovery steps, you can potentially resolve the issue with your Lenovo docking station not detecting the monitor. However, if these steps do not yield positive results, it’s recommended to seek professional support or consider replacing the hardware.
Frequently Asked Questions Of Lenovo Docking Station Not Detecting Monitor After Update
Why Isn’t My Docking Station Recognizing My Monitor?
Ensure the video cable is connected properly to both the monitor and the docking station. Select the correct video source on your monitor. Check the resolution settings on your laptop. If using an external monitor, make sure the cables are secure and try a different monitor or cable if possible.
Power-cycle your docking station if necessary. Reset your Lenovo docking station if needed.
Why Is My Lenovo Not Detecting My Monitor?
If your Lenovo is not detecting your monitor, check the cables and make sure they are not loose. Ensure the power cable is securely attached to the monitor. You can also try using a different monitor or cable. Troubleshoot the display or monitor issues by following the guidelines provided by Lenovo Support.
Why Does My Monitor Say No Signal When Connected To Docking Station?
When your monitor says “no signal” when connected to a docking station, there are a few potential issues to consider: 1. Make sure the video cable (HDMI or DisplayPort) is properly connected to both the monitor and the docking station. 2.
Check that the correct video source is selected on your monitor. 3. Verify the resolution settings on your laptop. 4. Ensure that the cables are securely connected and not loose. 5. Try connecting the monitor to a different PC or using a different cable, if available.
If none of these steps fix the issue, you can power-cycle your docking station or seek further troubleshooting assistance from Lenovo support.
How Do I Reset My Lenovo Docking Station?
To reset your Lenovo docking station, follow these steps: 1. Disconnect the dock and external monitors. 2. Reset your laptop’s default BIOS settings and save. 3. Update the BIOS and drivers. 4. Run dock firmware updates and system updates. 5. Test after each step to check if the issue is resolved.
Make sure cables and connectors are properly connected and select the correct video source on your monitor. Check resolution settings and try different cables or monitors if available. Power-cycle the docking station if necessary.
Conclusion
If you are experiencing issues with your Lenovo docking station not detecting your monitor after an update, there are several troubleshooting steps you can take. Ensure that all cables are connected properly and not loose. Try using a different monitor or cable if available.
Update the BIOS and drivers through Lenovo Vantage or System Update. Additionally, check the resolution settings on your laptop and try power-cycling your docking station. By following these steps, you should be able to resolve the issue and have your monitor detected by your Lenovo docking station once again.