Laptop Not Detecting Monitor After Windows Update: Troubleshooting Tips
If your laptop is not detecting your monitor after a Windows update, follow these steps: Open Settings, go to System, click on Display, and under the “Multiple displays” section, click the Detect button to connect to the external monitor. If this doesn’t work, make sure all accessories are disconnected, check the cable connection, and try changing the cable.
Alternatively, the issue could be related to an outdated or damaged graphics driver. Update, reinstall, or downgrade the driver to fix the connection problem.
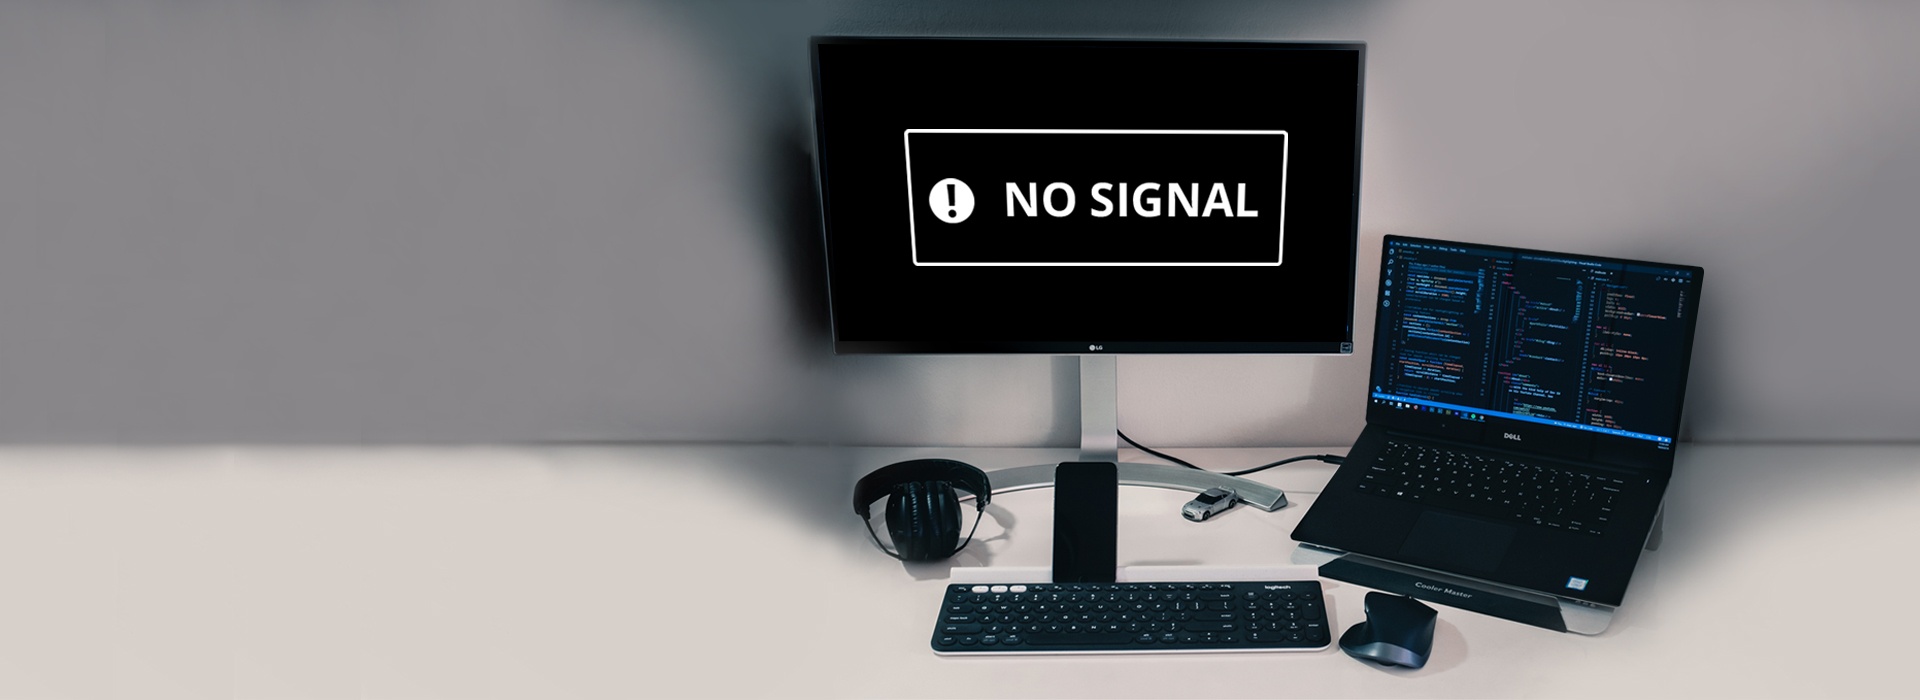
Credit: www.asurion.com
Preliminary Checks For Connection
Having trouble with your laptop not detecting the monitor after a Windows update? Try these preliminary checks for a solution: open Settings, click on System, go to Display, and under the “Multiple displays” section, click the Detect button to connect to the external monitor.
Also, ensure all connections are secure and consider updating or reinstalling the graphics driver if needed.
Assess Physical Connections Between Laptop And Monitor
If your laptop is not detecting the monitor after a Windows update, the first step is to check the physical connections between your laptop and the monitor. This ensures that there are no loose or faulty connections causing the issue.
- Disconnect all accessories from your PC.
- Make sure the cable connecting your PC to your external monitor is secure.
- Try changing the cable connecting the laptop to the monitor to eliminate any potential issues with the cable.
- Ensure that both the power cable and the display cable are securely plugged in.
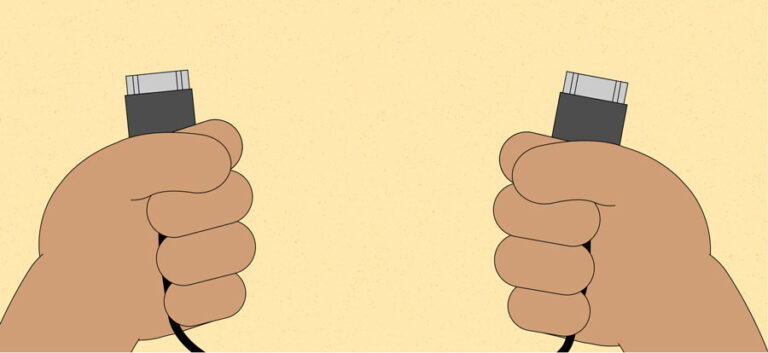
- If you’re using a VGA or HDMI cable, try unplugging it and plugging it back in to ensure a proper connection.
Review Power Supply And Cable Integrity
In some cases, the power supply or the cable itself can be the reason why your laptop is not detecting the monitor. Checking the integrity of both the power supply and the cable can help resolve the issue.
- Check if the power supply to your laptop is functioning correctly.
- Inspect the power cable and the display cable for any physical damage.
- If you find any damage, consider replacing the cables with new ones.
- Ensure that the power cable is securely connected to both the laptop and the power source.
Confirm Monitor Power Status And Input Selection
Another reason why your laptop may not detect the monitor is if the monitor itself is not powered on or if the input selection is not set correctly.
- Make sure that the monitor is powered on and receiving power.
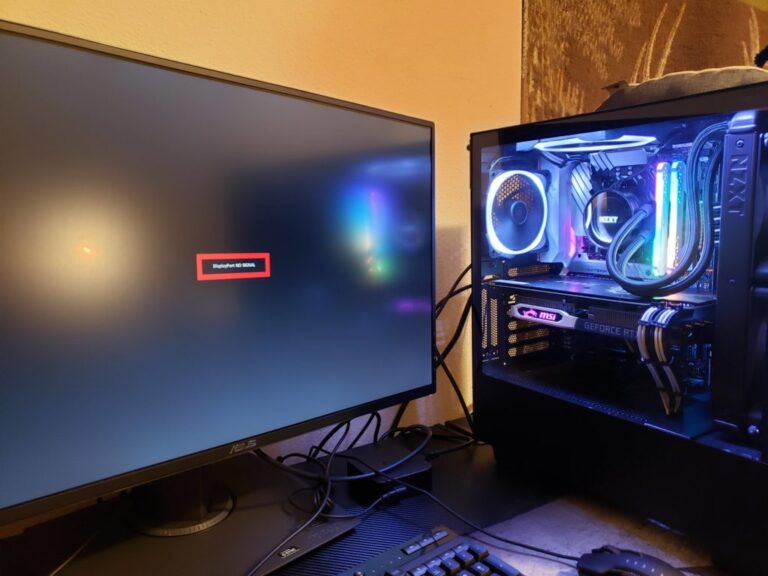
- Check if the input selection on the monitor is set to the correct source (e.g., VGA, HDMI, DisplayPort).
- Try switching to a different input source and then switching back to the one you are using.
By performing these preliminary checks, you can troubleshoot and resolve the issue of your laptop not detecting the monitor after a Windows update. These steps help ensure that the physical connections are secure, the power supply and cables are functioning correctly, and the monitor is powered on and set to the correct input source.
Display Settings Configuration
If your laptop is not detecting the monitor after a Windows update, you can try to fix this issue by following these steps: 1. Open Settings and click on System. 2. Go to Display and under the “Multiple displays” section, click the Detect button to connect to the external monitor.
3. If the issue persists, check your connections by ensuring the cables are securely plugged in and try reconnecting or reinstalling the monitor and video driver.
Navigating To Display Settings In Windows
To resolve the issue of your laptop not detecting the monitor after a Windows update, it is essential to navigate to the display settings in Windows. Follow these steps:- Open the Windows menu by pressing the Windows key on your keyboard.
- Click on “Settings” to access the Windows Settings.
- In the Settings menu, click on “System.”
- Within the System menu, select “Display.”
Utilizing The ‘detect’ Feature
After accessing the display settings, you can utilize the “Detect” feature to establish a connection with the external monitor. Here’s how to do it:- Scroll down to the “Multiple displays” section within the Display settings.
- Click on the “Detect” button.
Adjusting Screen Resolution And Orientation
If the “Detect” feature doesn’t resolve the issue, you can try adjusting the screen resolution and orientation. Follow these steps:- In the Display settings, scroll down to the “Display resolution” section.
- Click on the drop-down menu to select a different screen resolution.
- Additionally, you can also adjust the screen orientation by clicking on the drop-down menu under the “Orientation” section and selecting the desired option.
Driver Management And Update
If your laptop is not detecting the monitor after a Windows update, it could be due to outdated or corrupted display drivers. Display drivers are crucial for enabling your computer to communicate with the monitor and ensure proper display functionality. In this section, we will discuss how to identify outdated or corrupted display drivers, steps to update your graphics drivers, and rolling back drivers as a troubleshooting step. Let’s dive in!
Identifying Outdated Or Corrupted Display Drivers
Before updating your graphics drivers, it’s important to determine whether they are outdated or corrupted. Here’s how:
- Press the Windows key + X and select Device Manager.
- In the Device Manager window, expand the Display adapters category.
- You will see the list of display adapters installed on your laptop. If there is a yellow exclamation mark or a red X next to any of the display adapters, it indicates an issue with the driver.
- Right-click on the display adapter with the issue and select Update driver to proceed with the driver update.
Steps To Update Graphics Drivers
Updating your graphics drivers is essential for resolving issues with your laptop not detecting the monitor. Follow these steps to update your graphics drivers:
- Access the official website of your laptop’s manufacturer or the graphics card manufacturer.
- Navigate to the Support or Downloads section.
- Search for the latest graphics driver compatible with your specific laptop model and operating system.
- Download the driver file to a location on your laptop.
- Once the driver file is downloaded, double-click on it to initiate the installation.
- Follow the on-screen instructions to complete the installation process.
- Restart your laptop to apply the updated graphics driver.
Rolling Back Drivers As A Troubleshooting Step
If updating the graphics drivers doesn’t resolve the issue of your laptop not detecting the monitor, you can try rolling back the drivers to a previous version. Here’s how:
- Press the Windows key + X and select Device Manager.
- Expand the Display adapters category.
- Right-click on the display adapter and select Properties.
- In the Properties window, navigate to the Driver tab.
- Click on the Roll Back Driver button.
- Follow the on-screen instructions to complete the rollback process.
- Restart your laptop to apply the rolled-back driver.
By following these steps for driver management and update, you can resolve the issue of your laptop not detecting the monitor after a Windows update. Keeping your drivers up to date ensures optimal performance and compatibility with external devices. Ensure that you regularly check for updates and install them to avoid any compatibility issues in the future.
Advanced Troubleshooting Techniques
If your laptop is not detecting the monitor after a Windows update, try these troubleshooting techniques: open the System settings, click on Display, and under the “Multiple displays” section, click the Detect button. Check your connections, make sure the cables are secure, and try restarting your computer.
Updating, reinstalling, or downgrading the graphics driver may also help resolve the issue.
Exploring Windows Update For Related Issues
If your laptop is not detecting the monitor after a recent Windows update, it’s worth exploring the Windows Update settings to see if any related issues can be identified and resolved. Here’s how:
- Open the Settings by pressing the Windows key + i.
- Go to System and click on Display.
- Scroll down to the “Multiple displays” section and click the Detect button to connect to the external monitor.
By following these steps, you can determine if the issue lies within the Windows Update settings and take appropriate action.
System Restore To Revert Recent Updates
If exploring the Windows Update settings does not resolve the issue, you can consider using the System Restore feature to revert recent updates. Here’s how:
- Open the Settings by pressing the Windows key + i.
- Go to Update & Security and click on Recovery.
- Under the “Reset this PC” section, click on the Get started button.
- Choose the option to Keep my files.
- Follow the on-screen instructions to complete the System Restore process.
System Restore can help you revert your laptop’s settings to a previous state where the monitor was functioning properly.
Considerations For Using Safe Mode
If the issue persists even after using System Restore, it may be beneficial to troubleshoot the problem in Safe Mode. Safe Mode allows you to run your laptop with minimal drivers and software, which can help isolate the cause of the issue. Here’s how to access Safe Mode:
- Press the Windows key and R key simultaneously to open the Run dialog box.
- Type msconfig in the Run dialog box and press Enter.
- In the System Configuration window, go to the Boot tab.
- Check the box next to Safe boot and select the Minimal option.
- Click on Apply and then OK.
- Restart your laptop, and it will boot into Safe Mode.
While in Safe Mode, check if the monitor is detected. If it is, you can proceed with further troubleshooting steps to identify the cause of the issue.
Alternative Solutions And Workarounds
If you’re facing the issue of your laptop not detecting the monitor after a Windows update, don’t worry! There are several alternative solutions and workarounds you can try to resolve this problem.
Testing Monitor With Another Computer Or Laptop
One way to determine if the issue is with your laptop or the monitor itself is to test the monitor with another computer or laptop. Follow these steps:
- Disconnect the monitor from your current laptop.
- Connect the monitor to another computer or laptop using the same cable.
- If the monitor works fine with the other device, then the issue lies with your laptop. Move on to exploring other solutions. If the monitor doesn’t work with the other device either, then the problem might be with the monitor itself.
Exploring Third-party Software Options
If your laptop still doesn’t detect the monitor, you can try using third-party software solutions to troubleshoot the issue. These software options can help identify and fix any compatibility issues between your laptop and monitor. Here are a few popular software options:
| Third-Party Software | Description |
|---|---|
| Display Driver Uninstaller (DDU) | A tool that helps uninstall and clean up display drivers, allowing for a fresh installation. |
| MultiMonitorTool | A utility that allows you to manage multiple monitors, including detecting and enabling/disabling them. |
| DisplayFusion | A feature-rich software that provides advanced monitor management options and customizable display settings. |
The Role Of Bios/uefi Settings In Display Issues
In some cases, the problem of your laptop not detecting the monitor can be related to the BIOS/UEFI settings. It’s important to ensure that the correct display settings are configured in your laptop’s BIOS/UEFI. Follow these steps:
- Restart your laptop and enter the BIOS/UEFI settings by pressing the designated key during startup (usually DEL, F2, or F10).
- Navigate to the display settings or graphics settings section.
- Check if the primary display is set correctly and if any necessary options, such as “Auto-detect” or “Multi-monitor support,” are enabled.
- Save the changes and exit the BIOS/UEFI.
After applying these settings, restart your laptop and check if the monitor is now being detected.
By following the alternative solutions and workarounds mentioned above, you should be able to resolve the issue of your laptop not detecting the monitor after a Windows update. Remember to test the monitor with another device, explore third-party software options, and check the BIOS/UEFI settings to ensure a successful connection between your laptop and the monitor.
Windows Update Impact On Monitor Detection
Windows updates are essential for maintaining the security and functionality of your laptop. However, sometimes these updates can cause unexpected issues, such as your laptop not detecting an external monitor. This can be a frustrating experience, especially if you rely on a dual monitor setup for work or entertainment purposes.
Understanding Windows Update Changes Affecting Monitor Recognition
When a Windows update is installed, it can result in changes to various system settings and configurations. These changes may inadvertently affect the way your laptop recognizes and communicates with external monitors. This can lead to issues where your laptop fails to detect or display content on the connected monitor.
To resolve this issue, it’s important to understand the relationship between updates and hardware compatibility.
Relationship Between Updates And Hardware Compatibility
Windows updates are designed to enhance the performance and compatibility of your device. However, updates may not always account for every hardware configuration, which can lead to compatibility issues with your monitor. For example, an update may contain changes that render certain monitor models incompatible with your laptop’s graphics driver.
To ensure your laptop is compatible with external monitors after a Windows update, it’s crucial to keep your graphics driver up to date. This can usually be done through the manufacturer’s website or the Device Manager in Windows.
If you’re experiencing issues with monitor detection after a Windows update, here are some steps you can take:
- Disconnect all accessories from your laptop.
- Check the cable connecting your laptop to the external monitor and make sure it is securely plugged in.
- Try changing the cable connecting your laptop and the monitor to rule out any cable-related issues.
- Reconnect the monitor and restart your computer to see if it gets detected.
- If the issue persists, try reinstalling or updating your graphics driver to ensure compatibility with the monitor.
By following these steps, you can troubleshoot and potentially resolve the issue of your laptop not detecting the monitor after a Windows update.
Reestablishing Monitor Connectivity
If your laptop is not detecting the monitor after a Windows update, there are a few steps you can follow to reestablish the connectivity. Open the Settings menu, go to System, click on Display, and under the “Multiple displays” section, click the Detect button to connect to the external monitor.
Also, make sure the cable connecting your laptop to the monitor is secure, and try unplugging and plugging it back in for a proper connection. Updating, reinstalling, or downgrading the graphics driver may also fix the issue.
Step-by-step guide to reconnect the monitorIf your laptop is not detecting the monitor after a Windows update, there are several steps you can take to reestablish the monitor connectivity. Follow this step-by-step guide:
- First, open the Settings menu by pressing the Windows key + i simultaneously.
- Once in the Settings menu, click on System.
- Next, click on Display in the left-hand sidebar.
- Scroll down to the “Multiple displays” section.
- Click on the Detect button to allow Windows to search for and connect to the external monitor.
Following these steps should help Windows detect and reconnect to your monitor. However, if the automatic detection fails, don’t worry, there are additional tips you can try.
Tips For When Automatic Detection Fails
If the automatic detection fails to reconnect your monitor, try these tips:
- Disconnect all accessories from your laptop and make sure the cable connecting your laptop to the external monitor is secure.
- If the cable seems to be the issue, try changing it with a new one to ensure a proper connection.
- Check your connections: Make sure that your monitor is correctly connected to your laptop and that both the power cable and the display cable are securely plugged in. If you’re using a VGA or HDMI cable, try unplugging it and plugging it back in to ensure a proper connection.
- Consider updating your graphics driver. An outdated or faulty driver can sometimes cause issues with connecting to a second monitor. You can quickly resolve this problem by updating, reinstalling, or downgrading the driver to fix the connection issue.
By following these troubleshooting steps, you should be able to reestablish the connection between your laptop and monitor and get your dual display setup back up and running after a Windows update.
Graphics Driver Solutions
If your laptop is not detecting a monitor after a Windows update, there are a few steps you can take to troubleshoot the issue. First, open the settings and go to the system section. Click on display and under the “multiple displays” section, click the detect button to connect to the external monitor.
If that doesn’t work, you can try disconnecting all accessories from your PC, ensuring the cable connection is secure, or updating your graphics driver.
Detailed Guide To Driver Reinstatement Post-update
After a Windows update, it can be frustrating to find out that your laptop is not detecting your monitor. One possible cause for this issue is an outdated or faulty graphics driver. In this detailed guide, we will walk you through the steps to reinstate your driver and resolve the connection problem.
Utilizing Device Manager For Driver-related Solutions
One effective way to tackle driver issues is by utilizing the Device Manager on your Windows laptop. Follow these steps:
- Press the Windows key and the X key simultaneously to open the Power User menu.
- Select “Device Manager” from the menu to launch it.
- In the Device Manager window, locate the “Display Adapters” category and click on the arrow next to it to expand the list.
- Right-click on the graphics driver and select the option to “Update driver”
- Choose the option to automatically search for updated driver software. Windows will then search for the latest driver version and install it if available.
- Restart your laptop to apply the changes.
If updating the driver did not solve the issue, you can also try uninstalling the current driver and then reinstalling it. Here’s how:
- Go back to the Device Manager and right-click on the graphics driver.
- Select “Properties” and go to the “Driver” tab.
- Click on the “Uninstall” button and follow the on-screen instructions to remove the driver.
- Once the driver is uninstalled, restart your laptop.
- After the restart, Windows will automatically reinstall the graphics driver. However, it’s always recommended to download the latest driver version directly from the manufacturer’s website to ensure compatibility and optimum performance.
By following these steps, you can successfully reinstate your graphics driver and resolve the issue of your laptop not detecting the monitor after a Windows update. Remember to restart your laptop after any driver changes to ensure that the changes take effect.
Exploring System Restore And Recovery Options
When faced with the frustrating issue of your laptop not detecting the monitor after a Windows update, it’s essential to explore system restore and recovery options to find a solution. By following these steps, you can troubleshoot and resolve the display issue effectively.
Utilizing System Restore For Display Issue Resolution
If your laptop is not detecting the monitor after a Windows update, one of the effective options to consider is utilizing System Restore. This feature allows you to revert your computer’s settings back to a previous point in time when everything was functioning correctly. To utilize System Restore, you can follow these steps:
- Press the Windows key + R to open the Run dialog box.
- Type “rstrui” and press Enter to launch the System Restore wizard.
- Follow the on-screen instructions and select a restore point from a time when your laptop was successfully detecting the monitor.
- Confirm the restore point selection and wait for the process to complete.
- Once the process finishes, restart your laptop and check if the monitor detection issue is resolved.
By utilizing System Restore, you can potentially solve the display problem on your laptop caused by a recent Windows update.
Advantages Of Recovery Options For Persistent Problems
If the display issue persists even after trying System Restore, it is crucial to explore further recovery options to find a resolution. The advantages of recovery options include:
- Repairing damaged system files: Recovery options can help repair any corrupted or damaged system files that may be causing the monitor detection problem.
- Rolling back problematic updates: Recovery options allow you to roll back or uninstall specific updates or drivers that might be conflicting with your laptop’s ability to detect the monitor.
- Restoring default display settings: Sometimes, changes in display settings during a Windows update can result in compatibility issues. Recovery options allow you to restore the default display settings and potentially resolve the problem.
By utilizing recovery options, you can tackle persistent problems and ensure that your laptop can successfully detect the monitor even after a Windows update.
Seeking Expert Help And Support
If your laptop is not detecting your monitor after a Windows update, try these steps: Open Settings, go to System, click on Display, and under “Multiple displays,” select the Detect button to connect the external monitor. If the issue persists, disconnect all accessories, ensure the connection cables are secure, and try changing the cable.
It could also be due to an outdated or damaged graphics driver, which may require updating, reinstalling, or downgrading to fix the connection problem.
When To Contact Manufacturer Support
If you’ve tried all the basic troubleshooting steps and your laptop is still not detecting the monitor after a Windows update, it might be time to reach out to the manufacturer’s support team for assistance. Below are some scenarios where contacting manufacturer support is recommended:
- If you suspect a hardware issue with your laptop or monitor.
- If you’ve exhausted all other troubleshooting options and need expert guidance.
- If your laptop is still under warranty and you want to explore repair or replacement options.
Utilizing Online Forums And Communities For Additional Tips
Another resource to consider when seeking help and support for your laptop not detecting the monitor after a Windows update is online forums and communities. These platforms provide a space for users to share their experiences, ask questions, and offer solutions. Here’s how you can make the most out of online forums:
- Search for existing threads or posts related to your issue to see if others have encountered a similar problem and found a solution.
- If you don’t find any relevant threads, start a new post detailing your issue and providing any relevant information such as laptop model, operating system, and steps you’ve already taken.
- Be polite and provide as much detail as possible in your post to help others understand your problem better.
- Regularly check back for responses and follow any troubleshooting suggestions provided by forum members.
- If you find a solution, don’t forget to update the thread, thanking the community for their help.
By reaching out to the manufacturer’s support team and utilizing online forums and communities, you can increase the chances of resolving the issue with your laptop not detecting the monitor after a Windows update. Remember to stay patient and persistent in your quest for a solution.
Frequently Asked Questions Of Laptop Not Detecting Monitor After Windows Update
Why Isn’t My Pc Connecting To My Monitor After Update?
If your PC is not connecting to your monitor after an update, try the following steps: 1. Check connections: Ensure that your monitor is properly connected to your PC and that the power and display cables are securely plugged in. 2.
Restart and reconnect: Restart your computer and reconnect your monitor. 3. Update drivers: Update, reinstall, or downgrade your graphics driver, as outdated or buggy drivers can cause connection issues. 4. Change cables: Try using different cables or reconnecting the existing ones to ensure a proper connection.
5. Reset settings: Open the Settings menu, go to System, click on Display, and under “Multiple displays,” click the Detect button. Note: Windows updates and driver issues can impact monitor connections, so troubleshooting these areas should help resolve the problem.
Why Is My Display Not Working After An Update?
If your display is not working after an update, follow these steps to troubleshoot the issue: 1. Open Settings and go to System. 2. Click on Display. 3. Under “Multiple displays,” click the Detect button to connect to the external monitor.
4. Disconnect all accessories from your PC and ensure the cable connecting your PC to the external monitor is secure. 5. Update, reinstall, or downgrade the graphics driver to fix the connection issue.
Why Won’t Windows 11 Recognize My External Monitor?
To fix Windows 11 not recognizing your external monitor, follow these steps: 1. Open Settings and go to System. 2. Click on Display and scroll down to Multiple displays. 3. Click the Detect button to connect to the external monitor. 4.
Ensure the cable connecting your PC to the monitor is secure. 5. Restart your computer and reconnect the monitor. 6. Update, reinstall, or downgrade the graphics driver if necessary.
Why Is My Laptop Not Detecting The Monitor After A Windows Update?
The issue can be resolved by following these steps:
1. Open Settings. 2. Click on System. 3. Click on Display. 4. Under the “Multiple displays” section, click the Detect button to connect to the external monitor.
Conclusion
If your laptop is not detecting your monitor after a Windows update, there are several steps you can take to troubleshoot the issue. First, open the Settings menu, navigate to System and click on Display. Under the “Multiple displays” section, click the Detect button to connect to the external monitor.
Additionally, make sure that all cables are securely connected and try restarting your computer. If the issue persists, it may be related to an outdated or damaged graphics driver, which can be resolved by updating or reinstalling the driver. By following these steps, you can resolve the problem and successfully connect your laptop to the monitor.