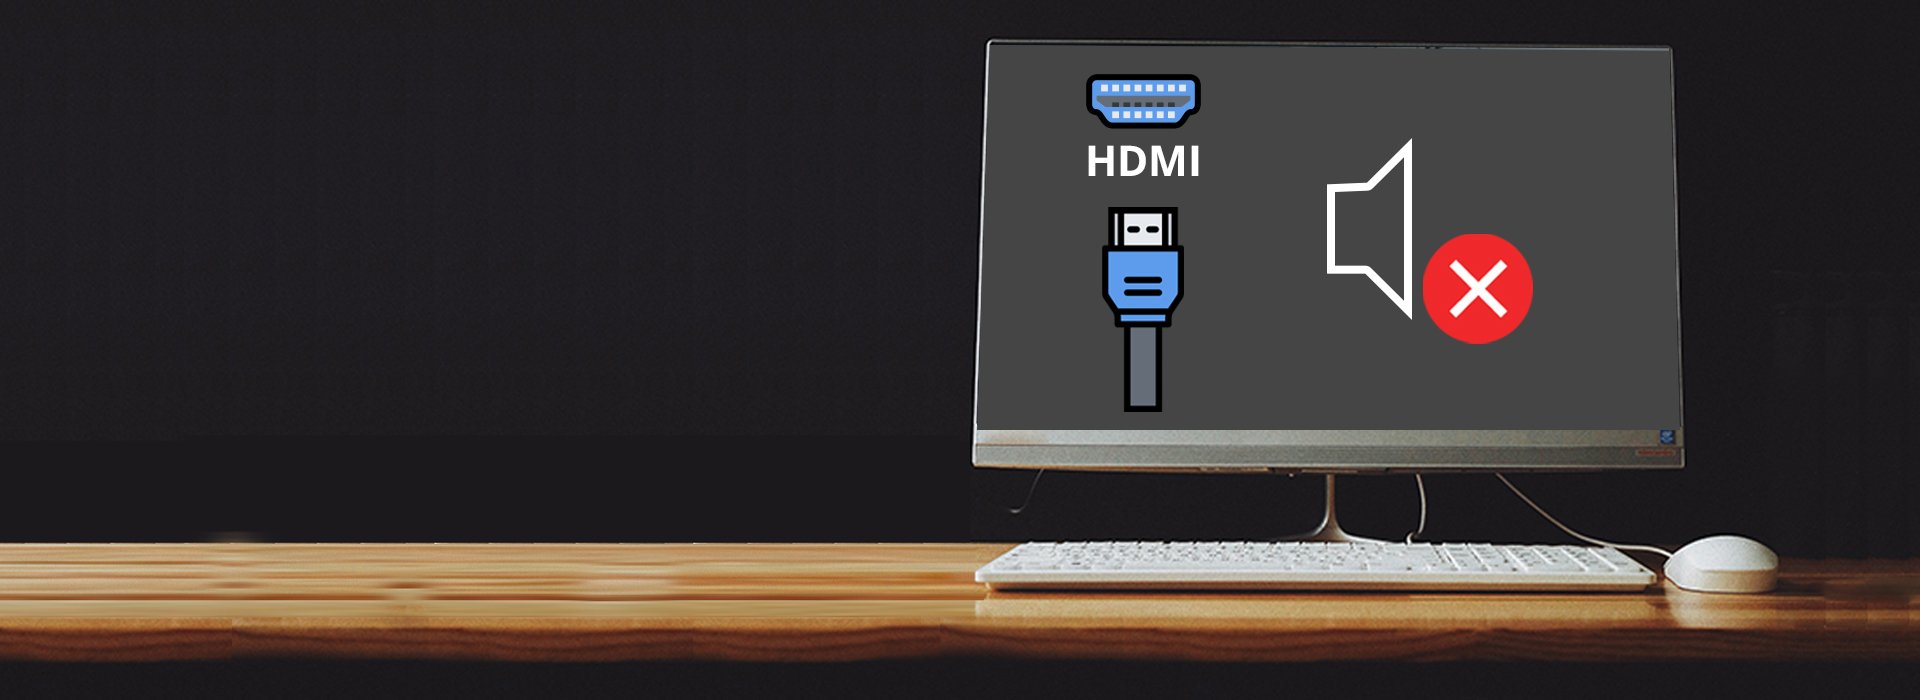
Laptop Not Connecting to Monitor Hdmi: Troubleshooting Tips to Fix the Issue
To fix a laptop not connecting to a monitor via HDMI, first, check the cable connection and try different cables. Then, check the display settings on your laptop, ensure the HDMI port is not damaged, and restart your laptop.
Update Windows and your graphics driver, or reinstall it if necessary. If you’re experiencing the frustrating issue of your laptop not connecting to a monitor through an HDMI port, you’re not alone. It’s a common problem that can occur due to various reasons.
However, the good news is that there are several troubleshooting steps you can take to fix this issue. We will guide you through some effective solutions to help you get your laptop’s HDMI port working again. By following these steps and ensuring your cable connections are secure, you can hopefully resolve the issue and connect your laptop to a monitor without any further difficulties.
Assessing The Connection
If you’re experiencing issues with your laptop not connecting to your monitor via HDMI, it’s necessary to assess the connection. Here are a few steps you can take to troubleshoot and resolve the problem:
Ensure Hdmi Cable Is Securely Connected
One of the first things to check when your laptop is not connecting to the monitor is the connection of the HDMI cable. It’s essential to ensure that the cable is securely plugged into both the laptop and the monitor. Loose connections can cause a disruption in the signal transmission, resulting in an inability to establish a connection.
Inspect For Physical Cable Damage
In some cases, physical damage to the HDMI cable can prevent a proper connection between your laptop and the monitor. Inspect the cable for any visible signs of damage, such as frayed wires or bent connectors. If you notice any issues, it’s recommended to replace the cable with a new one. A damaged cable can inhibit the transfer of audio and video signals, leading to connection problems.
Validate Monitor Hdmi Input Selection
Another aspect to consider is the HDMI input selection on your monitor. Some monitors have multiple input options, such as HDMI, DVI, or VGA. Ensure that the monitor is set to receive input from the correct HDMI port that your laptop is connected to. Using the monitor’s built-in controls, navigate to the input settings and select the corresponding HDMI input to establish the connection between your laptop and the monitor.
By following these steps, you can assess the connection between your laptop and the monitor and troubleshoot any issues that may be preventing a successful HDMI connection. Remember to check the secure connection of the HDMI cable, inspect for physical damage, and validate the correct HDMI input selection on your monitor.
Addressing Laptop Hdmi Output
To address the issue of a laptop not connecting to a monitor via HDMI, try the following troubleshooting steps: 1) Ensure the cable is properly plugged in. 2) Test different HDMI cables. 3) Check the display settings on your laptop.
4) Inspect the HDMI port for any damage. 5) Restart your laptop. 6) Update Windows and your graphics driver. 7) Reinstall the graphics driver if necessary. By following these steps, you can resolve the laptop’s HDMI output issue.
Confirm Graphics Driver Is Up To Date
If your laptop is not connecting to the monitor through HDMI, one possible issue could be outdated graphics drivers. Outdated drivers can cause compatibility issues and prevent the HDMI connection from functioning properly.
Here are the steps to confirm if your graphics driver is up to date:
- Open the Start Menu and search for “Device Manager”
- Click on “Device Manager” to open it
- In the Device Manager window, expand the “Display adapters” section
- Right-click on your graphics card and select “Update driver”
- Choose the option to automatically search for updated driver software
- If an update is found, follow the on-screen instructions to install it
Updating your graphics driver can help resolve any compatibility issues and ensure that your laptop’s HDMI output functions properly.
Toggle Laptop’s Display Settings
If confirming the graphics driver did not solve the issue, you can try toggling the laptop’s display settings.
- Right-click on the desktop and select “Display settings”
- In the Display settings window, scroll down to the “Multiple displays” section
- Click on the drop-down menu and select “Extend desktop to this display”
- If the above option is already selected, try selecting different options and see if the HDMI connection is detected
- Click on “Apply” and then “OK” to save the changes
Toggling the display settings can help refresh the connection between your laptop and the monitor, allowing the HDMI output to work properly.
Restart Laptop To Reset Hdmi Handshake
If the previous steps did not solve the issue, you can try restarting your laptop to reset the HDMI handshake. Sometimes, the handshake between the laptop and the monitor gets disrupted, leading to connection problems.
- Click on the “Start Menu” icon
- Click on the power icon
- Select “Restart” from the options
After the restart, the HDMI handshake will be reset, and your laptop should be able to establish a connection with the monitor through HDMI.
Checking Hardware Compatibility
If your laptop is not connecting to the monitor via HDMI, there are a few troubleshooting steps you can try. First, check that the cable is properly plugged in. Test different HDMI cables if needed. Also, check the display settings on your laptop and for any damage in the HDMI port.
Restart your laptop and update Windows and your graphics driver, or reinstall the graphics driver if necessary.
Verify Monitor’s Resolution Settings
One of the first steps to check when your laptop is not connecting to the monitor via HDMI is to verify the monitor’s resolution settings. Sometimes, the display resolution settings on the monitor may not match the laptop’s capabilities, causing the connection issue. To resolve this, follow these steps:
- Access the monitor’s built-in controls.
- Choose the correct input port in the display settings of the monitor.
- Make sure the resolution settings on the monitor match the capabilities of your laptop.
- Save the changes and restart both the laptop and the monitor.
Test With An Alternative Monitor
If you are still facing issues after verifying the monitor’s resolution settings, the next step is to test with an alternative monitor. Using a different monitor helps identify if the problem lies with the laptop or the original monitor. Follow these steps:
- Connect your laptop to another monitor using an HDMI cable.
- Ensure that the alternative monitor is compatible with your laptop’s HDMI port.
- If the alternative monitor works fine, it indicates that the problem lies with the original monitor.
- If the alternative monitor also fails to connect, the issue may be with your laptop or HDMI cable.
Inspect Laptop’s Hdmi Port Condition
Another crucial aspect to consider when troubleshooting HDMI connection issues is to inspect the laptop’s HDMI port condition. A damaged or faulty HDMI port can prevent the laptop from connecting to the monitor. Follow these steps:
- Check the laptop’s HDMI port for any visible damage, debris, or obstructions.
- If you notice any physical damage or obstructions, clean the port gently using compressed air or a soft brush.
- Ensure that the HDMI port is properly aligned and making a secure connection with the cable.
By following these steps and checking hardware compatibility, you can troubleshoot and potentially resolve the issue with your laptop not connecting to the monitor via HDMI.
Credit: osxdaily.com
Software And Driver Solutions
To fix a laptop not connecting to a monitor HDMI, start by checking that the cable is properly plugged in. Test different HDMI cables and ensure the display settings on your laptop are correct. Also, check for any damage in the laptop’s HDMI port and consider updating your graphics driver or reinstalling it.
Update Graphics And Chipset Drivers
One of the most common reasons for your laptop not connecting to the monitor via HDMI is outdated or incompatible graphics and chipset drivers. These drivers are essential for establishing a connection between your laptop and the monitor, so it’s crucial to keep them up to date. Follow the steps below to update your graphics and chipset drivers:
- Open the Start menu and type “Device Manager” in the search bar. Click on the “Device Manager” option that appears.
- In the Device Manager window, expand the “Display adapters” and “System devices” categories.
- Right-click on your graphics card and select “Update driver” from the context menu. If there are multiple graphics cards listed, update the drivers for each one.
- Choose the option to automatically search for updated driver software. Windows will then search for the latest drivers and install them if available.
- Repeat the same process for the chipset driver by right-clicking on the corresponding device under “System devices.”
- Restart your laptop to apply the driver updates.
This should ensure that your graphics and chipset drivers are up to date, improving the chances of a successful HDMI connection.
Reinstall Graphics Drivers If Necessary
If updating the drivers didn’t resolve the issue, you may need to reinstall them. This process can help if the drivers are corrupt or conflicting with other software on your laptop. Here’s how to reinstall the graphics drivers:
- Access the Device Manager, as explained in the previous section.
- Right-click on your graphics card and select “Uninstall device” from the context menu.
- Follow the on-screen prompts to complete the uninstallation process.
- After uninstalling the driver, restart your laptop.
- Once your laptop has restarted, Windows will automatically detect and install the default graphics driver. However, it’s recommended to visit the manufacturer’s website and download the latest driver specifically designed for your graphics card model.
- Install the downloaded driver and restart your laptop again.
Reinstalling the graphics drivers can resolve any underlying issues and provide a fresh start, potentially fixing the HDMI connection problem.
Review Potential Software Conflicts
In some cases, software conflicts may prevent your laptop from connecting to the monitor via HDMI. Certain programs or settings can interfere with the HDMI functionality, causing the connection to fail. Consider following these steps to review potential software conflicts:
- Ensure that all unnecessary programs are closed on your laptop.
- Scan your laptop for any malware or viruses using a reliable antivirus program.
- Temporarily disable any third-party firewall or security software installed on your laptop.
- Disconnect any other external devices connected to your laptop, such as USB drives or other monitors.
- Restart your laptop and try connecting to the monitor via HDMI again.
By reviewing potential software conflicts, you can eliminate any external factors that might be hindering the HDMI connection, allowing for a smoother and more successful connection between your laptop and the monitor.
Advanced Troubleshooting Techniques
When experiencing issues with your laptop not connecting to the monitor via HDMI, it’s time to explore advanced troubleshooting techniques. Below, we discuss how to modify the laptop’s BIOS/UEFI settings, resetting the monitor to factory defaults, and considering professional hardware diagnostics.
Modify The Laptop’s Bios/uefi Settings
One potential solution to fix the HDMI connection issue is to modify your laptop’s BIOS/UEFI settings. Follow these steps to access the settings:
- Restart your laptop and continuously press the designated key to enter the BIOS/UEFI settings. This key may vary depending on your laptop’s brand, such as F2, F10, or Delete.
- Once you’re in the BIOS/UEFI settings, navigate to the “Display” or “Graphics” section.
- Look for an option related to “Primary Display” or “Video Output” and select “HDMI” or “External Display” as the primary output.
- Save the changes and exit the BIOS/UEFI settings. Your laptop should now prioritize the HDMI connection.
Resetting Monitor To Factory Defaults
If modifying the laptop’s settings doesn’t resolve the issue, try resetting the monitor to its factory defaults. Follow these steps:
- Access the monitor’s menu by pressing the appropriate button on the front or side panel.
- Navigate through the menu using the monitor’s control buttons and look for the “Reset” or “Factory Reset” option.
- Select the option to reset the monitor to its original settings.
- After the reset, reconnect your laptop to the monitor using the HDMI cable and check if the connection is established.
Consider Professional Hardware Diagnostics
If all else fails, it may be time to seek professional help and consider hardware diagnostics. Professional technicians have the expertise and tools to thoroughly diagnose and troubleshoot hardware-related issues.
A hardware diagnostics service can identify whether the problem lies with the laptop’s HDMI port, the monitor’s input, or any other underlying hardware issues.
Reach out to certified technicians or visit a trusted local computer repair shop to get a comprehensive diagnosis and suitable solution for your laptop’s HDMI connection problem.
Remember, trying these advanced troubleshooting techniques can save you from unnecessary frustration and potentially resolve the issue of your laptop not connecting to the monitor via HDMI. However, if you’re uncomfortable performing these steps yourself or if the issue persists, it’s always best to seek professional assistance.
Frequently Asked Questions For Laptop Not Connecting To Monitor Hdmi
Why Is My Hdmi Cable Not Working From Laptop To Monitor?
To fix HDMI cable connectivity issues between your laptop and monitor, follow these steps: 1. Ensure that the cable is properly plugged in. 2. Test different HDMI cables. 3. Check the display settings on your laptop. 4. Inspect the HDMI port for any damage.
5. Restart your laptop. 6. Update Windows and graphics driver. 7. Reinstall the graphics driver if necessary. For more detailed instructions, search “How to fix your laptop’s HDMI port” on Google.
Why Won’t My Laptop Detect My Monitor?
If your laptop isn’t detecting your monitor, follow these steps: 1. Check that your cable is properly plugged in. 2. Test different HDMI cables. 3. Verify the display settings on your laptop. 4. Inspect your laptop’s HDMI port for damage. 5.
Restart your laptop. 6. Update Windows. 7. Update your graphics driver. 8. Reinstall your graphics driver. These steps should help you resolve the issue and connect your laptop with the monitor.
Why Can’t I Get My Laptop To Connect To A Monitor?
To troubleshoot why your laptop is not connecting to a monitor, follow these steps: 1. Check the cable connection between your laptop and monitor. 2. Test with different HDMI cables. 3. Verify the display settings on your laptop. 4. Inspect for any physical damage to the HDMI port on your laptop.
5. Restart your laptop. 6. Update Windows and graphics drivers. 7. Reinstall the graphics driver if necessary. These steps should help resolve the issue of your laptop not connecting to a monitor.
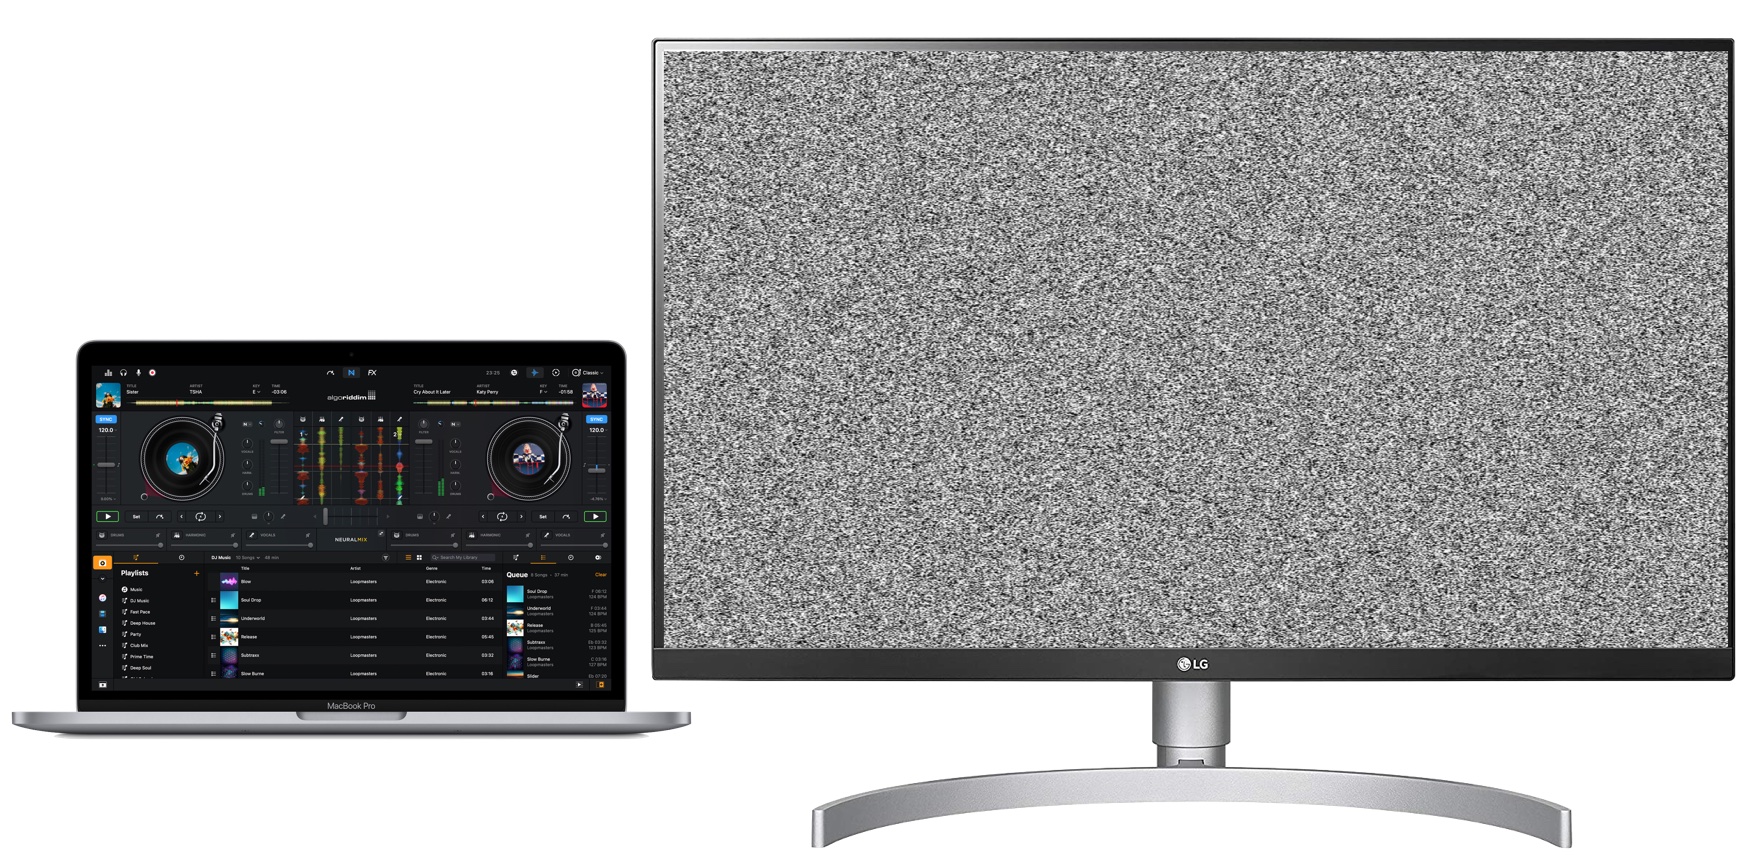
Why Is There No Signal To My Hdmi Monitor?
If your HDMI monitor has no signal, follow these steps to troubleshoot: 1. Check the cable connection to ensure it’s properly plugged in. 2. Test different HDMI cables to rule out any cable issues. 3. Verify the display settings on your laptop.
4. Inspect the HDMI port on your laptop for any damage. 5. Restart your laptop. 6. Update Windows and your graphics driver. 7. Consider reinstalling your graphics driver if necessary. These steps should help resolve the issue and get your HDMI monitor working again.
Conclusion
To troubleshoot the issue of your laptop not connecting to the monitor via HDMI, there are several steps you can take. First, double-check that the cable is properly plugged in. If that doesn’t solve the problem, try using different HDMI cables or checking your laptop’s display settings.
It’s also important to inspect the HDMI port for any damage. Restarting your laptop and updating both Windows and your graphics driver can also help resolve the issue. Remember to reinstall your graphics driver if necessary. By following these steps, you should be able to fix the HDMI connection problem and enjoy a seamless display experience.