Laptop Audio Not Working After Connecting to Monitor: Troubleshooting Tips
To fix laptop audio not working after connecting to a monitor, first check if the PC/laptop is muted or if the volume is turned down. Next, ensure that the sound output device in Windows/Mac OS is set to the monitor.
If the issue persists, verify the cable connection between the laptop and the monitor, ensuring a direct connection. Having audio problems after connecting your laptop to a monitor can be frustrating. You want to enjoy a seamless multimedia experience but are left with no sound.
Don’t worry, we’ve got you covered. We will explore some common reasons why your laptop audio might not be working after connecting it to a monitor. Additionally, we will provide troubleshooting steps to resolve the issue and get your audio back up and running in no time. So, let’s dive in and unravel the mystery behind this audio dilemma.
Recognizing Common Connectivity Issues
If you are experiencing the issue of laptop audio not working after connecting to a monitor, there are a few troubleshooting steps you can try. First, make sure your laptop’s volume is not muted or turned down. Next, check the sound output settings of your Windows or Mac OS to ensure it is set to the monitor.
Lastly, ensure the audio cable is securely connected between your laptop and the monitor.
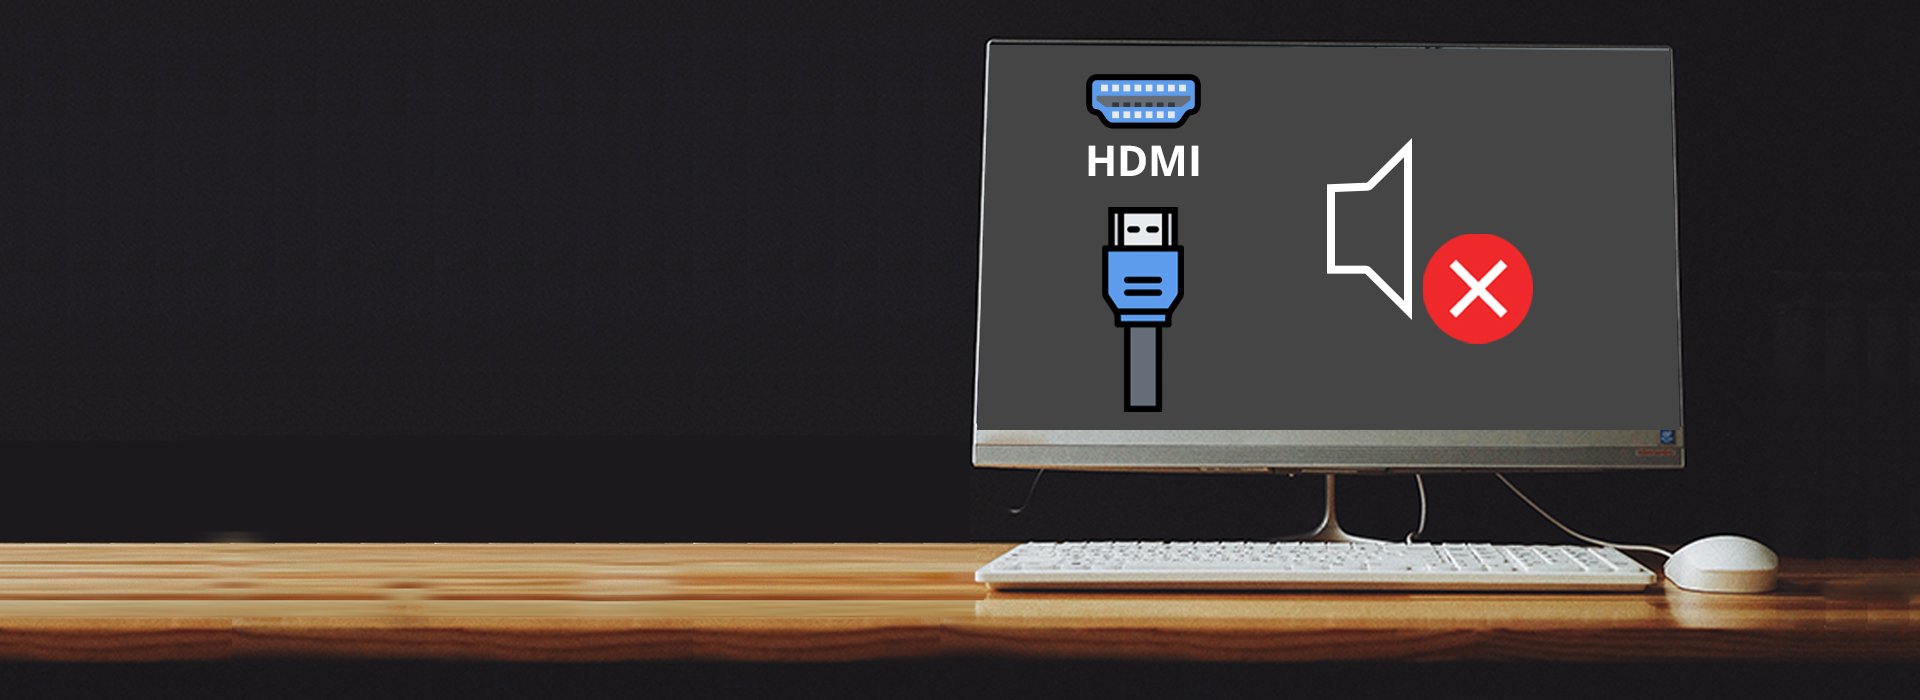
Importance Of Correct Hdmi Or Audio Output Port Usage
One common issue that may arise when connecting a laptop to a monitor is the incorrect usage of the HDMI or audio output ports. It is crucial to understand the importance of using the correct port in order to ensure proper audio connectivity. Using the wrong port can result in no sound or incorrect audio output.
Identifying Hardware Malfunctions Early On
Another important aspect of recognizing common connectivity issues is to identify any hardware malfunctions early on. It is essential to check if the laptop, monitor, or the connecting cables have any defects or damage that may be causing the audio problem. By identifying and addressing these potential malfunctions early, further troubleshooting steps can be taken to resolve the issue.
Troubleshooting Tips For Sound Problems
If you’re experiencing audio issues on your laptop after connecting it to a monitor, don’t worry. In this guide, we’ll walk you through the troubleshooting steps to help you resolve the problem. Follow these step-by-step instructions to ensure your laptop isn’t muted, verify the correct sound output settings on Windows and Mac, and check for audio driver updates.
Step-by-step Guide To Ensure The Laptop Isn’t Muted
Before diving into more complex troubleshooting steps, it’s essential to ensure that your laptop isn’t muted. Muted audio can cause sound problems, even when connected to a monitor. Here’s what you need to do:
- Check the volume settings on your laptop. Make sure the volume is turned up and not muted. You can usually find the volume controls on the taskbar or in the settings menu.
- If the volume is already turned up, press the volume mute button on your laptop’s keyboard to unmute it. Sometimes the mute button can accidentally be pressed, resulting in no sound.
Verifying Correct Sound Output Settings On Windows And Mac
Incorrect sound output settings can also cause audio problems when connecting a laptop to a monitor. Here’s how you can verify and adjust the sound output settings:
Windows:
To ensure the correct sound output settings on Windows:
- Click on the Windows Start menu and open the Control Panel.
- In the Control Panel, locate and click on the “Sound” option.
- When the Sound window opens, navigate to the “Playback” tab.
- Select the correct audio playback device for your monitor from the list. If unsure, you can try selecting different options to test if the audio starts working.
- Click “Apply” and then “OK” to save the changes.
Mac:
To verify the sound output settings on a Mac:
- Click on the Apple menu and select “System Preferences.”
- In the System Preferences window, click on “Sound.”
- Go to the “Output” tab.
- Select the correct audio output device for your monitor from the list.
- Ensure the output volume is turned up.
- Close the System Preferences window.
Importance Of Checking Audio Drivers And Updates
Outdated or missing audio drivers can also cause sound problems when connecting a laptop to a monitor. Follow these steps to check for audio driver updates:
- Visit the website of your laptop’s manufacturer.
- Find the “Support” or “Downloads” section of the website.
- Enter your laptop’s model number or search for the audio driver.
- Download and install the latest audio driver for your laptop.
- Restart your laptop to apply the changes.
By ensuring that your laptop isn’t muted, verifying the correct sound output settings, and checking for audio driver updates, you can troubleshoot and resolve sound problems when connecting your laptop to a monitor. Following these steps should help you restore the audio and enjoy a seamless multimedia experience.
Switching Audio Output To Desired Source
If your laptop audio is not working after connecting to a monitor, you can troubleshoot the issue by checking if the PC/laptop is muted or the volume is turned down. Additionally, ensure that the sound output device in Windows/Mac OS is set to the monitor.
Double-check the cable connection to ensure it is properly connected.
Instructions On Toggling Between Laptop Audio And Monitor
When you connect your laptop to a monitor, you may find that the audio is not working as expected. This can be frustrating, especially if you want to watch videos or listen to music with sound. However, there is a simple solution to this problem.
To toggle between your laptop audio and the monitor audio, follow these steps:
- First, check that your laptop is not muted or the volume is turned down. Sometimes, the audio issue may be as simple as this. Adjust the volume if needed.
- If your laptop audio is functioning properly, but the sound is still not coming through the monitor, you need to change the audio output device settings.
- In Windows, search for and open the Control Panel.
- Click on “Sound,” and then navigate to the “Playback” tab.
- You will see a list of audio devices. Look for your monitor in the list.
- If the monitor is selected as the default audio device, you will hear the sound through the monitor’s speakers. To switch back to your laptop audio, select the laptop speakers as the default playback device.
- If the monitor is not listed, right-click anywhere in the “Playback” tab and select “Show Disabled Devices” and “Show Disconnected Devices.” This will display all possible audio output options.
- If your monitor is now listed, right-click on it and select “Set as Default Device.”
- Test the audio again to see if it is working through the monitor.
- If the issue persists, restart your laptop and try the above steps again.
Resolving Conflicts In Audio Management Settings
In some cases, conflicts in audio management settings can cause the issue of no audio from the monitor. To resolve this, follow these steps:
- Open the Control Panel on your laptop.
- Click on “Sound” and navigate to the “Playback” tab.
- Right-click on your monitor audio device and select “Properties.”
- In the Properties window, go to the “Advanced” tab.
- Uncheck the option that says “Allow applications to take exclusive control of this device.”
- Click “Apply” and then “OK” to save the changes.
- Restart your laptop and test the audio again to see if it is now working through the monitor.
By following these instructions, you should be able to toggle between your laptop audio and the monitor audio seamlessly. Remember to check your laptop’s audio settings and ensure there are no conflicts in the audio management settings. Now you can enjoy your multimedia experience with the desired audio source.
Credit: www.nytimes.com
Assess And Secure Physical Links
When your laptop audio stops working after connecting it to a monitor, the problem might lie in the physical links between your laptop, monitor, and audio devices. Assessing and securing these physical links is crucial in getting the audio working again. In this section, we will examine two key aspects: HDMI and audio cable integrity, and the impact of direct versus indirect audio connections.
Examining Hdmi And Audio Cable Integrity
HDMI and audio cables can sometimes become damaged or loose, leading to audio issues when connecting a laptop to a monitor. It’s essential to check the integrity of these cables to ensure a proper connection. Here are a few steps to follow:
- Inspect the HDMI cable: Examine the HDMI cable for any visible signs of damage, such as frayed wires or bent connectors. If you notice any issues, it’s best to replace the cable with a new one to eliminate any potential problems.
- Check the audio cable: If you’re using a separate audio cable to connect the laptop and monitor, inspect it for any signs of damage as well. Make sure the connectors are securely plugged in and not loose.
- Ensure proper connections: Ensure that the HDMI and audio cables are securely plugged into their respective ports on both the laptop and monitor. Gently wiggle the cables to ensure a tight connection.
Impact Of Direct Vs. Indirect Audio Connections
The way you connect the audio from your laptop to the monitor can also have an impact on the overall functionality. Let’s explore the differences between direct and indirect audio connections:
| Direct Audio Connection | Indirect Audio Connection |
|---|---|
| A direct audio connection involves connecting your laptop’s audio output directly to the monitor’s audio input, typically through an auxiliary cable or HDMI with audio support. | An indirect audio connection involves routing the laptop’s audio output through external speakers or audio devices before connecting it to the monitor. This can be done using a separate audio system or a receiver. |
| Pros: | Pros: |
|
|
| Cons: | Cons: |
|
|
Consider your specific needs and preferences when deciding between a direct or indirect audio connection. Both options can work effectively, but understanding the differences can assist in troubleshooting audio issues and achieving the desired audio experience.
Advanced Troubleshooting Techniques
When you encounter the frustrating issue of your laptop audio not working after connecting it to a monitor, there are a few advanced troubleshooting techniques that you can employ to fix the problem. These techniques go beyond the basic checks of ensuring that your laptop is not muted or that the volume is turned up. Let’s dive deeper into two effective methods that can help resolve this issue.
Diving Deeper Into Driver Updates And Reinstallation
One of the primary reasons why your laptop audio may not be working after connecting it to a monitor is outdated or corrupt audio drivers. To address this, you can follow these steps:
- Open the Device Manager on your Windows laptop. You can do this by right-clicking on the Start menu and selecting “Device Manager”.
- In the Device Manager window, locate the “Sound, video, and game controllers” section and expand it.
- Right-click on your audio device and select “Update driver”. Choose the option to search automatically for updated driver software.
- If Windows finds any updates, follow the on-screen instructions to install them. Restart your laptop after the installation is complete.
- If updating the driver doesn’t resolve the issue, you can try uninstalling the audio driver and then reinstalling it.
- To uninstall the driver, right-click on your audio device again and select “Uninstall device”. Confirm the action when prompted.
- After uninstalling, restart your laptop. Windows will automatically reinstall the audio driver.
By updating or reinstalling your audio driver, you can often fix any compatibility issues and restore the audio functionality when connecting your laptop to a monitor.
Exploring Third-party Software And System Restore Options
If updating or reinstalling the audio driver doesn’t resolve the issue, you can explore two additional options: using third-party software and performing a system restore.
When it comes to third-party software, there are various applications available that can help diagnose and fix audio-related problems. These software solutions scan your system for any issues, including audio driver problems, and offer solutions to resolve them. Some popular options include Driver Easy, Realtek HD Audio Manager, and SoundWire.
Alternatively, you can consider utilizing the system restore feature in Windows, which allows you to revert your laptop’s settings to a previous working state. Here’s how you can perform a system restore:
- Open the Control Panel on your Windows laptop.
- Click on “System and Security” and then select “System”.
- In the System window, click on “System protection” in the left sidebar.
- In the System Properties dialog box, click on the “System Restore” button.
- Follow the on-screen instructions to choose a restore point and begin the restoration process.
Performing a system restore can often undo any recent changes that may have caused the audio issue and bring back the functionality when connecting your laptop to a monitor.
By employing these advanced troubleshooting techniques, such as updating or reinstalling drivers, exploring third-party software, or utilizing system restore options, you can increase the chances of resolving the laptop audio problem after connecting it to a monitor. Remember to try these methods one by one and test the audio functionality after each step to determine the effectiveness of the solution.
Frequently Asked Questions On Laptop Audio Not Working After Connecting To Monitor
How Do I Get Sound Through My Laptop When Connected To My Monitor?
To get sound through your laptop when connected to a monitor: 1. Check that your laptop’s volume is not muted or turned down. 2. Make sure the sound output device in your computer’s settings is set to the monitor. 3. Verify that the cable connecting your laptop to the monitor is securely plugged in.
4. If there is still no sound, try updating the audio driver or checking for driver issues. 5. You may also need to adjust the audio settings on your source device.
Why Is There No Sound After Connecting Hdmi Cable To Monitor?
After connecting an HDMI cable to a monitor, if there is no sound, make sure the PC/laptop is not muted or volume is turned down. Additionally, check the sound output settings in Windows/Mac OS and ensure it is set to the monitor.
Why Does My Laptop Sound Not Work When I Connect Two Monitors?
When connecting two monitors to your laptop, make sure the volume is not muted or turned down. Check the sound output device settings in Windows/Mac OS and set it to the monitor. Ensure the cable is connected properly. If the issue persists, try uninstalling and reinstalling the audio driver in Device Manager.
Why Did My Audio Stop Working On My Laptop?
If your audio stopped working on your laptop, check these steps: 1. Ensure the volume is not muted or turned down. 2. Confirm that the sound output device settings in Windows/Mac OS are set to the laptop. 3. Check if the audio cable is properly connected between the laptop and the monitor.
4. Restart your laptop and try again. 5. If the issue persists, update your audio drivers or consult the manufacturer’s website for further instructions.
Conclusion
To troubleshoot the issue of laptop audio not working after connecting to a monitor, there are a few steps you can follow. First, ensure that the PC or laptop is not muted and the volume is not turned down. Next, check the sound output device settings in Windows or Mac OS to ensure it is set to the monitor.
Additionally, make sure the HDMI cable is securely connected. If the issue persists, updating the audio driver or checking the cable and power connection may be necessary. Remember to test the audio output settings on both the laptop and the monitor to ensure proper functioning.