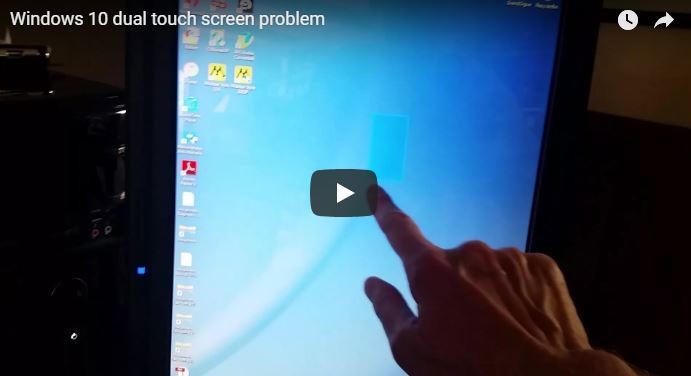
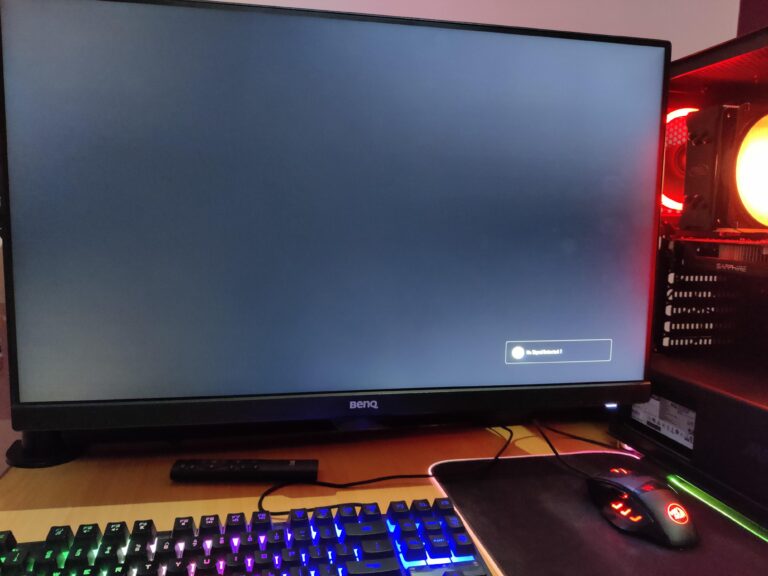
External Monitor Not Connecting to Laptop? Troubleshooting Tips!
If your external monitor is not connecting to your laptop, ensure that the cable is securely connected. Consider trying a different cable to see if the issue lies with the faulty cable.
Additionally, test the external monitor with another system to determine if it is functioning properly.
Recognizing Common Connectivity Problems
If you’re facing issues with your external monitor not connecting to your laptop, it can be frustrating and disruptive to your work or entertainment. In this section, we’ll go over some common problems you might encounter and how to identify and fix them.
Signs Of A Poor Connection
If you’re experiencing a poor connection between your laptop and external monitor, there are a few signs you might notice:
- Intermittent or no signal between the laptop and monitor
- Blurry or distorted display on the external monitor
- No sound coming from the external monitor
- Visible damage or bent pins on the video cable
If you’re experiencing any of these signs, it’s important to troubleshoot the issue promptly to get your external monitor working again.
Identifying Hardware Vs. Software Issues
When troubleshooting connectivity problems, it’s crucial to determine whether the issue is related to hardware or software. This will help you narrow down the possible solutions.
If you suspect a hardware issue, consider the following:
- Check the cable connecting your laptop and external monitor. Ensure it is securely plugged in and not damaged.
- Try using a different cable to connect your laptop and monitor. If the new cable works, then the previous one was likely faulty.
- Connect the external monitor to a different system. If it works on another system, then the issue might be with your laptop.
If you suspect a software issue, follow these steps:
- Open the Settings on your laptop.
- Click on System.
- Choose Display.
- Check if the external monitor is recognized by your laptop. If not, click on “Detect” to prompt your laptop to search for connected monitors.
- Update your Windows display driver to ensure compatibility with the external monitor.
By distinguishing between hardware and software issues, you can effectively troubleshoot and resolve the connectivity problems between your laptop and external monitor.
Remember, it’s always a good idea to unplug and replug the cable connecting your laptop and monitor to ensure a secure connection. Additionally, swapping cables or trying alternative connection ports (such as HDMI or USB-C) can also help resolve the issue.
Troubleshooting Tips For External Display
If your external monitor is not connecting to your laptop, there are several troubleshooting tips you can try to resolve the issue. Below, we’ll discuss the most common solutions that can help you get your external monitor up and running again.
Checking And Securing Cable Connections
One of the first things you should do is to check and ensure that the cable connecting your PC to your external monitor is securely plugged in. Sometimes, a loose connection can prevent the monitor from displaying properly. Follow these steps:
- Inspect both ends of the cable, as well as the ports on your laptop and monitor, for any signs of damage.
- If there is no visible damage, unplug the cable from both ends and firmly reattach it, making sure it is fully inserted.
- Try using a different cable if you have a spare one available. This can help determine if the issue lies with the cable itself.
Testing With Alternative Cables And Monitors
If the previous steps didn’t resolve the issue, try connecting your laptop to a different external monitor using an alternative cable. Testing with alternative cables and monitors can help identify whether the problem lies with your laptop, the original monitor, or the cable. Follow these steps:
- Find another monitor that is known to be working properly.
- Connect your laptop to the alternative monitor using a different cable.
- If the alternative setup works and the external monitor is recognized, it may indicate that the issue lies with the original monitor.
- If the alternative setup doesn’t work either, the problem may be with your laptop’s settings or hardware.
Adjusting Display Settings On The Laptop
If you’ve checked and secured the cable connections and tested with alternative cables and monitors without success, it’s time to adjust the display settings on your laptop. Follow these steps:
- Open the Settings menu on your laptop.
- Click on System.
- Select Display.
- Under the “Multiple displays” section, make sure the “Extend these displays” option is selected if you want to use the external monitor as an extended display.
- If the external monitor is still not detected, click on the “Detect” button to search for any available monitors.
By adjusting the display settings on your laptop, you can ensure that it recognizes and properly displays the external monitor.
Remember to always make sure your laptop and external monitor are powered on and connected properly before troubleshooting. Following these troubleshooting tips should help you resolve any issues you may have with your external monitor not connecting to your laptop.
Update And Reinstall Display Drivers
If you’re experiencing issues with your external monitor not connecting to your laptop, one of the first troubleshooting steps you should take is updating and reinstalling your display drivers. Outdated or corrupted drivers can often cause connection problems between your laptop and external display. In this article, we’ll guide you through the process of identifying outdated drivers and providing a step-by-step guide for updating and reinstalling them to resolve the issue.
Identifying Outdated Drivers
The first step in resolving connection issues between your laptop and external monitor is to identify whether or not you have outdated display drivers. Outdated drivers can prevent your laptop from properly recognizing and connecting to the external display. To check for outdated drivers, follow these steps:
- Open the Start Menu and search for “Device Manager”.
- Click on “Device Manager” to open the application.
- In the Device Manager window, locate the “Display Adapters” category and expand it.
- Right-click on your display adapter and select “Properties”.
- In the Properties window, navigate to the “Driver” tab.
- Check the driver version and compare it to the latest version available from the manufacturer’s website.
Step-by-step Driver Update Process
If you have identified that your display drivers are outdated, follow these step-by-step instructions to update them:
- Visit the website of your laptop’s manufacturer.
- Navigate to the Support or Drivers section of the website.
- Search for the latest display driver for your specific laptop model.
- Download the driver to your laptop.
- Once the driver is downloaded, locate the file and double-click on it to start the installation process.
- Follow the on-screen prompts to complete the installation.
- Restart your laptop to apply the changes.
Reinstalling Drivers For Troubleshooting
If updating the drivers does not resolve the issue with your external monitor, you can try reinstalling the drivers as a troubleshooting step. Reinstalling the drivers can help to fix any corrupted or missing files that may be causing the connection problem. Follow these steps to reinstall the display drivers:
- Open the Start Menu and search for “Device Manager”.
- Click on “Device Manager” to open the application.
- In the Device Manager window, locate the “Display Adapters” category and expand it.
- Right-click on your display adapter and select “Uninstall Device”.
- Check the box that says “Delete the driver software for this device” and click “Uninstall”.
- Restart your laptop to apply the changes.
- After the restart, the default display driver will be automatically installed.
- If the default driver doesn’t resolve the issue, repeat the steps above to reinstall the latest driver downloaded from the manufacturer’s website.
By updating and reinstalling your display drivers, you can often resolve connection issues between your laptop and external monitor. Remember to always download the latest drivers from the manufacturer’s website and follow the installation instructions provided. If the issue persists, you may need to consult with a professional technician for further assistance.
Configuring Display Settings On Laptops
Navigating To Display Settings
When troubleshooting external monitor connection issues on your laptop, one of the first steps you should take is to configure the display settings. To do this, follow these simple steps:
- Open the Settings menu on your laptop.
- Click on System.
- Select Display from the options.
By navigating to the display settings, you will have access to various options that can help you resolve the issue with your external monitor.
Detecting External Monitors Manually
If your laptop fails to automatically detect your external monitor, you can manually initiate the detection process. Follow these steps to manually detect your external monitor:
- Ensure that your external monitor is securely connected to your laptop using the appropriate cable such as HDMI or USB-C.
- Access the display settings on your laptop.
- Click on the Detect button in the display settings menu.
By manually detecting your external monitor, you can prompt your laptop to search for and identify the connected display. This process may resolve any connectivity issues you are experiencing.
Arranging Multiple Displays
If you use multiple displays with your laptop, it’s important to arrange them properly to ensure a seamless working experience. Here’s how you can arrange multiple displays:
- Access the display settings on your laptop.
- Click on the Arrange or Rearrange Displays option.
- Drag and position the displays according to your desired arrangement.
- Click Apply to save the changes.
By arranging multiple displays, you can control the placement and orientation of each monitor. This feature is especially useful for tasks that require a wide working space, such as gaming or video editing.
Configuring display settings on laptops is crucial for resolving external monitor connection issues. By navigating to display settings, manually detecting external monitors, and arranging multiple displays, you can troubleshoot and optimize your laptop’s external monitor connectivity.
Resolving Hardware Incompatibilities
Ensure a secure connection between your laptop and external monitor by checking and changing the cable if necessary. Test the monitor with a different system to determine if the issue is with the monitor or laptop.
Compatibility Check Between Laptop And Monitor
If you’re experiencing issues with your external monitor not connecting to your laptop, it’s essential to first check the compatibility between your laptop and the monitor. Some monitors may not be compatible with certain laptops due to differences in ports, cables, or display capabilities.
To determine if your laptop is compatible with your external monitor, you should:
- Check the ports available on your laptop and ensure they match the ports required by the monitor. Common display ports include HDMI and USB-C.
- Verify that your laptop supports the resolution and refresh rate of the external monitor.
- Consult the user manuals or specifications of both the laptop and monitor for compatibility information.
Troubleshooting Tips For Port Issues
In some cases, the issue may lie with the ports on either your laptop or the external monitor. Here are some troubleshooting tips to resolve port-related issues:
- Ensure that the cable connecting your laptop and the external monitor is securely plugged into both devices.
- If the cable is loose or damaged, try using a different cable to establish a connection.
- Check for any physical damage or bent pins on the video port of your laptop or the monitor. If damaged, consider professional repair or replacement.
- Disconnect and reconnect the monitor to your laptop to ensure a proper connection.
- Update your display drivers on your laptop to the latest version to ensure compatibility and proper functioning.
When To Consider Professional Repair Or Replacement
If you’ve followed the troubleshooting tips above and are still unable to resolve the issue with your external monitor not connecting to your laptop, it may be time to consider professional repair or replacement options. Here are some cases where professional assistance may be necessary:
- Physical damage to the ports or connectors of your laptop or external monitor.
- Outdated or incompatible hardware on either your laptop or the monitor.
- Persistent connection issues despite trying different cables and troubleshooting steps.
- If your laptop is still under warranty, contacting the manufacturer for assistance.
Resolving hardware incompatibilities between your laptop and external monitor can be challenging, but by following these compatibility checks, troubleshooting tips for port-related issues, and knowing when to consider professional repair or replacement, you can hopefully establish a successful connection and optimize your productivity with a dual-screen setup.
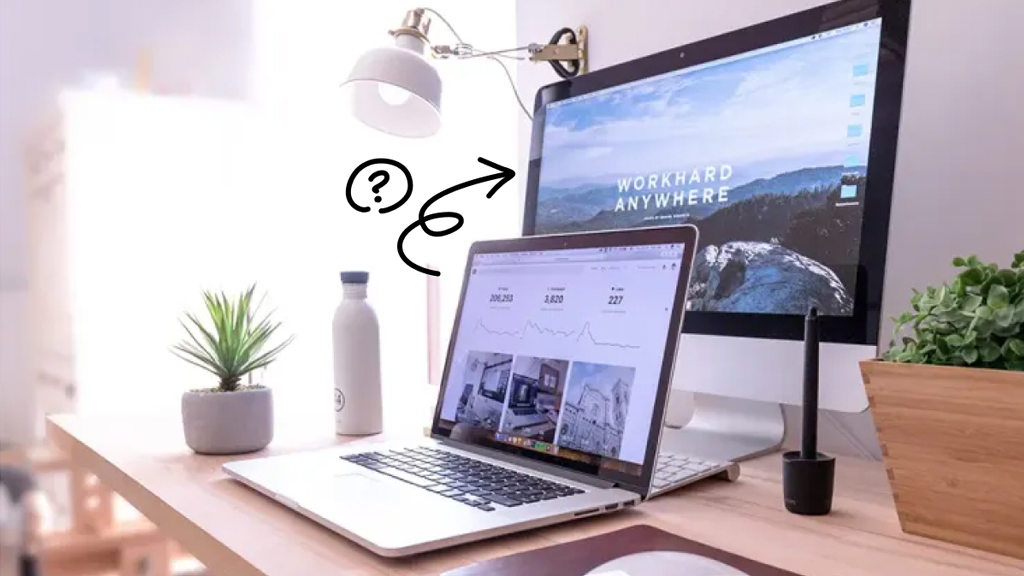
Credit: www.asurion.com
Frequently Asked Questions For External Monitor Not Connecting To Laptop
How Do I Get My Laptop To Recognize My External Monitor?
To get your laptop to recognize your external monitor, make sure the cable connecting them is secure. If it’s not working, try changing the cable or testing the monitor with a different system. Additionally, check that your display drivers are up to date.
Why Won’t My Monitors Connect To My Laptop?
To troubleshoot why your monitors won’t connect to your laptop: 1. Ensure the cable connecting your PC to the monitor is securely plugged in. 2. Try using a different cable to see if the issue is with the cable. 3. Connect the external monitor to a different system to check if it’s working.
4. Check for any damage or bent pins on the video port and cable. 5. Update your display drivers to ensure they are up to date.
Why Won’t My Laptop Detect My Monitor Via Hdmi?
If your laptop is not detecting your monitor via HDMI, make sure the cable is securely connected. Try using a different HDMI cable to see if the issue is with the cable itself. Also, check if the monitor works with another system.
If none of these solutions work, there may be a problem with your laptop’s HDMI port.
Why Does Second Monitor Say No Signal?
To fix the issue of the second monitor showing “no signal,” ensure the PC’s cable connecting to the monitor is secure. Try using a different cable, and if it works, the previous one may be faulty. Also, test the second monitor on another system.
Conclusion
In troubleshooting external monitor connection issues, it is important to ensure that the cable connecting your PC to the external monitor is secure. If the issue persists, try using a different cable or connecting the external monitor to a different system.
Additionally, checking for any display driver updates and ensuring the HDMI cable is not damaged can also help resolve connection problems. Remember to unplug and replug the cables if in doubt. By following these steps, you can effectively resolve external monitor connection issues and enjoy a seamless viewing experience.
