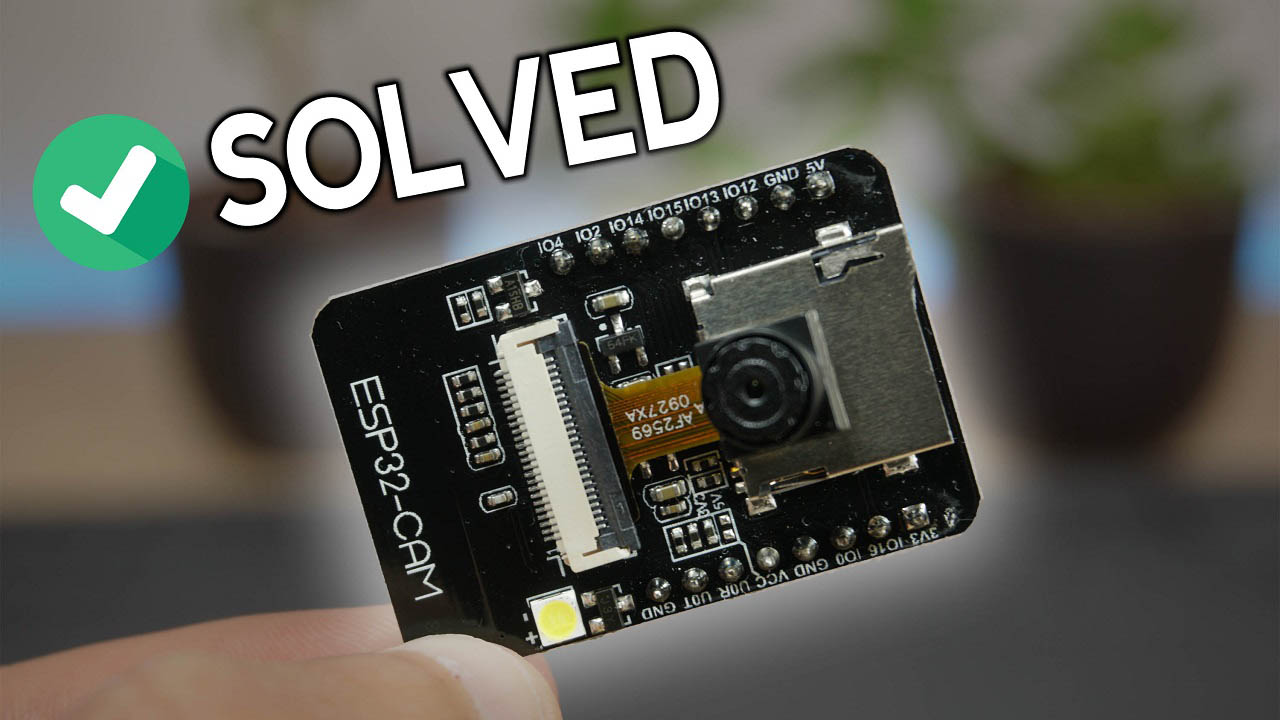
Esp32 Serial Monitor Not Working: Troubleshooting Tips
To fix the issue of the ESP32 serial monitor not working, open the Arduino IDE, go to the Tools menu, and select Serial Monitor. If it’s not already open, this will open the Serial Monitor view.
Check the baud rate menu to ensure it matches the one specified in your code. If the Serial Monitor or sketch is not visible, it may be positioned off the viewable screen. In this case, open the preferences. txt file, delete the location lines, save the preferences, and restart the Arduino IDE.
Troubleshooting steps like these can help resolve the problem of the serial monitor not showing anything. If you have recently received ESP32 boards to experiment with, you may encounter the issue of the serial monitor not functioning properly. This can be frustrating as it hinders the communication between your ESP32 and the computer. We will explore some troubleshooting steps to address this problem. These steps include ensuring the Serial Monitor is open, checking the baud rate settings, and fixing visibility issues by modifying the preferences. txt file. By following these instructions, you will be able to resolve the issue and successfully use the serial monitor for your ESP32 projects.
Quick Checks For Connection Issues
If you’re facing connection issues with your ESP32 Serial Monitor, follow these quick checks. First, make sure to open the Serial Monitor from the Arduino IDE menus. If it’s still not working, check your screen resolution and preferences. txt file for any issues.
Troubleshooting Arduino IDE can help resolve common problems like a non-functioning serial monitor.
Ensure Proper Board Selection In Your Ide
One of the common reasons why the ESP32 Serial Monitor may not be working is because of incorrect board selection in your Integrated Development Environment (IDE). It is crucial to ensure that you have selected the correct board that matches the hardware you are using. Selecting the wrong board can lead to communication issues between your computer and the ESP32 board.
Verify Correct Usb Port Is In Use
Another factor to consider when troubleshooting ESP32 Serial Monitor issues is the USB port you are using to connect the board to your computer. Ensure that you have connected the ESP32 board to a functioning USB port. Sometimes, using a faulty or incompatible USB port can cause the Serial Monitor to not work properly. Additionally, if you are using a USB hub, try connecting the board directly to a USB port on your computer to rule out any potential issues.
Validate If Drivers Are Installed And Updated
To establish a successful connection between your ESP32 board and your computer, it is essential to have the correct drivers installed and updated. Outdated or missing drivers can prevent the Serial Monitor from functioning correctly. Check if the necessary drivers for your ESP32 board are installed and ensure they are up to date. You can usually find the latest drivers on the manufacturer’s website.
If you have gone through the above quick checks and still experiencing issues with the ESP32 Serial Monitor not working, there might be deeper underlying problems that require further investigation. It is advisable to reach out to the support forums or communities for assistance in resolving the issue.
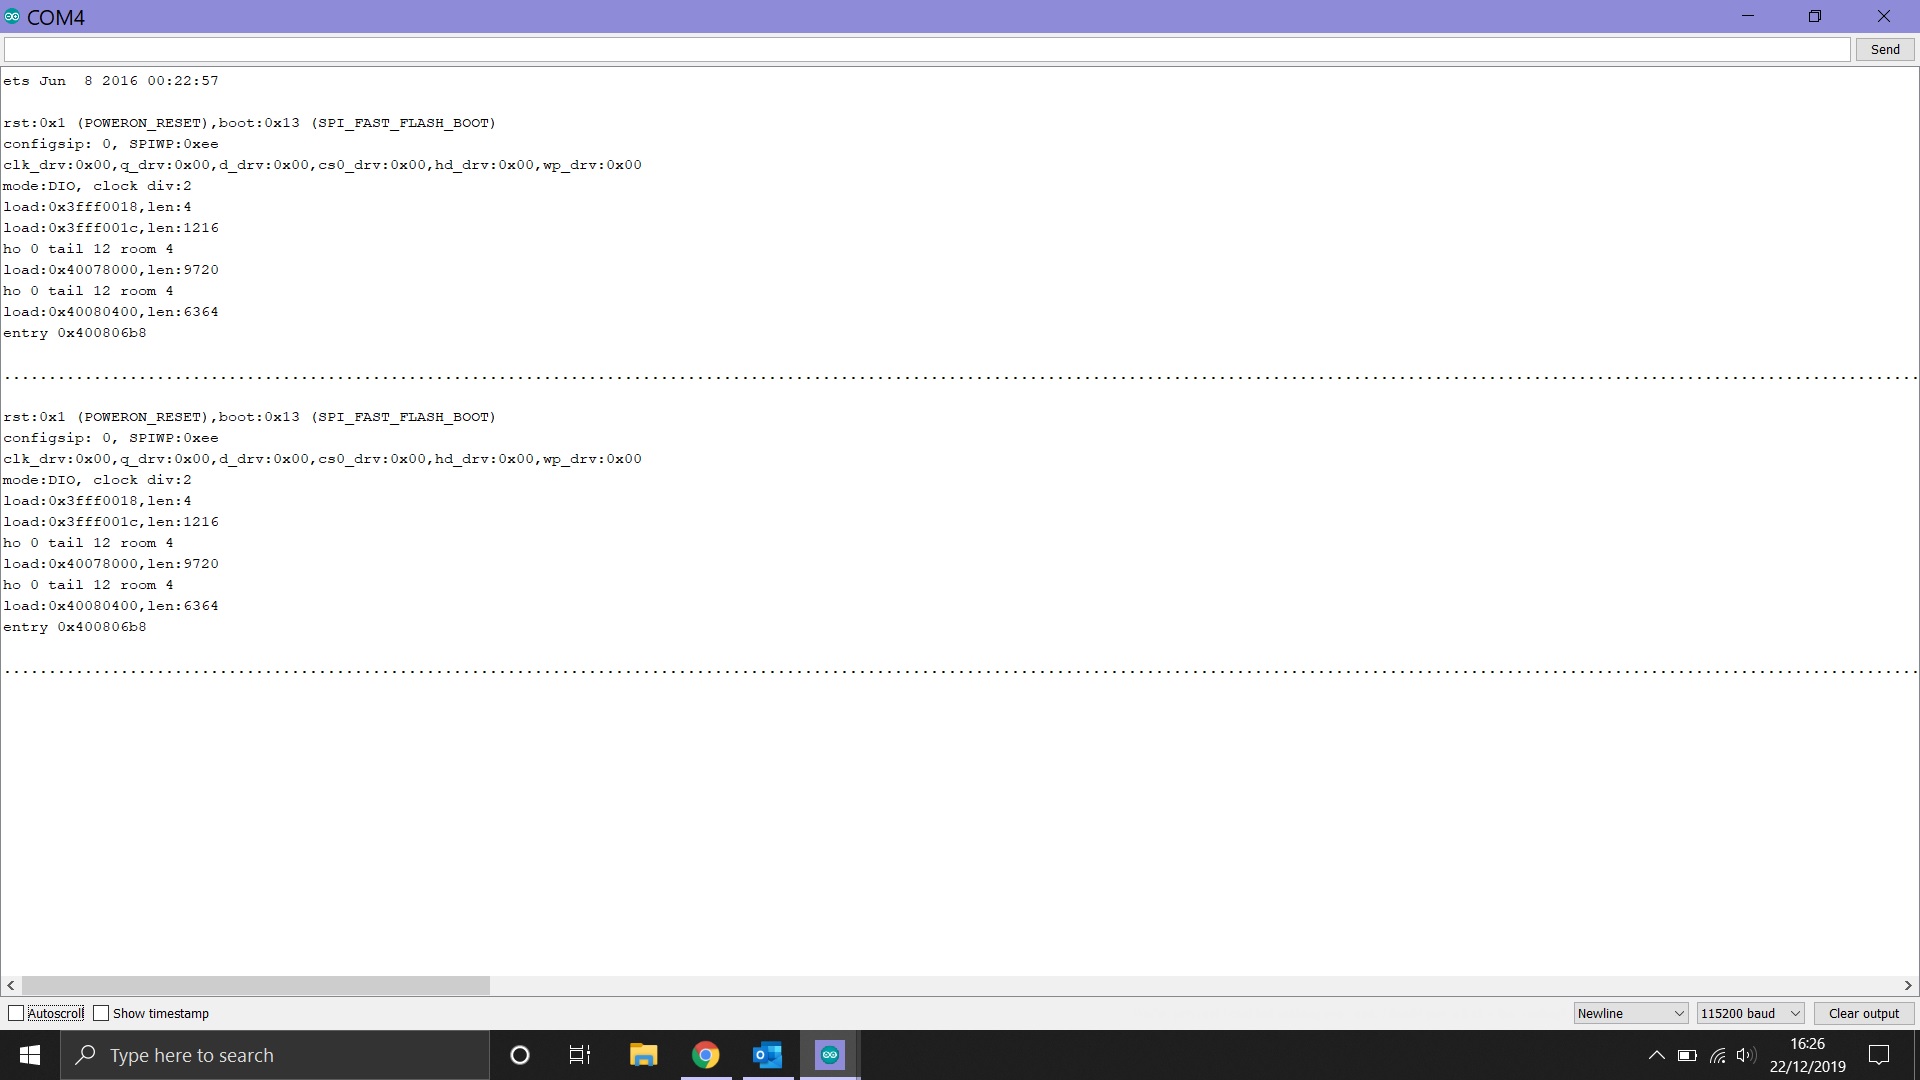
Credit: github.com
Common Causes Of Serial Monitor Errors
When working with the ESP32 microcontroller, the Serial Monitor is an essential tool for debugging and monitoring the device. However, there are times when you might encounter errors or issues with the Serial Monitor, preventing it from functioning correctly. To help you troubleshoot and resolve these problems, let’s take a closer look at some of the common causes of Serial Monitor errors.
Understanding Esp32 Driver Compatibility
One of the main reasons why the Serial Monitor may not be working is the lack of compatible drivers for your ESP32 board. The ESP32 requires specific drivers to establish a proper connection with your computer. Without these drivers, the Serial Monitor cannot communicate with the ESP32, resulting in errors or no output. To resolve this issue, ensure that you have downloaded and installed the correct drivers for your ESP32 board from the manufacturer’s website.
Checking Cable Integrity And Connection Stability
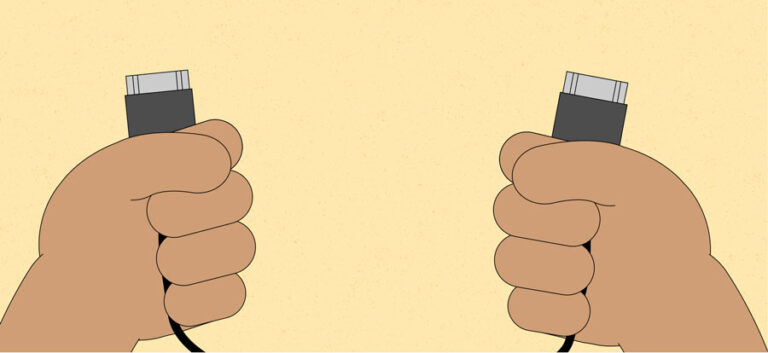
Another potential cause of Serial Monitor errors can be attributed to faulty cables or unstable connections. A poor-quality or damaged USB cable can disrupt the data transmission between your ESP32 and computer, leading to issues with the Serial Monitor. Therefore, it is crucial to check the integrity of your cable and ensure it is securely connected to both the ESP32 and the computer’s USB port. Additionally, try using a different cable to see if the problem persists.
Role Of Baud Rate Mismatches
The baud rate is the communication speed at which data is transferred between the ESP32 and the Serial Monitor. If the baud rate settings in your code and the Serial Monitor do not match, you will encounter errors or receive no output. It is vital to ensure that the baud rate specified in your code matches the baud rate selected in the Serial Monitor. Double-checking and adjusting the baud rate settings can often resolve communication issues and restore the functionality of the Serial Monitor.
Software Conflicts And Solutions
Having trouble with your ESP32 serial monitor not working? If you’re facing software conflicts or unable to view any output, try adjusting your screen resolution or deleting location lines in the preferences. txt file. Don’t worry, there are solutions available to get your serial monitor up and running smoothly.
Resolving Ide Version Conflicts
If you are experiencing issues with the ESP32 serial monitor not working, it could be due to conflicts with the Arduino IDE version you are using. In some cases, the serial monitor may not function properly if you are using an outdated or incompatible version of the IDE.
- Check for the latest version of the Arduino IDE on the official Arduino website.
- Download and install the latest version of the IDE on your computer.
- Open the Arduino IDE and navigate to the Tools menu.
- Select Serial Monitor to open the serial monitor view.
Addressing Issues With The Serial Monitor And Sketch Visibility
In some cases, you may encounter issues with the serial monitor and sketch visibility on your ESP32 board. These issues can occur if there are problems with screen resolution or if the monitor and sketch windows are positioned off the viewable screen.
- Open the preferences.txt file in the Arduino IDE preferences menu. You can access this file by clicking on it in the menu.
- Quit the Arduino IDE and locate the lines related to the screen position in the preferences.txt file.
- Delete these lines and save the preferences.txt file.
- Restart the Arduino IDE and open the serial monitor again to check if the visibility issues have been resolved.
Eliminating Problems With Third-party Tools (e.g., Platformio)
If you are using third-party tools like PlatformIO for ESP32 development, you may encounter issues with the serial monitor not working properly. These problems can arise due to various factors, including incompatible settings or configurations.
To eliminate problems with third-party tools like PlatformIO, consider the following steps:
- Ensure that you have the latest version of PlatformIO installed on your system.
- Check the configuration settings for the serial monitor in PlatformIO and make sure they are correctly set.
- Try restarting the PlatformIO IDE and opening the serial monitor again to see if the issue is resolved.
- If the problem persists, consult the PlatformIO documentation or seek support from their community forums for further assistance.
Esp32 Serial Monitor Not Working: Decoding Error Messages
Are you facing issues with your Esp32 Serial Monitor? If you’re frustrated by error messages and unable to get any solutions despite Googling, we can help you troubleshoot. Learn how to fix the problem and get your serial monitor working smoothly again.
Interpreting Garbled Output On The Serial Monitor
If you are experiencing garbled output on your Esp32 Serial Monitor, it can be quite frustrating. However, decoding these error messages is crucial in troubleshooting and resolving the issue. Garbled output typically appears as unreadable characters or gibberish, indicating a communication problem between the Esp32 board and the Serial Monitor. By understanding and interpreting these error messages, you can efficiently identify the root of the problem. Here are some common error messages and their possible causes:Baud Rate Mismatch
– The baud rate setting in your code may not match the baud rate setting in the Serial Monitor. Ensure that both the code and Serial Monitor are set to the same baud rate – typically 9600. – Incorrectly set baud rate can lead to garbled output as the Esp32 board and Serial Monitor won’t be able to understand each other’s signals properly.Buffer Overflow
– This error occurs when the Esp32 board is sending data to the Serial Monitor faster than it can read. It results in excess data being stored in the board’s buffer. As a result, the Serial Monitor displays garbled output. – To prevent buffer overflow, you can increase the Serial Monitor’s baud rate, reduce the data being sent, or add delays in your code to slow down the rate at which data is sent.Hardware Interface Issues
– Check the physical connections between your Esp32 board and the computer. Ensure that the board is properly connected to the correct serial port using the appropriate cables. – Faulty or loose connections can lead to communication errors, causing garbled output on the Serial Monitor. Now that you have a better understanding of garbled output and potential error messages, let’s explore the steps you can take when the Serial Monitor remains blank.Steps To Take When The Serial Monitor Remains Blank
When your Esp32 Serial Monitor remains blank and displays no output, there are a few actions you can take to troubleshoot the issue effectively. Follow these steps to potentially resolve the problem: 1. Check the code: Review your code to ensure that you have included the appropriate Serial.begin() function to initiate the Serial communication. Double-check if you are using the right baud rate settings as well. 2. Confirm the connections: Verify that your Esp32 board is connected to the correct serial port on your computer. Ensure that all cables are securely inserted and that there are no loose connections. 3. Try different USB ports: Sometimes, using a different USB port on your computer can resolve communication issues. Plug your Esp32 board into a different USB port and check if the Serial Monitor starts displaying the expected output. 4. Restart the Arduino IDE: Close the Arduino IDE and reopen it. Reupload your code and check if the Serial Monitor begins showing the output. A simple restart can often fix minor glitches in the IDE. If you have tried these steps and the Serial Monitor still remains blank, it’s time to investigate the possibility of a ‘Serial Monitor not connected’ error.Resolving ‘serial Monitor Not Connected’ Errors
When you encounter a ‘Serial Monitor not connected’ error, it means that the communication between the Arduino IDE and the Esp32 board is disrupted. To fix this issue, consider the following solutions: 1. Check the port selection: Ensure that you have selected the correct serial port in the Tools menu of the Arduino IDE. If you are unsure about the correct port, disconnect the board, navigate to the Tools menu, and check the available ports. Reconnect the board and select the newly appeared port. 2. Update the drivers: Outdated or incompatible drivers can cause communication problems. Visit the manufacturer’s website and download the latest drivers specific to your operating system. Install the drivers and try reconnecting the board to resolve the error. 3. Restart the board: Sometimes, a simple restart of the Esp32 board can fix connectivity issues. Disconnect the board from the computer, wait for a few seconds, and reconnect it. 4. Check for conflicting software: Verify that no other software or application is using the serial port. Close all unnecessary programs and retry connecting the board. By implementing these solutions, you can overcome ‘Serial Monitor not connected’ errors and establish successful communication between your Esp32 board and the Arduino IDE.Advanced Troubleshooting Tips
If you’re experiencing issues with your ESP32 serial monitor not working, don’t worry, we’ve got you covered. In this section, we’ll explore some advanced troubleshooting tips to help you get your serial monitor up and running smoothly.
Firmware Updates And Flashing Esp32 Correctly
One of the first things you should check when encountering issues with your ESP32 serial monitor is whether your firmware is up to date. Outdated firmware can sometimes cause compatibility problems, preventing the serial monitor from working properly.
- Go to the official ESP32 website and download the latest firmware version.
- Connect your ESP32 board to your computer using a USB cable.
- Open your Arduino IDE and select the ESP32 board from the board menu.
- Click on “Tools” and then “Firmware Upload” to start the flashing process.
- Wait for the firmware upload to complete, and then restart your IDE.
By performing these steps, you can ensure that your ESP32 board is running the latest firmware version, which may help resolve any issues with the serial monitor.
In-depth Esp32 Hardware Diagnostics
If updating the firmware didn’t solve your serial monitor problem, the next step is to perform in-depth hardware diagnostics on your ESP32 board. This can help identify any hardware-related issues that may be affecting the performance of the serial monitor.
To diagnose your ESP32 board, you can refer to the official documentation or consult online resources specific to your board model. Here are a few key steps you can take:
- Check the connections: Ensure that all the connections between your ESP32 board and your computer are secure and properly seated.
- Inspect the board for any physical damage: Look for any signs of damage such as loose components, broken traces, or burnt out components.
- Test with another USB cable: Sometimes, a faulty USB cable can cause issues with the serial monitor. Try using a different USB cable to see if the problem persists.
- Try a different computer: Occasionally, computer-specific issues can interfere with the functioning of the serial monitor. If possible, test your ESP32 board on a different computer to rule out any computer-related problems.
By following these hardware diagnostics steps, you can determine if there are any hardware issues that need to be addressed in order to get your serial monitor working correctly.
Utilizing External Tools For Serial Communication
If you’re still unable to resolve your ESP32 serial monitor problem, you can try utilizing external tools for serial communication. These tools can provide an alternative way to monitor and interact with your ESP32 board’s serial output.
Here are a few external tools that you can consider:
- Tera Term: Tera Term is a popular open-source terminal emulator that supports serial communication. You can download and install Tera Term on your computer, and then use it to establish a serial connection with your ESP32 board.
- Realterm: Realterm is another powerful serial communication tool that you can use to monitor and debug your ESP32 board. It offers various features such as logging, packet analysis, and more.
- Putty: Putty is a versatile terminal emulator that can be used for serial communication. It is lightweight, easy to use, and supports a wide range of connection types including serial.
By utilizing these external tools, you can overcome any limitations with the default serial monitor and continue monitoring and debugging your ESP32 board effectively.
Frequently Asked Questions On Esp32 Serial Monitor Not Working
Why Is My Serial Monitor Not Showing Anything?
If your serial monitor is not showing anything, try these steps: 1. Open Arduino IDE and go to Tools > Serial Monitor. 2. Check the baud rate menu. 3. Adjust your screen resolution if the monitor is positioned offscreen. 4. Open preferences.
txt and delete location lines, then save preferences. 5. If the issue persists, search for troubleshooting guides specific to your board.
Why Is Esp32 Not Showing Com Port?
The ESP32 may not be showing the com port because the Serial Monitor in the Arduino IDE is not open. To fix this, go to Tools > Serial Monitor in the Arduino IDE menus. Also, check if your screen resolution is causing the Serial Monitor to be positioned off-screen.
Open the preferences. txt file, delete the location lines, and save preferences.
How To Take Input From Serial Monitor In Esp32?
To take input from the serial monitor in ESP32, follow these steps: 1. Open the Arduino IDE and go to Tools > Serial Monitor. 2. Ensure that the baud rate is set correctly. 3. Use the Serial. read() function in your code to read the input from the serial monitor.
4. Store the input in a variable and use it as needed in your program. 5. Remember to close the serial monitor after use.
How Do I Connect Serial Device To Esp32?
To connect a serial device to ESP32, follow these steps: 1. Open the Arduino IDE and select Tools > Serial Monitor. 2. Ensure that the baud rate is set correctly. 3. If the serial monitor is not visible, check your screen resolution and preferences file.
4. Troubleshoot potential issues, such as selecting the wrong board or encountering garbage output. 5. You can also search specific error messages for more solutions.
Conclusion
If you’re experiencing issues with the ESP32 serial monitor not working, there are a few troubleshooting steps you can take. Start by ensuring that you have opened the Serial Monitor view from the Arduino IDE menus and that the baud rate is set correctly.
If the monitor is not visible, it’s possible that your screen resolution may be affecting its positioning. To fix this, open the preferences. txt file, delete the location lines, and save preferences. Remember to consult online resources or forums for further assistance.
Troubleshooting ESP32 serial monitor problems can be frustrating, but with perseverance, you can overcome these challenges and continue your projects successfully.