Camera on Dell Monitor Not Working: Troubleshooting Guide
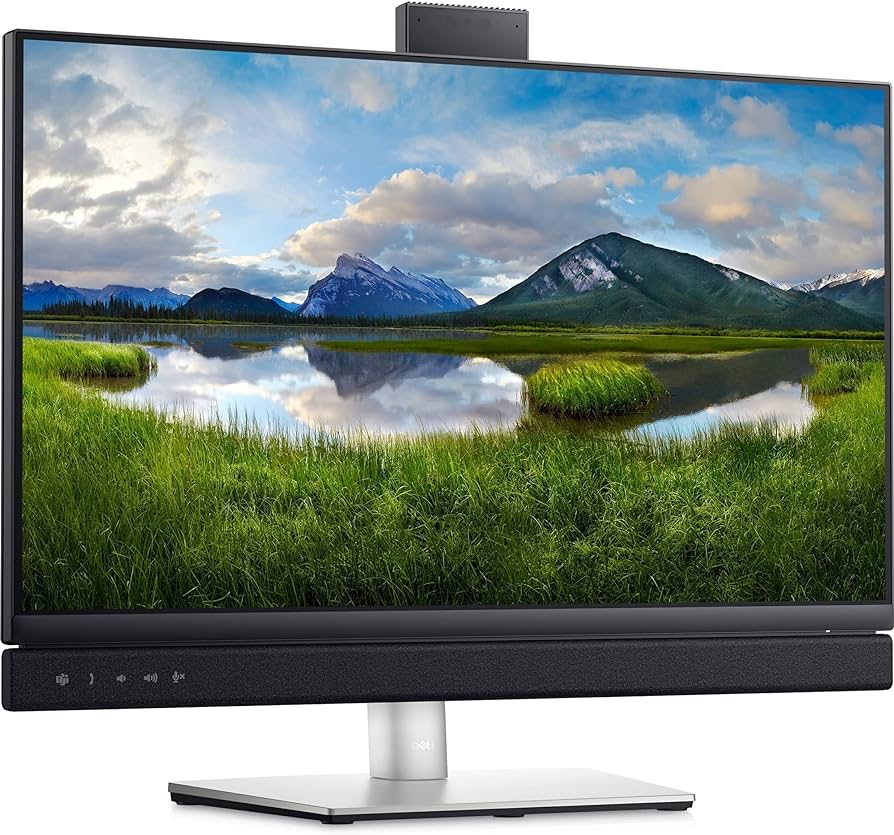
The camera on your Dell monitor may not be working due to missing drivers, antivirus or privacy settings, or issues with the app you want to use. To activate the camera on your monitor, select the Start button, then All apps, and then Camera.
If you have multiple cameras, you can switch between them by selecting Change Camera. To troubleshoot the issue further, you can refer to Dell’s tutorial on webcam troubleshooting or contact their support team for assistance. Make sure to connect a USB cable from the monitor to your computer to enable the built-in webcam.
Initial Checks For Camera Functionality
To ensure that the camera on your Dell monitor is working properly, start by checking the monitor connections. Follow these steps:
- Make sure that the USB cable from the monitor is properly connected to your computer. If it’s loose, disconnect and reconnect it firmly.
- If you are using a USB hub, try connecting the monitor directly to your computer instead.
- Check if the USB ports on your computer are functioning properly. You can do this by connecting another USB device to the same port and see if it works.
- Restart your computer and check if the camera is detected by the system.
If the camera is still not working after checking the connections, you need to confirm if the camera hardware is recognized by your computer. Perform the following steps:
- Open the Device Manager by pressing the Windows key + X and selecting “Device Manager” from the menu.
- Expand the “Imaging devices” section and look for your Dell monitor’s camera.
- If you see a yellow exclamation mark or a red “X” next to the camera, right-click on it and select “Update driver” to install the latest driver for the camera.
The privacy settings in your operating system might be blocking the camera from functioning properly. To check and adjust these settings:
- Go to the Settings menu in your operating system.
- Navigate to the “Privacy” or “Camera” section.
- Make sure the camera access is enabled for the specific app or program you want to use the camera with.
- Disable any settings that might be blocking the camera, such as “Camera access for this device” or “Allow apps to access your camera”.
By verifying the monitor connections, confirming camera hardware recognition, and checking privacy settings in your operating system, you can troubleshoot and resolve issues with your Dell monitor’s camera functionality. Follow these initial checks to ensure that your camera is working properly and ready for use.
Camera Activation On Dell Monitors
If you own a Dell monitor and are experiencing issues with your camera not working, it’s important to understand how to activate the camera properly. Dell monitors come with built-in webcams that can enhance your video conferencing and online communication experiences. In this article, we will discuss the steps to enable the built-in webcams, how to switch between multiple cameras, and how to utilize Dell Webcam Central to troubleshoot any issues.
Steps To Enable Built-in Webcams
To activate the built-in webcam on your Dell monitor, follow these simple steps:
- Connect a USB cable from the monitor to your computer.
- Ensure that the USB drivers are up to date on your computer.
- Open the camera app on your computer by selecting the Start button, then All apps, and finally Camera.
Switching Between Multiple Cameras
If you have multiple cameras connected to your computer, you can easily switch between them by following these steps:
- Open the Camera app on your computer.
- Select “Change Camera” located at the top right corner of the Camera app.
- A drop-down menu will appear, allowing you to choose between different cameras connected to your computer.
- Select the desired camera to switch to it.
Dell Webcam Central Utilization
Dell Webcam Central is a powerful tool that can help you utilize and troubleshoot your Dell monitor’s webcam. It provides various features and options to enhance your webcam usage. Here’s how you can utilize Dell Webcam Central:
- Launch the Dell Webcam Central application by clicking on “Start,” then selecting “All Programs,” followed by “Dell Webcam,” and finally “Webcam Central.”
- Explore the different settings and options available within the application to customize your webcam experience.
- If you are facing any issues with your webcam not working, use Dell Webcam Central’s troubleshooting features to resolve the problem.
- Refer to the Dell Webcam Troubleshooting Guide for detailed instructions and assistance in resolving any webcam-related issues.
By following these steps and utilizing the Dell Webcam Central application, you should be able to activate and troubleshoot any issues with your camera on Dell monitors. Remember to always keep your USB drivers up to date and explore the various options available within Dell Webcam Central for an enhanced webcam experience.
Dell Monitor Camera Drivers
One of the common issues that users may encounter with their Dell monitor cameras is that they stop working. This can be frustrating when you need to use your webcam for video calls or conferences. In many cases, the problem can be resolved by updating or reinstalling the Dell monitor camera drivers. In this blog post, we will guide you through the process of identifying the correct drivers, updating and installing them, as well as managing any driver issues.
Identifying Correct Drivers
Before updating or reinstalling the camera drivers on your Dell monitor, it is important to identify the correct drivers for your specific model. Using incorrect drivers can cause compatibility issues and further problems with your camera. Here’s how you can identify the correct drivers:
- Visit the official Dell support website.
- Navigate to the “Drivers & Downloads” section.
- Enter your Dell monitor’s model number or select it from the list.
- Locate the camera drivers in the list of available drivers.
- Make note of the driver version and download it.
By following these steps, you can ensure that you have the correct drivers for your Dell monitor camera, which increases the chances of resolving the issue.
Driver Update And Installation Process
Once you have identified the correct driver for your Dell monitor camera, you can proceed with updating or reinstalling the driver. Here’s how you can do it:
- Open the downloaded driver file.
- Follow the on-screen instructions to install the driver.
- Restart your computer after the installation is complete.
This process will update or reinstall the camera driver, allowing your Dell monitor camera to work properly. It is recommended to restart the computer after installing the driver to ensure all changes take effect.
Managing Driver Issues
In some cases, you may encounter issues even after updating or reinstalling the driver. This can include camera not detected, malfunctioning features, or blurry image quality. To manage such driver issues, consider the following:
- Check if the camera is enabled in the privacy settings of your operating system.
- Verify if any antivirus or firewall settings are blocking access to the camera.
- Ensure that the app you are using is allowed to access the camera.
- Try adjusting the camera settings within the Dell monitor’s control panel.
By following these steps, you can troubleshoot and resolve any driver-related issues that may be affecting your Dell monitor camera.
Common Webcam Issues And Fixes
Having trouble with the camera on your Dell monitor? Make sure you have connected the USB cable from the monitor to your computer to enable the built-in webcam. If it still doesn’t work, check for missing drivers, privacy settings, or app problems.
Activate the camera by selecting the Start button, then All apps, and then Camera in the list of apps.
Resolving Software Conflicts
If you’re experiencing issues with the camera on your Dell monitor not working, it could be due to conflicts with software on your computer. Sometimes, other programs or applications may interfere with the camera’s functioning. To resolve this issue, follow these steps:- Close all applications that use the camera, such as video conferencing or chat programs.
- Open the device manager on your computer by pressing the Windows key + X and selecting “Device Manager” from the menu.
- Expand the “Cameras” or “Imaging Devices” category to find your Dell monitor’s camera.
- Right-click on the camera and select “Disable” from the context menu.
- Wait for a few seconds, then right-click on the camera again and select “Enable.”
- Restart your computer to apply the changes.
Overcoming Antivirus Or Privacy Blocks
In some cases, antivirus or privacy settings on your computer may block applications from accessing your camera, resulting in it not working properly. To overcome this issue, you can try the following steps:- Open your antivirus software or privacy settings by clicking on the relevant icon in your system tray.
- Search for options related to webcam or camera access.
- Make sure the camera access is enabled for the applications you want to use.
- If necessary, add the specific applications to the whitelist or exceptions list to ensure they are not blocked.
- Save the changes and restart your computer.
Addressing App-specific Camera Problems
If the camera on your Dell monitor is not working with a specific application, there might be app-specific issues causing the problem. To address this, follow these steps:- Open the application where you are experiencing the camera issue.
- Check the application’s settings or preferences for camera input options.
- Ensure that the correct camera is selected as the input source.
- If the issue persists, try updating the application to the latest version, as newer versions often come with bug fixes and improved compatibility.
- If updating doesn’t resolve the problem, you may need to uninstall and reinstall the application.
Advanced Camera Troubleshooting Guide
If you’re experiencing issues with the camera on your Dell monitor not working, there are a few troubleshooting steps you can take. First, make sure the USB cable is properly connected from the monitor to your computer. If that doesn’t solve the issue, you can try checking for any missing drivers, adjusting privacy settings, or using the Windows Camera app to activate the camera.
In-depth Hardware Troubleshooting
If you’re facing issues with the camera on your Dell monitor not working, it’s essential to start troubleshooting the problem by checking for any possible hardware-related issues. First, ensure that the USB cable connecting your monitor to your computer is securely plugged in. Sometimes, a loose connection can cause the camera to stop functioning. If the cable is loose, gently push it back in until it clicks into place. Next, check if there are any physical obstructions that might be blocking the camera lens. Dust or debris on the lens can prevent the camera from capturing clear images. Use a soft, lint-free cloth to gently clean the camera lens and remove any dirt or smudges. If the camera still doesn’t work, try connecting the monitor to a different USB port on your computer. Faulty USB ports can cause connectivity issues and affect the camera’s functionality. By connecting to a different USB port, you can determine if the problem lies with the port itself.Factory Reset And Firmware Considerations
In some cases, performing a factory reset on your Dell monitor can resolve camera issues. A factory reset restores the monitor to its original settings, potentially fixing any software glitches that may be affecting the camera’s functionality. To perform a factory reset, refer to the user manual or Dell’s official website for specific instructions on your monitor model. Make sure to back up any important data before proceeding with the reset, as it will erase all personalized settings. Additionally, ensure that your monitor’s firmware is up to date. Manufacturers often release firmware updates to address bugs and improve overall system performance. Visit Dell’s support website and enter your monitor’s model number to check for any available firmware updates. Follow the instructions provided to install the latest firmware version.When To Seek Professional Support
If despite trying the troubleshooting steps mentioned above, the camera on your Dell monitor still does not work, it may be time to seek professional support. Contact Dell’s customer support or visit an authorized service center to get assistance from trained technicians. They have the expertise to diagnose underlying hardware or software issues that might be causing the camera problem. Remember, seeking professional support can save you time and potentially prevent further damage to your monitor. Trying to fix complex issues without the necessary knowledge may end up causing more harm than good. Don’t hesitate to reach out to Dell’s customer support for guidance and professional assistance in getting your camera working again. With the in-depth hardware troubleshooting, factory reset, and firmware considerations covered, you are now armed with the knowledge to resolve camera issues on your Dell monitor. Follow the steps accordingly, and if needed, reach out to professional support for further assistance.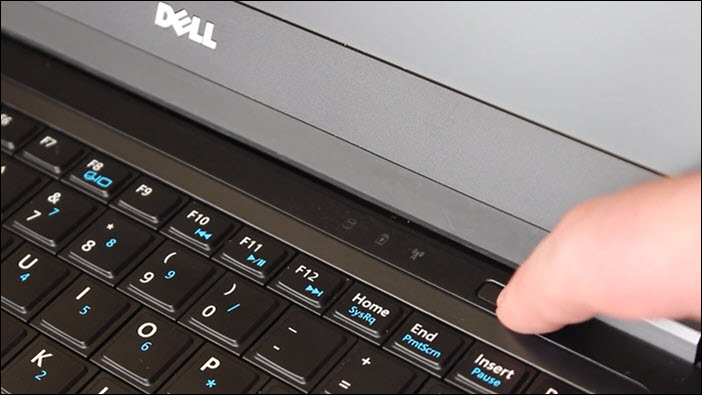
Credit: www.dell.com
Frequently Asked Questions Of Camera On Dell Monitor Not Working
Why Is My Dell Built In Camera Not Working?
The Dell built-in camera may not be working due to missing drivers, antivirus or privacy settings, or a problem with the app you want to use. To activate the camera on your Dell monitor, select the Start button, go to All apps, and choose Camera.
If you have multiple cameras, switch between them by selecting Change Camera. Another option is to launch the Dell Webcam application by clicking Start, All Programs, and then Dell Webcam. Look towards the webcam located in the top center of your computer monitor.
How Do I Activate The Camera On My Monitor?
To activate the camera on your monitor, follow these steps: 1. Click the Start button and select All apps. 2. Find the Camera app in the list of apps and open it. 3. If you have multiple cameras, select Change Camera to switch between them.
4. Adjust your position so that you are facing the webcam, usually located at the top center of the monitor. Please note: For Dell monitors, you may need to connect a USB cable from the monitor to your computer for the built-in webcam to work properly.
How Do I Turn On My Webcam On My Dell Desktop?
To turn on your webcam on your Dell desktop, click “Start | All Programs | Dell Webcam | Webcam Central” to launch the webcam application. Sit up straight and look at the webcam located in the top center of your monitor.
Why Is The Camera On My Dell Monitor Not Working?
The camera on your Dell monitor may not be working due to missing drivers, antivirus or privacy settings blocking access, or a problem with the app you want to use. Make sure to check for updates, adjust your settings, and troubleshoot any software or hardware issues.
Conclusion
To troubleshoot and resolve the issue of a camera not working on a Dell monitor, it is important to ensure that the webcam is properly connected to your computer using the USB cable. Additionally, check for missing drivers, antivirus or privacy settings that may be blocking the camera’s functionality.
To activate the camera, simply select the Camera app from the Start menu and switch between multiple cameras if necessary. By following these steps, you can ensure that your Dell monitor’s camera is functioning properly and ready to capture moments effortlessly.
