Asus Monitor Not Working With Hdmi: Troubleshooting Tips
If your Asus monitor is not working with HDMI, there may be a misconfiguration or loose connection causing the issue. Check if the ports and cables are bent or damaged, and try using a spare HDMI cable to see if it works.
Also, ensure that the operating system is not in hibernation, sleep, or power-save mode. When it comes to troubleshooting issues with your Asus monitor, one common problem is that it may not work with HDMI. This can be frustrating, especially if you rely on HDMI connections for high-quality video and audio.
We will explore some possible reasons why your Asus monitor is not working with HDMI and provide solutions to resolve this issue. By following these steps, you can get your monitor back up and running with HDMI in no time.

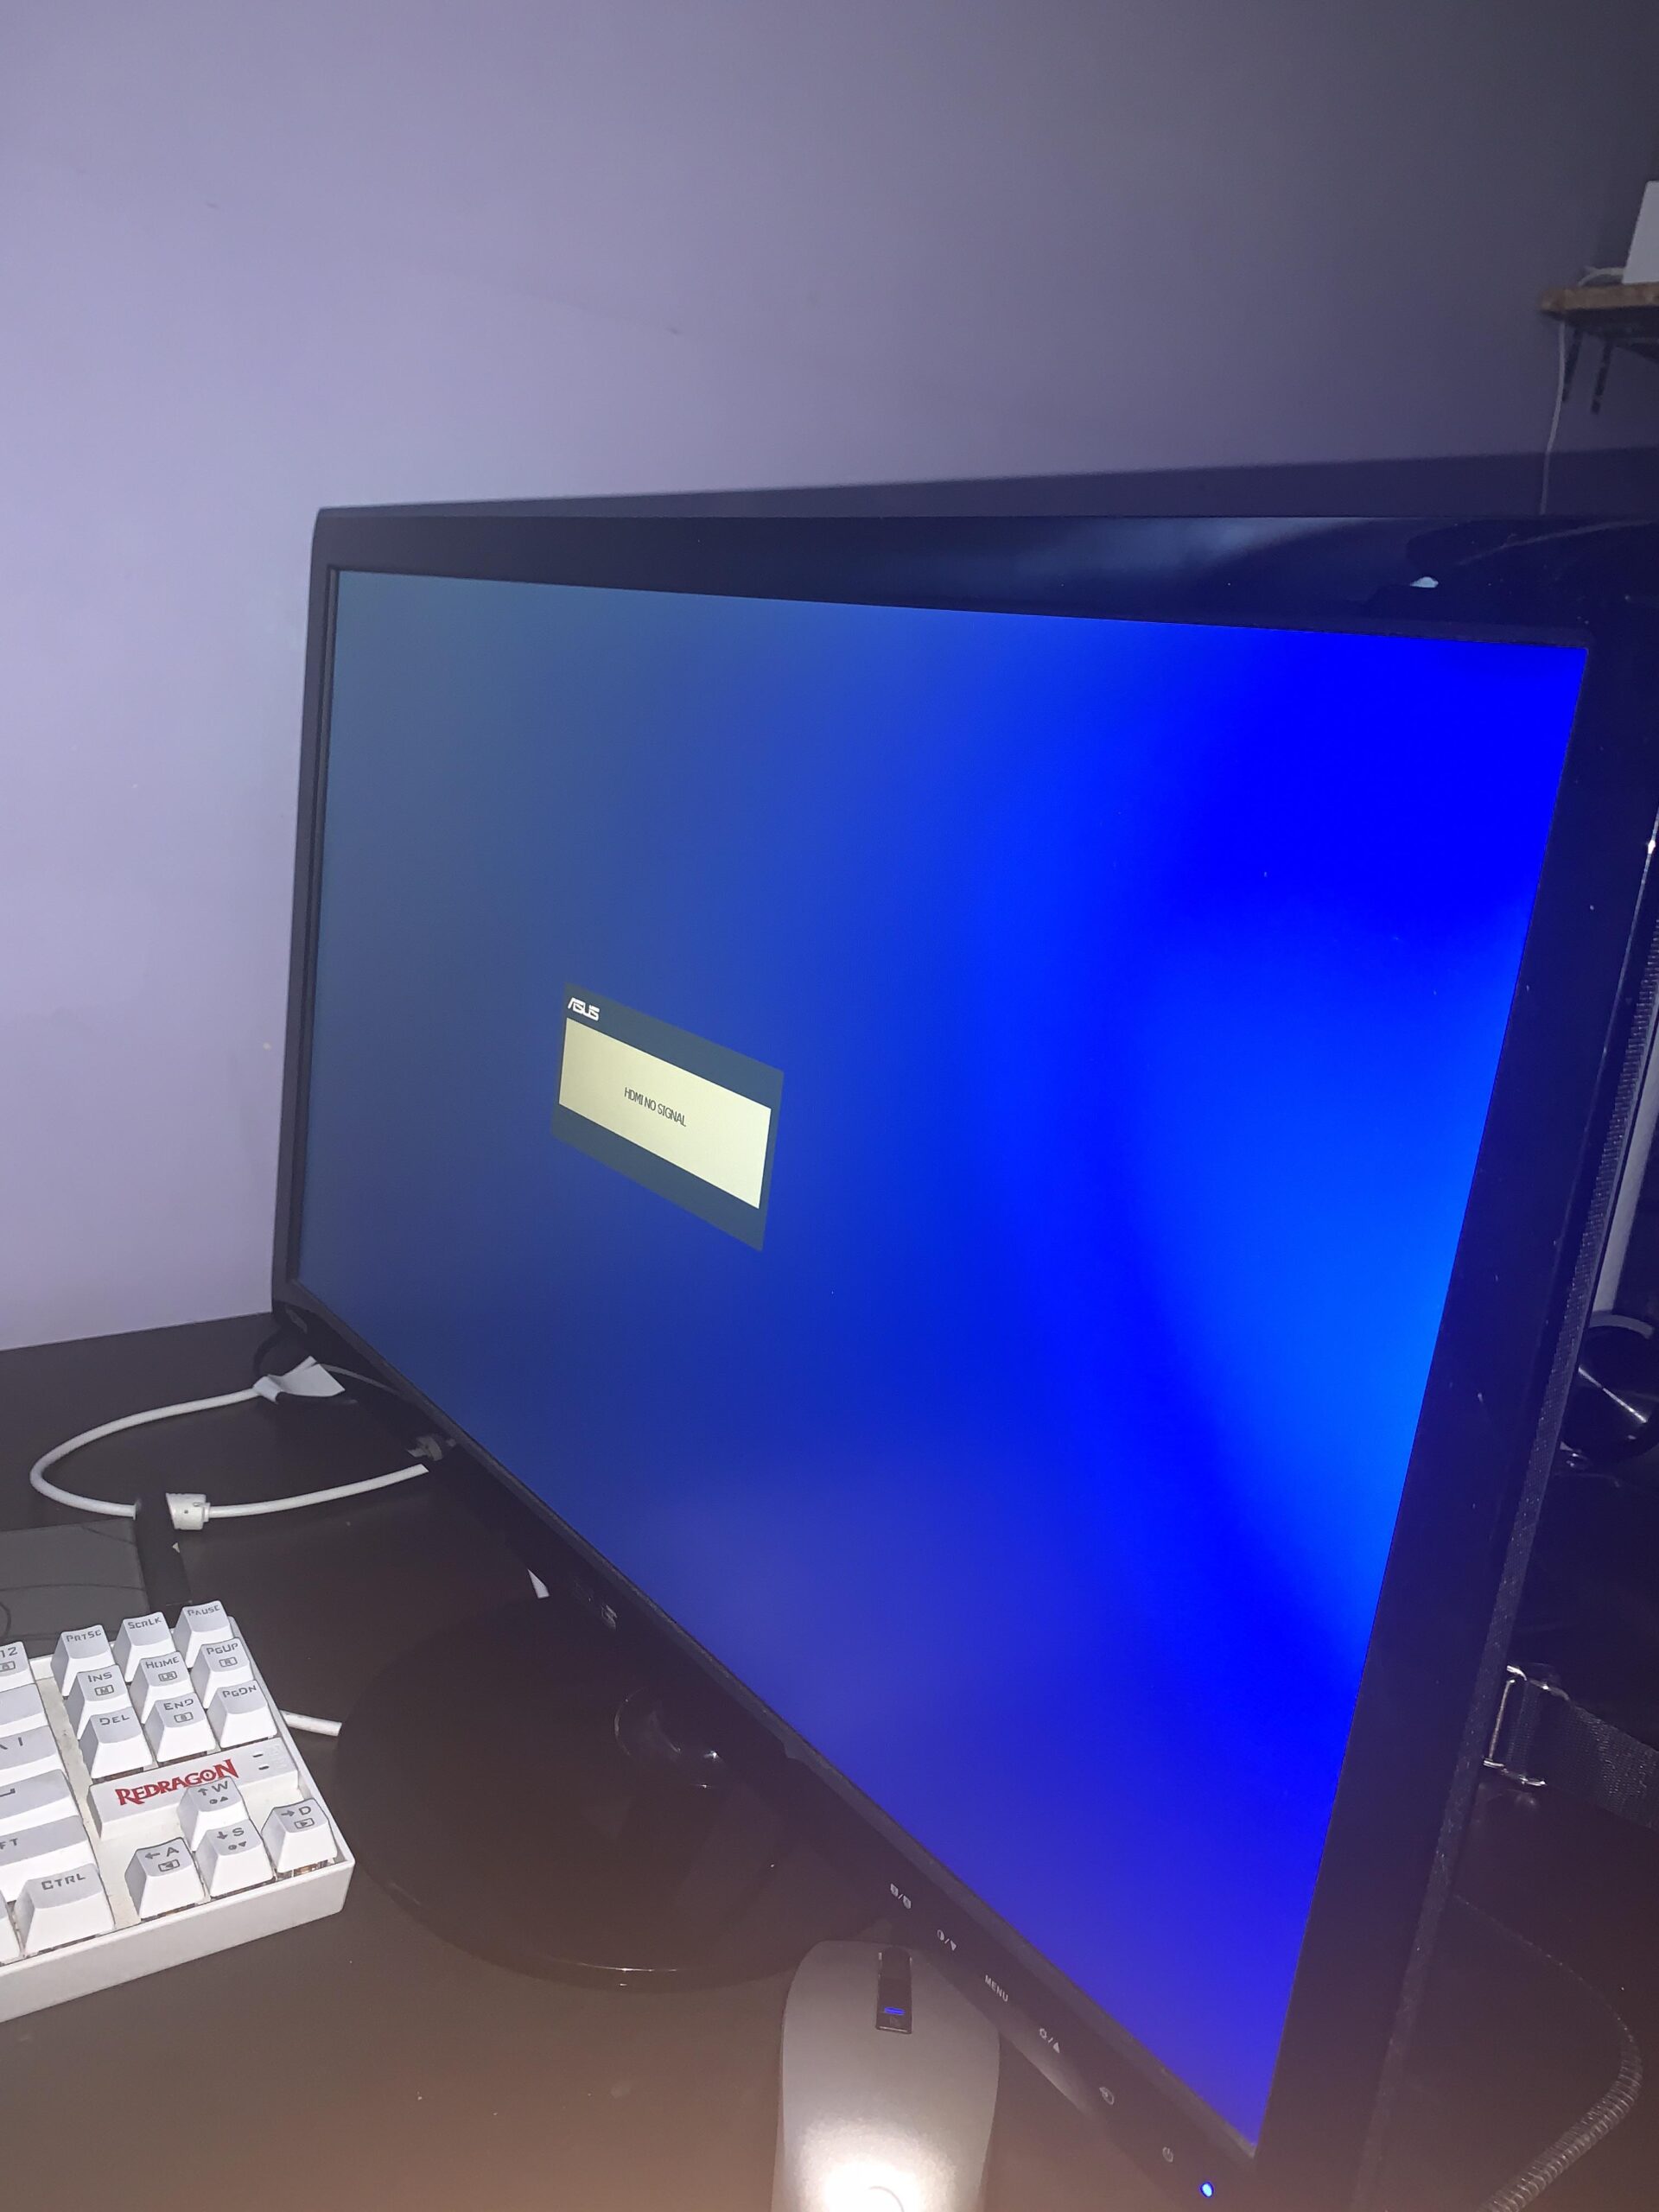
Credit: www.reddit.com
Identifying Common Hdmi Issues
Misconfiguration or loose connections often lead to issues with ASUS monitors not working with HDMI. To troubleshoot and address these problems, it is important to identify common HDMI issues. Below are three areas to focus on:
Inspect For Physical Hdmi Cable Damage
One of the first things to check when encountering HDMI issues is the condition of the cable itself. Physical damage, such as bends or cuts, can disrupt the signal flow and prevent the monitor from working correctly. To inspect for physical HDMI cable damage:
- Visually examine the cable, looking for any visible signs of damage such as exposed wires or bent connectors.
- If possible, try using a spare HDMI cable to test if the monitor works with a different cable. If it does, then the original cable is likely damaged.
Check Hdmi Port Condition On Asus Monitor
Another possible cause of HDMI issues is a damaged or malfunctioning HDMI port on the ASUS monitor. To check the condition of the HDMI port:
- Inspect the HDMI port on the monitor for any bent or damaged pins. Use a flashlight if necessary to get a clear view of the port.
- If there are any visible issues, such as bent pins, try straightening them carefully using a small tool like a toothpick or a pair of tweezers.
- If the HDMI port appears to be physically damaged and cannot be repaired, it may require professional assistance or a replacement part.
Confirm Hdmi Connection Integrity
In some cases, a loose or unstable connection can cause HDMI issues. To ensure the HDMI connection is intact:
- Check that both ends of the HDMI cable are securely plugged into their respective ports on both the ASUS monitor and the source device (e.g., computer, gaming console).
- If the HDMI cable feels loose, try gently pushing it in or reseating it to establish a more secure connection.
- Try connecting the HDMI cable to a different HDMI port on the monitor to eliminate the possibility of a faulty port.
By inspecting physical cable damage, checking the HDMI port condition, and confirming connection integrity, you can effectively identify and address common HDMI issues with your ASUS monitor. Remember to test each step thoroughly to ensure accurate results and improve the chances of resolving the problem.
Initial Troubleshooting Steps
Troubleshooting steps for Asus monitor not working with HDMI include checking for misconfiguration or loose connections, inspecting ports and cables for damage, and checking if the operating system is in hibernation or power-save mode. Other solutions include trying a different HDMI cable and ensuring the HDMI port is working properly.
Initial Troubleshooting Steps If you’re experiencing difficulties with your Asus monitor not working with HDMI, don’t panic just yet. There are a few initial troubleshooting steps you can take to diagnose and resolve the issue. In this section, we’ll explore some common quick fixes and adjustments you can try to get your monitor up and running again. H3: Cycle Power for Quick Fixes One of the first things you can try is power cycling your monitor. This simple step can often fix minor glitches or issues that may be causing the HDMI signal problem. Here’s how you can do it: 1. Turn off your monitor and unplug it from the power source. 2. Disconnect the HDMI cable from both your monitor and the device it’s connected to. 3. Wait for about 30 seconds to a minute before plugging everything back in. 4. Reconnect the HDMI cable securely to both your monitor and the device. 5. Plug your monitor back into the power source and turn it on. Power cycling your monitor can help reset any temporary configuration errors and refresh the connection between your monitor and the device. Try this quick fix and see if it resolves the HDMI signal issue with your Asus monitor. H3: Test with Alternative HDMI Cable If power cycling didn’t solve the problem, it’s time to check if the HDMI cable itself is causing the issue. Sometimes, cables can become damaged or faulty, leading to a loss of signal. To rule out this possibility, try the following steps: 1. Disconnect the current HDMI cable from your Asus monitor and the device. 2. If you have a spare HDMI cable available, use it to connect your monitor and the device. 3. Make sure the new cable is securely connected to both ends. 4. Turn on your monitor and check if the HDMI signal is now working. If the alternative HDMI cable successfully establishes a connection between your monitor and device, it’s likely that the original cable was causing the problem. Consider replacing the faulty cable with a new one to restore proper functionality. H3: Monitor Settings Adjustment In some cases, the issue may lie within the monitor settings. A misconfiguration can result in no HDMI signal being detected. To troubleshoot this, follow the steps below: 1. On your Asus monitor, navigate to the settings menu using the built-in controls or buttons. 2. Look for options related to input settings or source selection. 3. Ensure that the HDMI input is selected as the source for your monitor. 4. Save and apply the settings, then check if the HDMI signal is now detected. By adjusting the monitor settings to correctly recognize the HDMI input, you may be able to resolve the issue and restore the signal to your Asus monitor. Following these initial troubleshooting steps can often help identify and fix the problem with your Asus monitor not working with HDMI. Remember to cycle power, test with an alternative HDMI cable, and make adjustments to the monitor settings if needed. If the issue persists, further troubleshooting may be required or reaching out to Asus support for assistance.Advanced Troubleshooting Guide
If you are facing the frustrating issue of your Asus monitor not working with HDMI, don’t worry. In this advanced troubleshooting guide, we will walk you through some steps to help you resolve this problem. These steps include updating or reinstalling graphics drivers, adjusting display settings on your PC, and checking for firmware updates for your Asus monitor.
Update Or Reinstall Graphics Drivers
Outdated or corrupted graphics drivers can often cause issues with HDMI connectivity. To fix this, you can follow these steps:
- Open the Device Manager on your PC by pressing the Windows key + X and selecting Device Manager from the menu.
- Expand the Display Adapters category.
- Right-click on your graphics card and select Update Driver.
- Choose the option to search automatically for updated driver software.
- If Windows finds any updates, follow the on-screen instructions to install them.
- If there are no updates available or the issue persists, you can try uninstalling the graphics driver by right-clicking on it and selecting Uninstall. Then restart your PC and Windows will reinstall the driver automatically.
Adjust Display Settings On Pc
Incorrect display settings on your PC can sometimes prevent the HDMI signal from being recognized by your Asus monitor. Follow these steps to adjust the display settings:
- Right-click on the desktop and select Display Settings from the menu.
- Make sure the correct display is selected in the Display Settings window.
- Scroll down and click on Advanced Display Settings.
- Ensure that the resolution is set to the recommended value for your Asus monitor.
- Click on the Graphics Properties or Graphics Control Panel button if available, and check for any specific settings related to HDMI output.
- Adjust the settings as needed and click Apply to save the changes.
Firmware Updates For Asus Monitor
Updating the firmware of your Asus monitor can also help resolve HDMI connectivity issues. Here’s how you can check for firmware updates:
- Visit the official Asus support website.
- Search for your specific monitor model using the search function or browse through the product categories to find your model.
- Go to the Support or Downloads section of the product page.
- Look for any available firmware updates for your monitor model.
- If a firmware update is available, download and install it following the provided instructions.
By following these steps, you should be able to effectively troubleshoot and resolve the issue of your Asus monitor not working with HDMI. Remember to check the connections, update or reinstall graphics drivers, adjust display settings, and check for firmware updates. Hopefully, these troubleshooting techniques will help you get your Asus monitor up and running smoothly with HDMI.
Specialty Fixes For Persistent Problems
If you’re experiencing the frustrating issue of your Asus monitor not working with HDMI, fear not! There are specialty fixes available for persistent problems that can help you get your monitor back up and running in no time. In this section, we’ll explore three effective solutions to troubleshoot and resolve this HDMI connectivity issue. Let’s dive into the Specialty Fixes for Persistent Problems and get your Asus monitor back to its full functionality.
Asus Monitor Factory Reset Procedure
If you’ve encountered no success with your Asus monitor and HDMI connection, performing a factory reset on your monitor may provide a reliable solution. The factory reset procedure restores the monitor to its default settings, eliminating any misconfigurations or software conflicts that might be causing the HDMI connection problem.
To perform a factory reset on your Asus monitor, follow these steps:
- Ensure that your monitor is powered on and connected through another working method, such as DVI or DisplayPort.
- Locate the menu button on your monitor, usually located on the front or side panel.
- Press and hold the menu button for approximately 5 seconds until the menu options appear on the screen.
- Using the navigation buttons on your monitor, scroll down to the “System Setup” or “Setup” option.
- Inside the “System Setup” or “Setup” menu, look for the “Factory Reset” or “Reset” option.
- Select the “Factory Reset” or “Reset” option and confirm your selection.
- Wait for the monitor to complete the factory reset process, which may take a few moments.
- Once the factory reset is complete, disconnect the monitor from power and reconnect it using the HDMI cable.
- Power on the monitor and check if the HDMI connectivity issue is resolved.
Checking Pc’s Hdmi Compatibility
In some cases, the HDMI compatibility of your PC might be the root cause of the connection problem with your Asus monitor. Ensuring your PC’s HDMI compatibility can help you identify and address any underlying issues.
To check your PC’s HDMI compatibility, follow these steps:
- Disconnect the HDMI cable from both your PC and the Asus monitor.
- Inspect the HDMI ports on your PC for any physical damages, such as bent pins.
- If any damages are found, consider contacting a professional technician or replacing the HDMI port.
- Reconnect the HDMI cable securely to both the PC and the Asus monitor.
- Ensure that the HDMI cable you’re using supports the appropriate HDMI version for your PC and monitor.
- Try using a different HDMI cable to rule out any cable-related issues.
- If available, test the HDMI connection on another PC or laptop to verify if the issue lies with your PC.
- If the HDMI connection works fine on another device, the problem might be specific to your PC.
- Consider updating your PC’s graphics drivers and BIOS firmware to the latest versions available from the manufacturer’s website.
Alternative Connection Methods
If the HDMI issue with your Asus monitor persists even after trying the previous fixes, you can explore alternative connection methods to ensure uninterrupted display functionality.
- VGA: If your Asus monitor is equipped with a VGA port alongside HDMI, try connecting your PC using a VGA cable.
- DVI: Similarly, if your Asus monitor supports DVI, test the connectivity using a DVI cable.
- DisplayPort: If available, utilize the DisplayPort on your PC and monitor for a reliable connection.
By utilizing these alternative connection methods, you can determine if the HDMI issue is specific to the HDMI port or if there’s a more comprehensive hardware or software problem.
Remember to test each alternative connection method individually, and ensure that the corresponding settings on your monitor and PC are adjusted accordingly.
Consolidating Solutions And Tips
If you’re facing issues with your ASUS monitor not working with HDMI, there are a few troubleshooting techniques, maintenance tips, and resources that can help resolve the problem. In this section, we’ll provide a recap of troubleshooting techniques, maintenance tips for ASUS monitor and HDMI, and resources for further assistance.
Recap Of Troubleshooting Techniques
If your ASUS monitor is not working with HDMI, it’s crucial to go through some troubleshooting techniques to find a solution. Here are a few steps you can follow:
- Check if the HDMI cable and ports are bent, damaged, or loose.
- If possible, try using a spare HDMI cable to rule out any cable-related issues.
- Ensure that the operating system is not in hibernation, sleep, or power-save mode.
- Inspect the signal cable (VGA / DVI / HDMI / DisplayPort) for any visible damage.
- Consider checking the Intel® Graphics Settings if you’re experiencing disruptions or the “HDMI no signal” error.
Maintenance Tips For Asus Monitor And Hdmi
Regular maintenance can help prevent hardware issues with your ASUS monitor and HDMI. Here are some essential maintenance tips:
- Keep the HDMI cable connections secure and free from dust or debris.
- Avoid excessive bending or twisting of the cables to prevent damage.
- Ensure that the monitor’s firmware and drivers are up to date.
- Use high-quality HDMI cables that are suitable for your monitor’s specifications.
- Consider using cable management solutions to keep cables organized and protected.
Resources For Further Assistance
If you’ve exhausted the troubleshooting techniques and maintenance tips, seeking further assistance can help resolve your ASUS monitor’s HDMI issues. Here are some resources you can explore:
| Resource | Description |
|---|---|
| ASUS Official Support | Visit the official ASUS support website for comprehensive troubleshooting guides, driver downloads, and product documentation. |
| ASUS Subreddit | Engage with the ASUS community on Reddit and seek advice from other users who may have encountered similar issues. |
| Tom’s Hardware Forum | Participate in discussions and ask questions on the Tom’s Hardware Forum to get guidance from knowledgeable users and experts. |
| YouTube Tutorials | Search for video tutorials on YouTube that provide step-by-step instructions on troubleshooting ASUS monitor and HDMI issues. |
Frequently Asked Questions Of Asus Monitor Not Working With Hdmi
Why Is My Monitor Connected But No Hdmi Signal?
If your monitor is connected but not receiving an HDMI signal, it could be due to misconfiguration or a loose connection. To fix this, check if the ports and cables are bent or damaged and try using a different HDMI cable.
Additionally, make sure your operating system hasn’t entered hibernation or power-save mode. Check the HDMI input on your TV and try plugging the device into different HDMI ports.
Why Is My Monitor Turning On But Not Displaying?
There are a few possible reasons why your monitor is turning on but not displaying: 1. Check if the cables and ports are correctly connected and not damaged. 2. Ensure that the operating system is not in hibernation, sleep, or power-save mode.
3. Try using a different HDMI cable or plug the device into a different HDMI port. 4. Make sure that the CPU, motherboard, RAM, power supply, and graphics card are properly connected. 5. Reset your ASUS monitor by holding the “Menu” button and following the instructions.
How Do I Connect My Asus Monitor To My Computer With Hdmi?
To connect your ASUS monitor to your computer with HDMI, follow these steps: 1. Plug one end of the HDMI cable into the monitor’s HDMI port. 2. Connect the other end of the HDMI cable to your computer’s HDMI port. 3.
If you want to use headphones, connect the plug end to the monitor’s earphone jack. 4. Turn on the monitor while holding the “Menu” button, then release the button once it’s turned on. 5. Press the “Menu” button to reset the monitor if needed.
How Do I Reset My Asus Monitor?
To reset your ASUS monitor, follow these steps: 1. Hold the “Menu” button while turning on the monitor. 2. Release the “Menu” button once the monitor is on. 3. Press the “Menu” button again to open the OSD (On-Screen Display) menu.
Note: The OSD menu may vary depending on your ASUS monitor model. Refer to the user guide for specific instructions.
Conclusion
If you’re experiencing the issue of your ASUS monitor not working with HDMI, there are a few troubleshooting steps you can take. First, check if the connections are set correctly and if the cables are bent or damaged. You can also try using a spare HDMI cable to see if the issue persists.
Additionally, make sure that your operating system hasn’t entered hibernation or sleep mode. By following these steps, you can hopefully resolve the “HDMI no signal” problem and get your ASUS monitor working properly again.