Acer Monitor Not Working With Mac: Troubleshooting Guide
Acer Monitor Not Working With Mac- Acer monitors are plug-and-play and should automatically be detected when correctly connected to your Apple computer or MacBook. However, ensure that your MacBook is connected to a power source and that the external monitor is connected to the correct port on the laptop.
Additionally, check the signal cables and ensure they are securely connected with no bent pins or frayed wires. If the issue persists, try reconnecting the display or using a different cable.
Initial Checks Before Troubleshooting
If you’re facing the issue of your Acer monitor not working with your Mac, there are a few initial checks you can perform before diving into troubleshooting. These checks can help identify any common problems that may be causing the issue, and potentially save you time and effort. Here are some simple steps you can take to resolve the issue:
Confirm Cable Connections Are Secure
The first thing you should check is whether the cable connections between your Mac and the Acer monitor are secure. Loose connections can often be the root cause of display issues. Ensure that the HDMI, DisplayPort, or Thunderbolt cable is securely plugged into both your Mac and the monitor. Take a moment to visually inspect the connections and make sure they are fully inserted.
Check For Physical Damages To Cables And Ports
Physical damages to cables or ports can also lead to connectivity problems between your Mac and the Acer monitor. Examine the cables for any signs of fraying, bending, or other damages. Similarly, inspect the ports on both your Mac and the monitor for any visible damages or debris that may be obstructing the connection. If you notice any damages, consider replacing the cable or seek professional assistance if necessary.
Ensure Mac Is Powered And Not In Sleep Mode
Before troubleshooting further, make sure that your Mac is powered on and not in sleep mode. It may seem obvious, but sometimes simple oversights can cause unnecessary frustration. Check that your Mac is receiving power and is awake by looking for the glowing indicator light or any signs of activity on the screen. If your Mac is in sleep mode, wake it up and see if the monitor starts functioning properly.
Verify Monitor Power And Correct Input Selection
Next, ensure that your Acer monitor is powered on and has the correct input selected. Double-check if the monitor is properly plugged into a power source and turned on. Additionally, confirm that the monitor is set to the correct input channel, such as HDMI or DisplayPort, depending on how you’ve connected it to your Mac. Use the monitor’s physical buttons or on-screen menu to switch to the correct input source if needed.
By performing these initial checks, you can rule out some common issues that may prevent your Acer monitor from working with your Mac. Once you’ve gone through these steps and confirmed that all connections are secure, cables are undamaged, your Mac is powered and awake, and the correct input source is selected on the monitor, you can move on to further troubleshooting options to resolve the issue.

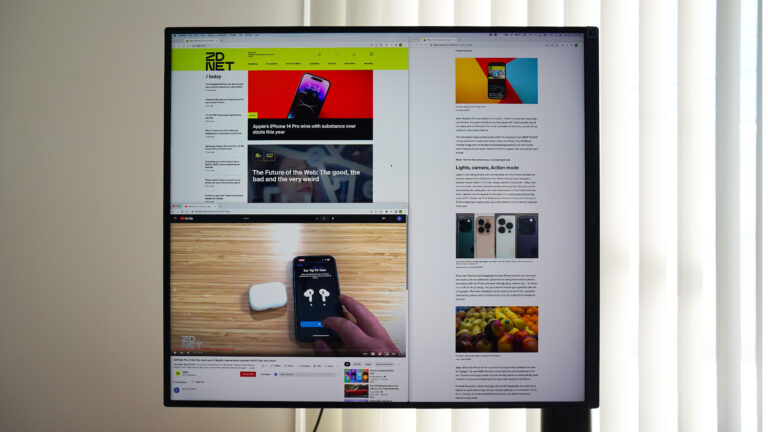
Credit: safemode.com.au
Troubleshooting Connection Issues
If you’re experiencing connection issues between your Acer monitor and your Mac, there are a few steps you can take to troubleshoot the problem. Ensure that your Mac is plugged in and connected to the correct port, and check that the video cable is securely connected.
If the issue persists, try restarting your devices or using a different cable.
1. Restart Mac And Monitor To Reset Connections
If your Acer monitor is not working with your Mac, the first step you should take is to restart both your Mac and the monitor. Restarting your devices can help reset any connection issues that may be causing the problem. To restart your Mac, click on the Apple icon in the top-left corner of the screen, select “Restart,” and wait for the process to complete. Similarly, press the power button on your Acer monitor to turn it off, wait for a few seconds, and then turn it back on.
2. Test With Alternative Cables Or Ports
If restarting doesn’t resolve the issue, the next step is to test your connections with alternative cables or ports. Sometimes, the problem may be with a faulty cable or a malfunctioning port. Try using a different HDMI or DisplayPort cable to connect your Acer monitor to your Mac. Additionally, if your Mac has multiple ports, such as HDMI and DisplayPort, try connecting the monitor to a different port to check if the issue persists.
3. Update Macos To The Latest Version
Outdated software can often cause compatibility issues. To ensure that your Mac and Acer monitor work seamlessly together, it is important to keep your macOS up to date. To update your macOS, click on the Apple icon, select “System Preferences,” and then click on “Software Update.” If there are any available updates, follow the on-screen instructions to install them. Once the update is complete, restart your Mac and check if the monitor works properly.
4. Reset Mac’s System Management Controller (smc)
If the above steps didn’t resolve the issue, you can try resetting your Mac’s System Management Controller (SMC). The SMC controls various functions on your Mac, including power management and external display connectivity. To reset the SMC, follow these steps:
- Shut down your Mac.
- Unplug the power cable from your Mac and any external displays.
- Wait for 15 seconds.
- Plug the power cable back into your Mac.
- Turn on your Mac.
By following these troubleshooting steps, you should be able to resolve any connection issues you are experiencing between your Acer monitor and your Mac. If the problem persists, it may be best to consult the official Apple support website or contact their customer support for further assistance.
Compatibility And Settings Adjustments
If you’re experiencing an issue with your Acer monitor not working with your Mac, it’s important to review monitor compatibility with your specific Mac model. Adjusting your Mac’s display settings for the external monitor can also help in resolving the problem. Let’s explore some key considerations when it comes to compatibility and settings adjustments.
Review Monitor Compatibility With Mac Model
Before diving into any troubleshooting steps, it’s crucial to ensure that your Acer monitor is compatible with your Mac model. Different Mac models might have varying compatibility requirements, so it’s necessary to cross-check the specifications. To determine the compatibility, refer to the documentation or official website of both Acer and Apple. Make sure to note any specific requirements or recommendations mentioned for your Mac model.
Adjust Mac’s Display Settings For External Monitor
Once you’ve confirmed the compatibility of your Acer monitor, the next step is to adjust your Mac’s display settings to establish a seamless connection with the external monitor. Follow these steps:
- Connect your Acer monitor to your Mac using the appropriate cables or adapters, such as HDMI, DisplayPort, or Thunderbolt.
- Go to the Apple menu on your Mac and select “System Preferences.”
- In the System Preferences, click on “Displays.”
- On the Displays window, navigate to the “Arrangement” tab.
- Ensure that the “Mirror Displays” checkbox is unchecked to enable the use of the Acer monitor as an extended display.
- Arrange the position of the monitors if necessary by dragging and dropping their representations.
- Adjust the resolution and refresh rate settings for the Acer monitor, if needed.
By adjusting the display settings on your Mac, you can ensure optimal performance and compatibility with your Acer monitor. If you encounter any issues with settings adjustments or need further guidance, consider referring to the user manual or online support resources available for your Mac model and Acer monitor.
Remember, successful compatibility and settings adjustments can greatly enhance the performance of your Acer monitor when used with your Mac. Devoting some time to reviewing compatibility and making necessary adjustments can save you from further frustrations and help you enjoy a seamless multi-display experience.
Acer Driver And Software Updates
If your Acer monitor is not being detected by your Mac, there could be a few possible issues. Firstly, ensure that your MacBook is plugged into an electrical outlet and that the external monitor is connected to the correct port on the laptop.
Additionally, make sure that the cable you are using is securely connected and compatible with your display. If the issue persists, try unplugging and reconnecting the display or referring to the Apple Support website for further troubleshooting steps.
Locate And Install Acer Monitor Driver Updates
If you’re experiencing issues with your Acer monitor not working with your Mac, one potential solution is to ensure that you have the latest Acer monitor driver updates installed. Driver updates can often resolve compatibility issues and improve the performance of your monitor.
To locate and install Acer monitor driver updates, follow these steps:
- Go to the Acer website and navigate to the Support section.
- Enter your monitor model number in the search bar or browse the available options to find your specific monitor model.
- Once you’ve found your monitor model, look for the “Downloads” or “Drivers” section.
- Download the latest driver for your monitor model.
- Open the downloaded driver file and follow the on-screen instructions to install it on your Mac.
- After the installation is complete, restart your Mac to ensure the changes take effect.
By regularly updating your Acer monitor drivers, you can ensure that your monitor is fully compatible with your Mac and avoid any potential display issues.
Utilize Acer Support Software For Diagnostics
In addition to installing driver updates, Acer offers support software that can help diagnose and troubleshoot issues with your monitor. By utilizing Acer support software, you can ensure that your monitor is functioning optimally and address any potential problems.
Here’s how to utilize Acer support software for diagnostics:
| Step | Description |
|---|---|
| 1 | Visit the Acer website and navigate to the Support section. |
| 2 | Search for the support software specific to your monitor model. |
| 3 | Download and install the Acer support software on your Mac. |
| 4 | Launch the support software and follow the prompts to perform diagnostics on your monitor. |
| 5 | If any issues are identified, the software will provide solutions or recommendations to resolve them. |
By utilizing Acer support software for diagnostics, you can easily identify and address any potential issues that may be causing your Acer monitor not to work with your Mac.
Ensuring Smooth Mac-monitor Integration
Having trouble with your Acer monitor not working with your Mac? Ensure a smooth integration by checking the video cable connection, using the correct adapter if necessary, and verifying that both devices are powered on and connected correctly.
Ensuring Smooth Mac-Monitor Integration Walk through macOS display arrangement settingsWalk Through Macos Display Arrangement Settings
When your Acer monitor is not working properly with your Mac, it can be frustrating. However, there are several steps you can take to ensure a smooth integration between your Mac and Acer monitor. One of the first things you should check is your macOS display arrangement settings. This will help you properly configure your monitor setup and resolve any potential issues.
To walk through the macOS display arrangement settings on your Mac, follow these steps:
- Click on the Apple menu in the top-left corner of your screen.
- Select “System Preferences” from the dropdown menu.
- In the System Preferences window, click on “Displays.”
- Go to the “Arrangement” tab.
- Ensure that the “Mirror Displays” option is unchecked.
- Drag the white menu bar to the desired monitor to set it as your main display.
- Arrange the position of the displays according to your preference by dragging them in the display arrangement window.
- Close the System Preferences window once you are satisfied with the settings.
Customize Color Calibration For Acer Monitor
Another important aspect of ensuring a smooth Mac-monitor integration is customizing the color calibration for your Acer monitor. By calibrating the color settings, you can achieve more accurate and vibrant colors on your screen.
Here’s how you can customize the color calibration for your Acer monitor:
- On your Mac, go to the Apple menu and select “System Preferences.”
- Click on “Displays” in the System Preferences window.
- Go to the “Color” tab.
- Select the Acer monitor from the list of displays.
- Click on “Calibrate…” to start the color calibration process.
- Follow the on-screen instructions to adjust the brightness, contrast, and color settings of your monitor.
- Once you are satisfied with the calibration, click on “Finish.”
Manage Potential Conflicts With Third-party Apps
In some cases, conflicts with third-party apps can cause issues with your Acer monitor on your Mac. It is essential to identify and resolve these conflicts to ensure a smooth operation.
Here are some steps to manage potential conflicts with third-party apps:
- Check for any recent app installations that might be causing conflicts. Uninstall or update these apps as necessary.
- If you suspect a specific app is causing the issue, try quitting or force-quitting the app to see if the problem persists.
- Check for any available updates for your third-party apps. Updating them to the latest version can often resolve compatibility issues.
- If the issue persists, try restarting your Mac to refresh the system and eliminate any temporary conflicts.
- If all else fails, you can try running your Mac in Safe Mode to troubleshoot potential software conflicts.
By following these steps and ensuring a proper macOS display arrangement, customizing color calibration, and managing potential conflicts with third-party apps, you can enhance the integration between your Acer monitor and Mac, and resolve any issues you may be facing.
Frequently Asked Questions On Acer Monitor Not Working With Mac
Why Wont My Acer Monitor Connect To My Mac?
To fix the issue of your Acer monitor not connecting to your Mac, check the following: 1. Ensure your MacBook is plugged into a power outlet and not running on battery power. 2. Verify that the monitor is connected to the correct port on your MacBook.
3. Confirm that the cables you’re using are securely connected and not damaged. 4. Check if your Mac is recognizing external displays in the display settings. If the problem persists, try unplugging and reconnecting the display, or test the signal cables on another device.
For more troubleshooting, refer to Apple Support.
Why Is My Mac Not Detecting An External Monitor?
If your Mac is not detecting an external monitor, try these troubleshooting steps: 1. Unplug and re-plug the display. 2. Ensure the cable is securely connected to the correct port. 3. Verify that you are using the correct cable for your display.
4. Test the signal cables for any loose or damaged connections. If the issue persists, it may be helpful to consult Apple Support or the monitor manufacturer for further assistance.
Why Is My Acer Monitor Not Being Detected?
If your Acer monitor is not being detected, there are a few possible reasons. First, check if the signal cables are properly connected and not damaged. Test the cables on another device to confirm if they are the issue. If the cables are fine, make sure your Mac is plugged into an electrical outlet and the laptop is not running on battery power.
Also, ensure that the external monitor is connected to the correct port on your Mac. These steps should help resolve the issue.
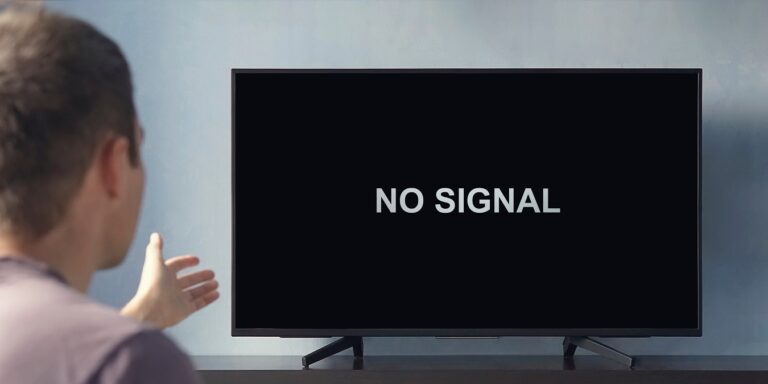
Why Does My Monitor Say No Signal When Connected To My Macbook?
Your Acer monitor may say “no signal” when connected to your MacBook due to several reasons. Firstly, ensure that your MacBook is plugged into an electrical outlet and not running on battery power. Verify that the external monitor is connected to the correct port on your laptop.
Additionally, check the signal cables for any loose connections, bent pins, or frayed wires. Try using different cables or testing the monitor with another device to confirm if the issue is with the signal cable.
Conclusion
If you’re facing issues with your Acer monitor not working with your Mac, there are a few steps you can take to troubleshoot the problem. First, ensure that the monitor is correctly connected to your Mac using the proper cable.
Additionally, check for any bent pins or frayed wires in the signal cable. If the issue persists, try reconnecting the cable or testing it on another device to confirm if it’s a cable-related problem. Reinstalling the software used by the display adaptor can also help resolve the issue.
Follow these steps to ensure a smooth connection between your Acer monitor and Mac.