Graphics Card Not Working With Monitor: Troubleshooting Tips
To troubleshoot a graphics card not working with a monitor, check the cable connections on the video card and ensure they are secure, including the monitor’s input port connections. Additionally, update the graphics card driver and motherboard BIOS version to ensure compatibility.
Initial Checks And Connections
When encountering issues with a graphics card not working with a monitor, one of the first steps to take is to perform a series of initial checks and verify the connections. By following these steps, you can identify and resolve any potential problems related to compatibility or faulty connections.
Confirm Video Card And Monitor Compatibility
Before delving deeper into troubleshooting, it’s crucial to ensure compatibility between the video card and the monitor. Check the specifications of both devices to verify if they are compatible in terms of port types, resolutions, and refresh rates. Incompatibility between the video card and monitor can lead to display issues or no signal problems. If compatibility issues are identified, consider upgrading either the video card or the monitor to ensure a suitable match.
Inspect All Cable Connections
A common cause of a graphics card not working with a monitor is faulty cable connections. Start by checking the cable connection from the video card to the monitor. If the video card uses a VGA or DVI connection, make sure to turn the locking screws in to securely fasten the cable. Additionally, inspect the connections on the monitor’s input port to ensure they are firmly attached.
If the issue persists, try swapping out the cable with a known working one or connecting the monitor to a different video port on the graphics card. This helps determine if the problem lies with the cable itself or the video port on the card.
It’s worth noting that some monitors may require specific cable types, such as HDMI or DisplayPort, to function properly with certain video cards. Therefore, double-check that you are using the correct cable type as specified by the monitor manufacturer.
In cases where the cable detaches from the monitor, reattach it securely and make sure it is tightly connected to prevent any signal loss or intermittent display problems.
Ensuring that all cable connections are intact and firmly connected can often resolve issues related to a graphics card not working with a monitor.
Correct Input And Power
If your graphics card is not working with your monitor, there are a few troubleshooting steps you can take. First, check the cable connections on both the video card and the monitor’s input port. Make sure they are secure. Additionally, power off everything and then power on the monitor first, ensuring you are on the correct input.
Then power on your PC. If you are still experiencing issues, it may be helpful to update, reinstall, or downgrade your graphics card driver.
Verify Monitor Input Source Selection
One common issue when the graphics card is not working with the monitor is an incorrect input source selection. Sometimes, the monitor is not set to receive the signal from the graphics card, leading to a lack of display. To ensure the correct input source selection, follow these steps:
- Check the monitor’s menu or settings for the input selection options. This can usually be accessed through the monitor’s on-screen display (OSD) menu.
- Ensure that the input source is set to the port where the graphics card is connected. For example, if the graphics card is connected to the HDMI port, make sure the monitor is set to HDMI input.
- If the monitor has multiple input ports, try switching to a different port and see if the display appears. This can help determine if the issue is specific to a particular port or the graphics card itself.
- Make sure to save any changes made to the input source selection in the monitor’s settings.
Ensure Gpu And Monitor Power On Sequence
The power on sequence of the GPU and monitor can also affect their compatibility and functionality. Follow these steps to ensure the correct power on sequence:
- Turn off both the PC and the monitor.
- Check the cable connections between the GPU and the monitor, ensuring they are securely connected.
- Power on the monitor first and make sure it is on the correct input source as mentioned earlier.
- After the monitor has powered on and is displaying the correct input source, power on the PC.
- Observe if the display appears on the monitor after the PC has fully booted up.
By following these steps and ensuring the correct input source selection and power on sequence, you can troubleshoot the issue of the graphics card not working with the monitor. However, if the problem persists, further investigation and troubleshooting might be necessary.
Troubleshooting Display Issues
Experiencing display issues with your graphics card can be frustrating, especially when your monitor is not working properly. In this section, we will explore some common troubleshooting steps to help you identify and resolve these issues.
Assess Graphics Card Installation
One of the first things to check when troubleshooting display issues is the installation of your graphics card. Ensure that the card is properly seated in the PCIe slot on your motherboard. You can also verify the cable connections on the video card. If the card uses a VGA or DVI connection, make sure to turn the locking screws in to secure it. Additionally, check the connections on the monitor’s input port to ensure they are secure.
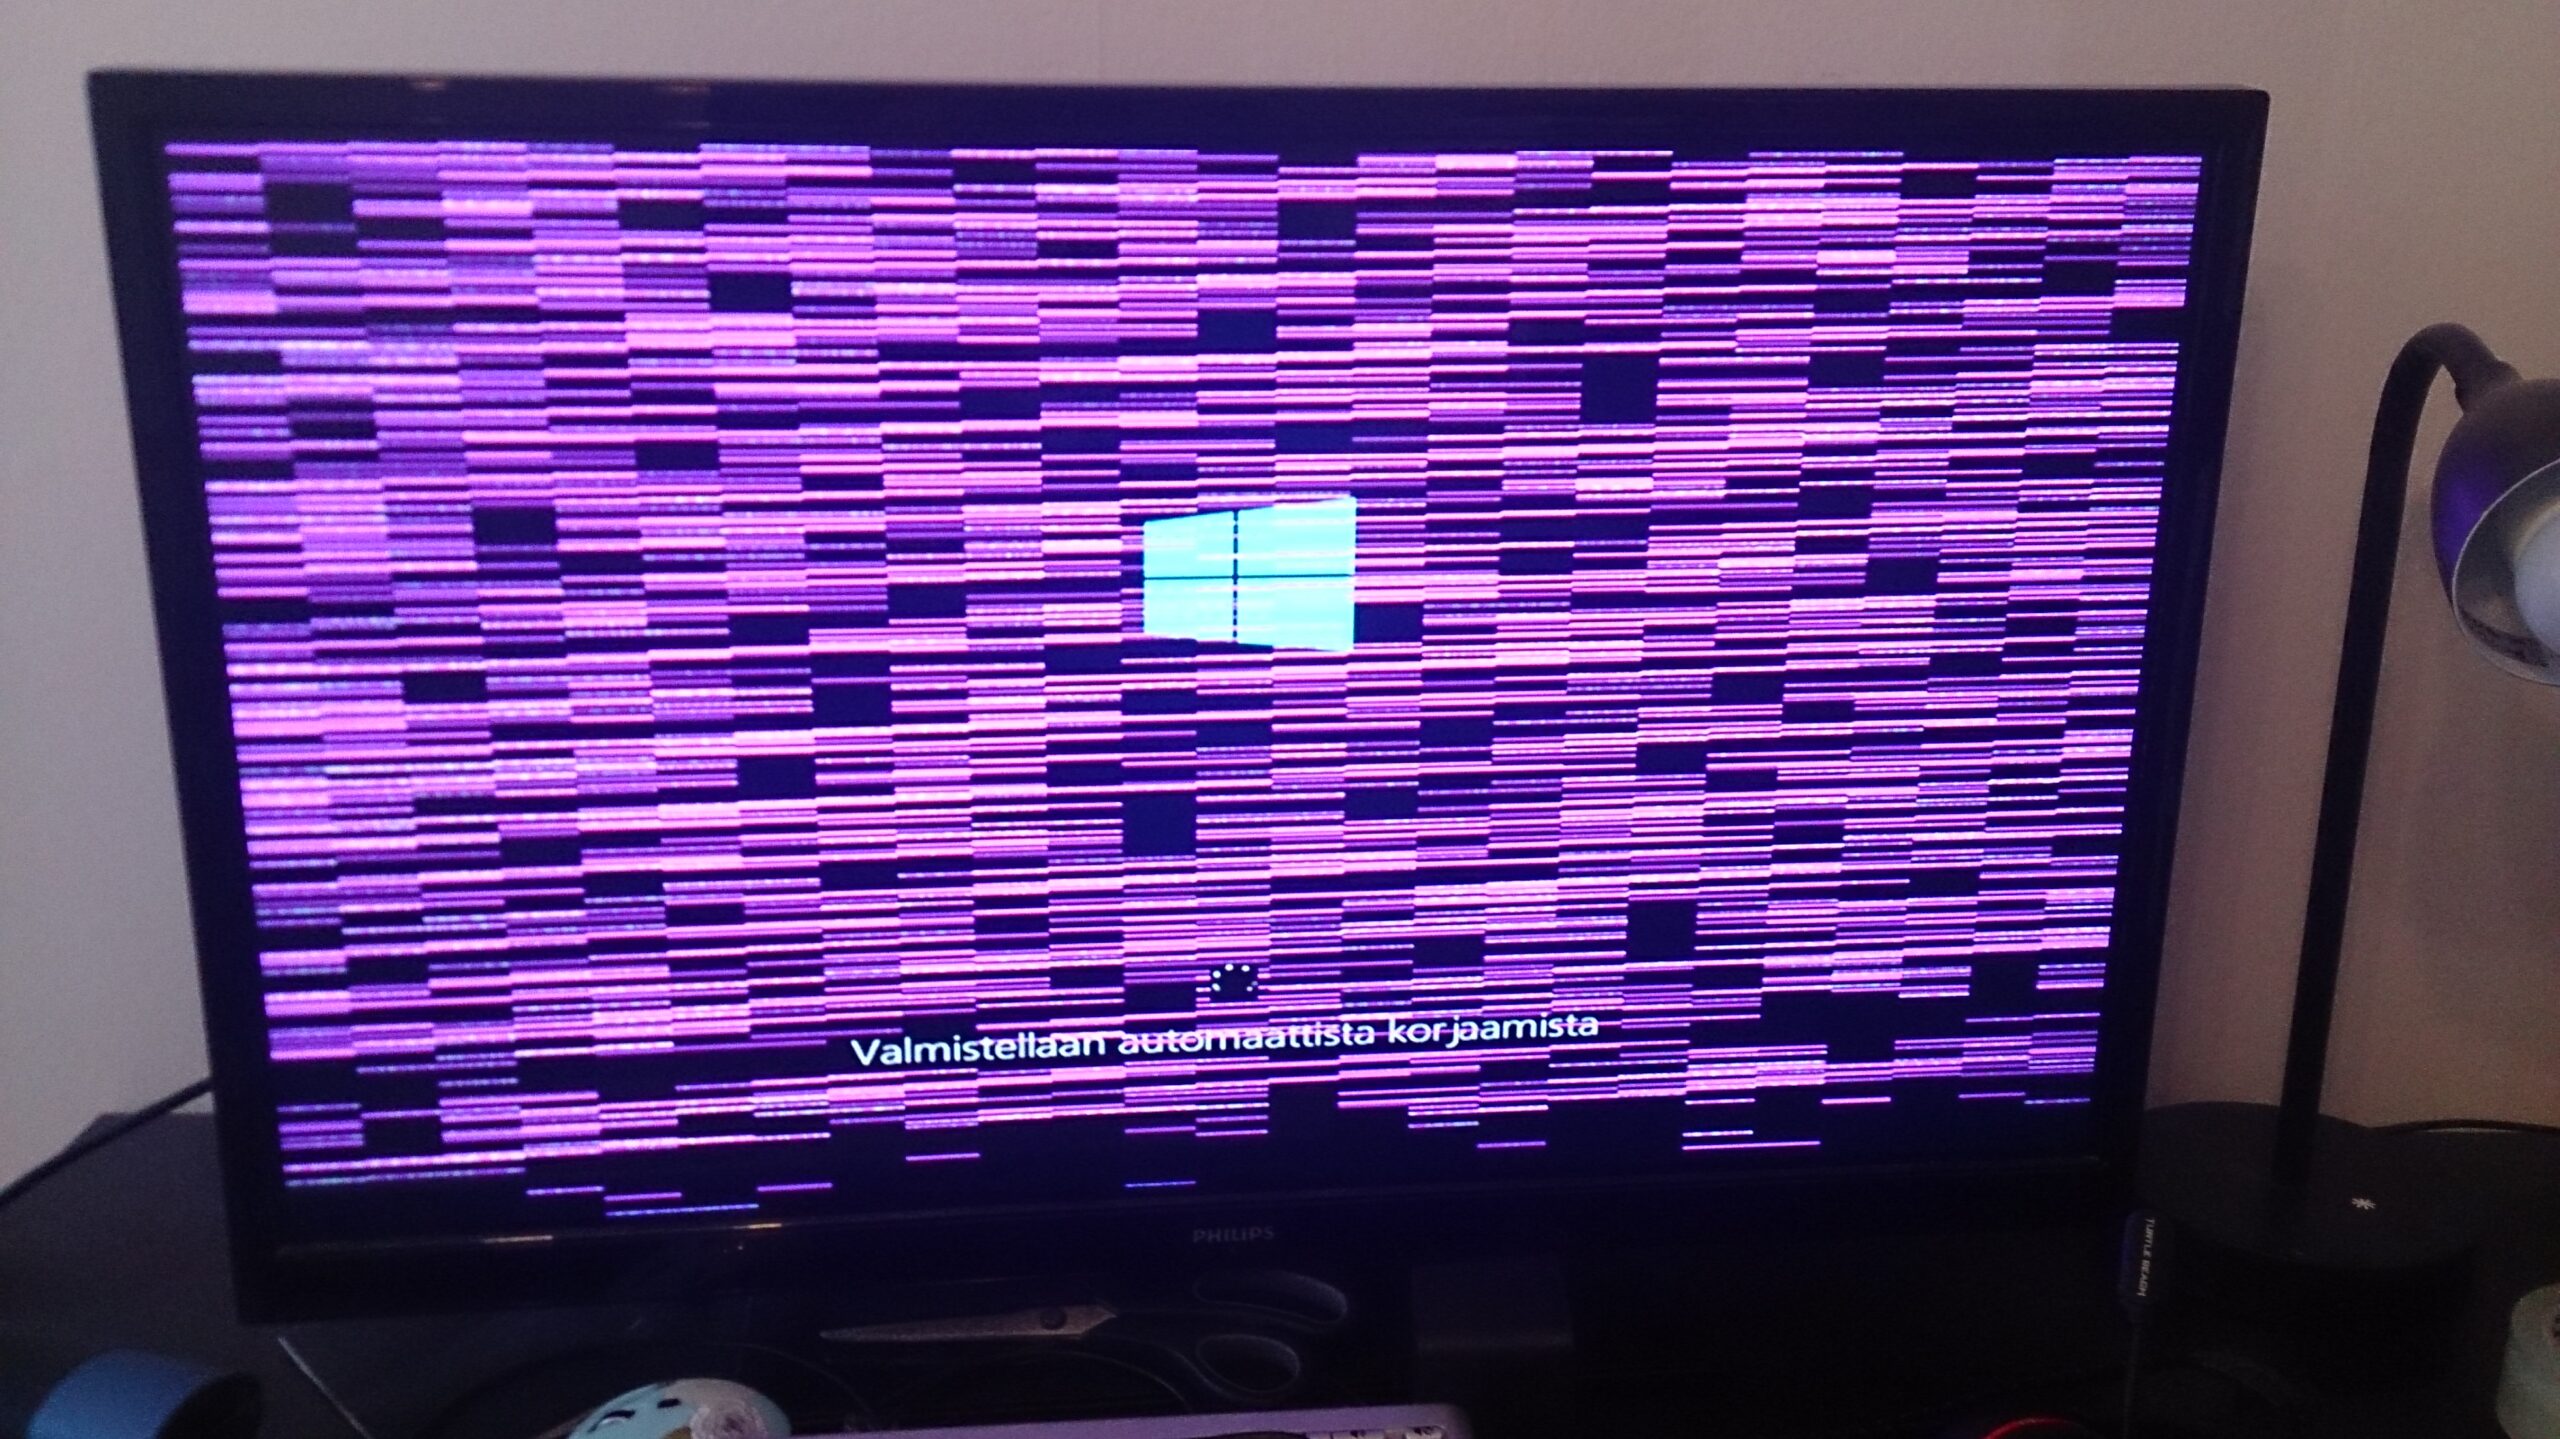
Investigate ‘no Signal’ Errors
If you are encountering a ‘NO SIGNAL’ error message on your monitor, there are a few steps you can take to investigate and resolve the issue. Start by turning off your computer and checking the connection from the GPU to the monitor. Power on the monitor separately and make sure it is on the correct input. Then, power on your PC and observe if the display has been restored. If not, consider checking the graphics card drivers and updating them if necessary.
Undertake Gpu And Memory Temperature Checks
High temperature can sometimes cause display issues with your graphics card. To ensure this is not the case, you can perform GPU and memory temperature checks. ASUS software GPU Tweak can be used to monitor the temperature of your GPU and confirm if it is within the normal operating range. If the temperature is too high, make sure your GPU is adequately cooled with fans or a suitable cooling system. Keep in mind that excessive dust layers can also impact the performance of your graphics card, so periodic cleaning may be beneficial.
Troubleshooting display issues with your graphics card requires a systematic approach. By assessing the installation, investigating ‘NO SIGNAL’ errors, and undertaking GPU and memory temperature checks, you can effectively identify and resolve issues that may be preventing your graphics card from working with your monitor. Following these steps will help ensure optimal performance and a seamless user experience.
Graphics Card Not Working: Drivers And Updates
One common issue faced by users is a graphics card not working with the monitor. This can be frustrating, but there are several troubleshooting steps you can take to resolve the problem. In this section, we will discuss two important aspects to consider: updating graphics card drivers and reviewing BIOS settings for GPU support.
Update Graphics Card Drivers
Outdated or incompatible graphics card drivers can often cause issues with the connection between the graphics card and the monitor. It is essential to regularly update your graphics card drivers to prevent such problems. Follow the steps below to update your drivers:
- Visit the manufacturer’s website for your graphics card.
- Locate the appropriate drivers for your specific graphics card model and operating system version.
- Download the latest drivers and save them to your computer.
- Run the installation file and follow the on-screen instructions to update your drivers.
- Restart your computer to apply the changes.
Review Bios Settings For Gpu Support
Sometimes, BIOS settings can interfere with the proper functioning of your graphics card. Follow the steps below to review and adjust these settings:
- Restart your computer and access the BIOS settings by pressing the designated key during the boot process (commonly F2 or Del).
- Navigate to the section related to graphics card or display settings.
- Ensure that the GPU support option is enabled.
- Save the changes and exit the BIOS settings.
Restore Default Settings In Bios If Necessary
In some cases, restoring the default settings in the BIOS can fix issues related to graphics card not working with the monitor. Here’s how you can restore default settings:
- Access the BIOS settings as mentioned above.
- Locate the option to restore default settings.
- Select the option and confirm the restoration.
- Save the changes and exit the BIOS settings.
By following these steps, you can resolve common issues related to graphics card not working with the monitor. Remember to regularly update your drivers and review your BIOS settings for optimal performance. If the issue persists, it may be necessary to seek further assistance from technical support or a computer repair professional.
Beyond Basic Troubleshooting
When your graphics card is not working with your monitor, it can be frustrating and impact your overall computing experience. While basic troubleshooting steps like checking cable connections and power supply are essential, sometimes the issue may not be resolved with these methods. In such cases, it is necessary to move beyond basic troubleshooting and explore other possibilities.
Check For Physical Damage Or Dust Accumulation
One common issue that can cause a graphics card to stop working with a monitor is physical damage or dust accumulation. Over time, dust can build up on the card’s connectors, preventing a proper connection with the monitor. To check for physical damage or dust accumulation:
- Turn off your computer and unplug it from the power source.
- Open the computer case and locate the graphics card.
- Inspect the card for any visible physical damage, such as bent pins or broken components.
- If there doesn’t seem to be any physical damage, carefully remove the card from the slot.
- Use compressed air or a soft brush to remove any dust or debris from the card, paying special attention to the connectors.
- Reinsert the graphics card into the slot, ensuring it is firmly and correctly seated.
- Close the computer case and reconnect all cables, then power on your computer to check if the issue is resolved.
Advanced Bios And Firmware Considerations
In some cases, the issue may lie within the computer’s BIOS or firmware settings. To address potential problems with BIOS and firmware, follow these steps:
- Power off your computer and restart it.
- As the computer starts up, press the designated key (commonly DEL or F2) to enter the BIOS setup utility.
- Navigate to the section that relates to your graphics card or display settings.
- Ensure that the graphics card is enabled and set as the primary display device.
- Save any changes made to the BIOS settings and exit the setup utility.
- If the issue persists, consider checking for firmware updates for your graphics card or seeking assistance from the manufacturer’s support website.
When To Seek Professional Repair Or Replacement
If you have tried the above troubleshooting steps and your graphics card still doesn’t work with your monitor, it may be time to seek professional repair or consider replacing the card. Professional repair technicians have the expertise and tools to diagnose and fix more complex issues that may be beyond the average user’s abilities.
- Research and find reputable repair centers or authorized service providers.
- Contact the manufacturer of your graphics card to inquire about warranty coverage or repair options.
- Consider the cost of repair versus the cost of a new graphics card, weighing the potential benefits of upgraded performance and features.
Remember, troubleshooting graphics card issues can sometimes be a challenging task. If you are unsure about performing any advanced troubleshooting steps on your own, it is always recommended to seek professional assistance to avoid causing further damage or voiding any warranties.
Credit: www.reddit.com
Frequently Asked Questions For Graphics Card Not Working With Monitor
Why Is My Graphics Card Not Displaying On My Monitor?
If your graphics card is not displaying on your monitor, check the cable connections on the video card. Secure the locking screws if using a VGA or DVI connection. Also, check the connections on the monitor’s input port. Updating the graphics card driver and motherboard BIOS may also help.
Why Is My Graphics Card Not Detecting My Display Port From My Monitor?
Your graphics card may not be detecting your display port due to outdated drivers. Make sure to update both your graphics card driver and motherboard BIOS version to the latest versions available. This should resolve any compatibility issues and allow your graphics card to detect the display port properly.
Why Is My Monitor Working But No Display?
If your monitor is working but not displaying anything, there are a few possible reasons. Check the cable connections on the video card and monitor’s input port. Secure the locking screws for VGA or DVI connections. Make sure you’re on the correct input.
Update graphics card drivers and motherboard BIOS. Restart your computer and check for any yellow question marks on the card in device manager.
Why Are My Gpu Fans Spinning But No Display?
If your GPU fans are spinning but there is no display, check the cable connections on the video card and monitor. Make sure the locking screws are secured and check the connections on the monitor’s input port. Also, try updating or reinstalling the graphics card driver.
Conclusion
To troubleshoot the issue of a graphics card not working with a monitor, it is important to check the cable connections on both the video card and the monitor’s input port. Ensure that the locking screws are secured for VGA or DVI connections.
Additionally, turning off and powering on the monitor and PC can help resolve the problem. Updating, reinstalling, or downgrading the graphics card driver may also fix the issue. Remember to keep your drivers and BIOS version up to date for optimal performance.