Troubleshooting Guide: What Causes Computer Monitor Not to Come on?
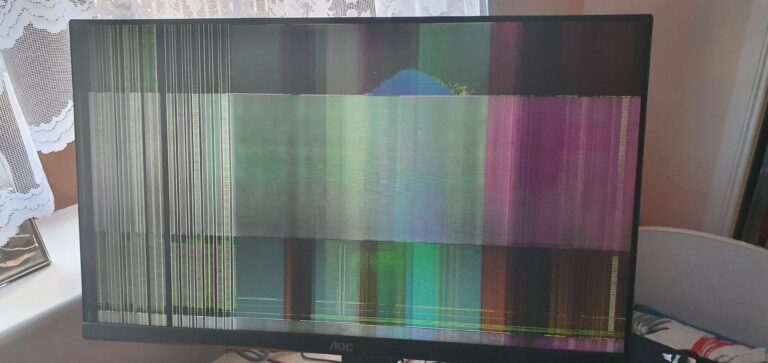
If your computer monitor is not turning on, it could be caused by connection or power problems, loose components such as RAM, or faulty computer hardware. Loose or faulty cables are commonly the culprit when your monitor says it has no signal.
Other reasons for a black screen include the monitor not being switched on, improper connections, or a damaged or loosely connected cable between the monitor and computer. To fix this issue, you can check the power supply and connections, ensure that the monitor is switched on, try a different cable, or seek assistance from a service center if necessary.
Initial Checks For Monitor Power
If your computer monitor is not coming on, it could be due to a variety of reasons such as loose cables, faulty hardware, or power problems. Ensure all connections are secure and check for any loose components.
Verify Power Source Integrity
One possible reason why your computer monitor is not coming on is due to power source integrity issues. It is essential to ensure that the power source is functioning correctly before troubleshooting other potential problems. Here are some steps you can follow:
- Check if the power outlet is working by plugging in another electronic device.
- Verify that the power cable is securely connected to both the monitor and the power source.
- Consider using a different power cable to rule out cable damage or malfunction.
- Inspect the power adapter, if applicable, for any signs of damage or overheating.
Assess Monitor Power Button Functionality
If the power source is working correctly, the next step is to ensure that the monitor’s power button is functioning as intended. Here’s what you can do:
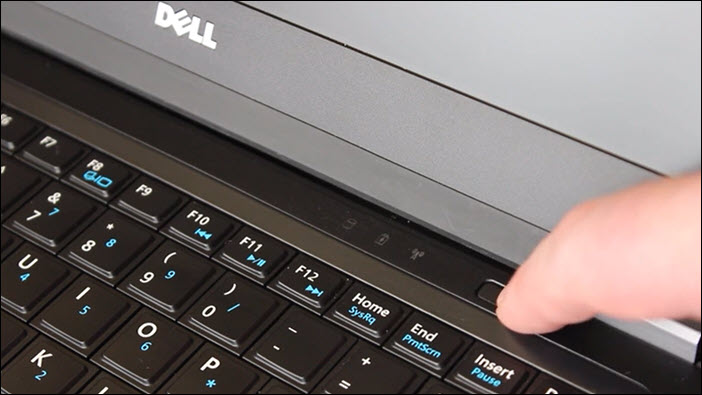
- Make sure the power button is in the “on” position. Some monitors have a separate power button, while others may use touch-sensitive controls.
- If the power button is already on, try turning it off and back on again to reset the monitor.
- Check the monitor’s user manual for any specific instructions regarding the power button’s functionality or troubleshooting steps.
- If the power button still doesn’t work, consider contacting the manufacturer or seeking professional assistance.
Inspect Power Cables And Connections
Loose or faulty power cables and connections can prevent the computer monitor from turning on. It is crucial to examine these components thoroughly. Follow these steps:
- Ensure that all power cables are securely plugged into the appropriate ports on both the monitor and the computer.
- If your monitor uses an external power adapter, check the connection between the adapter and the monitor for any signs of damage or loose connection.
- Inspect the VGA, DVI, HDMI, or DisplayPort cable (depending on your monitor’s connection type) for any visible damage, such as bent pins or frayed wires.
- If possible, try using a different cable to rule out any cable-related issues.
- Consider connecting the monitor to a different port on your computer (if available) to verify that the issue is not related to the specific port being used.
Remember, these initial checks for monitor power should be performed before delving into more complicated troubleshooting methods. By examining the power source integrity, assessing the monitor power button, and inspecting power cables and connections, you can potentially identify and resolve the issue causing your computer monitor not to come on.
Credit: www.avg.com
Exploring Connection Fails
If your computer monitor fails to come on, it could be due to various reasons such as loose connections, faulty cables, or damaged hardware. Make sure to check for these issues and troubleshoot accordingly to fix the problem.
Check For Secure Cable Attachment
When your computer monitor fails to turn on, one of the most common reasons is a loose or insecure cable attachment. This can happen due to accidental tugs or movements, resulting in a poor connection between your computer and the monitor. To fix this issue, follow these steps: 1. First, power off your computer and monitor. 2. Locate the cable connecting your monitor to the computer. 3. Ensure that both ends of the cable are securely attached. 4. Gently tighten any loose connections to ensure a secure attachment. 5. Power on your computer and monitor to see if the problem is resolved. By checking for a secure cable attachment, you can eliminate this common cause of connection fails and get your monitor back up and running.Evaluate Different Cable Types
Another factor that can contribute to a monitor not turning on is the use of an incompatible or faulty cable. Different monitors and computers may require different types of cables for proper connectivity. Here are some commonly used cable types for monitor connections: 1. VGA (Video Graphics Array) cable: This is an analog cable commonly used for older monitors and computers. 2. DVI (Digital Visual Interface) cable: It provides high-quality digital video signals and is commonly used for modern monitors. 3. HDMI (High-Definition Multimedia Interface) cable: This cable supports high-definition video and audio signals and is widely used for both monitors and TVs. 4. DisplayPort cable: It is a digital cable that provides high-quality video and audio signals and is commonly found on newer monitors and computers. Make sure you are using the appropriate cable for your specific hardware setup. If you suspect a faulty cable, try replacing it with a known working one to see if that resolves the issue.Test For Faulty Ports On Pc And Monitor
If you have checked the cable attachment and cable type, the next step is to test for faulty ports on both your computer and monitor. Sometimes, the problem lies with the port rather than the cable itself. Here’s what you can do: 1. Disconnect the cable from both the computer and monitor. 2. Inspect the ports on your computer and monitor for any physical damage or dirt. 3. Use a can of compressed air to clean out any debris that may be obstructing the ports. 4. Reconnect the cable firmly into the ports on both ends. 5. Power on your computer and monitor to see if the issue persists. If the problem still exists, try using a different port on your computer or a different monitor, if available. This will help identify whether the issue is with the port or the monitor itself. Remember, exploring connection fails is crucial when troubleshooting a monitor that refuses to come on. Follow these steps to ensure a secure cable attachment, evaluate different cable types, and test for faulty ports. By doing so, you can resolve common connection issues and get your monitor up and running again.Internal Component Troubleshooting
If your computer monitor is not turning on, it could be due to connection or power problems, loose components, or faulty hardware. Make sure all cables and connections are secure, and try using a different cable if necessary. If the issue persists, you may need to consult a service center for further troubleshooting.
Re-seat Ram And Graphics Card
One of the first troubleshooting steps you can take when your computer monitor doesn’t come on is to re-seat the RAM and graphics card. Loose connections can often be the cause of the issue. Here’s how you can do it:- Turn off your computer and unplug the power cord.
- Open your computer case and locate the RAM sticks and graphics card.
- Carefully remove each RAM stick by pushing down on the side clips and pulling it out.
- Check the RAM slots for any dirt or debris and clean them if necessary.
- Insert each RAM stick back into its slot, ensuring it is firmly seated. You should hear a click sound when it is properly inserted.
- Next, gently remove the graphics card from its slot by releasing any clips or screws holding it in place.
- Inspect the graphics card for any visible damage or debris. Clean it if necessary.
- Insert the graphics card back into its slot, making sure it is securely connected.
- Close your computer case, plug in the power cord, and turn on your computer.
Inspect For Visible Motherboard Issues
If re-seating the RAM and graphics card doesn’t fix the issue, you may need to inspect your motherboard for any visible issues. This could include faulty capacitors, burned-out components, or physical damage. Here’s how you can do it:- Turn off your computer and unplug the power cord.
- Open your computer case and locate the motherboard.
- Inspect the motherboard for any visible issues such as bulging or leaking capacitors, burn marks, or damaged components.
- If you notice any visible issues, it is recommended to consult a professional technician for further assistance.
- If there are no visible issues, proceed with re-seating the motherboard by gently removing it from the case and then placing it back in, ensuring it is securely connected.
- Close your computer case, plug in the power cord, and turn on your computer.
- Turn off your computer and unplug the power cord.
- Open your computer case and locate the CPU and PSU.
- Inspect the CPU for any visible issues such as bent pins or signs of damage. Clean it if necessary.
- Ensure the CPU is securely seated in its socket.
- Inspect the PSU for any visible issues such as loose cables, burn marks, or damaged components.
- Check all connections between the PSU and the motherboard, ensuring they are properly plugged in.
- If you suspect a faulty CPU or PSU, it is recommended to consult a professional technician for further diagnosis and potential replacement.
- Close your computer case, plug in the power cord, and turn on your computer.
Software And Settings Considerations
Sometimes a computer monitor may not come on due to various reasons, such as loose cables, faulty connections, or damaged hardware. To fix this issue, you can try checking and securing the cables, ensuring the monitor is switched on, and verifying that the computer is powered up and running properly.
What Causes Computer Monitor Not to Come on – Software and Settings Considerations When your computer monitor fails to turn on, it can be frustrating and can disrupt your workflow. Fortunately, there are several software and settings considerations that you can explore to troubleshoot and fix the issue. In this section, we will discuss three common solutions: reviewing display settings in the operating system, updating or rolling back graphics drivers, and resetting BIOS to default settings.Review Display Settings In Os
One of the potential reasons for a blank computer screen could be incorrect display settings in your operating system. To review these settings:- Start by right-clicking on your desktop and selecting “Display settings” from the context menu.
- Check the resolution and make sure it matches the recommended settings for your monitor.
- Additionally, verify that the multiple display option is correctly configured if you are using multiple monitors.
- If needed, make the necessary adjustments and save the changes.
Update Or Rollback Graphics Drivers
Outdated or faulty graphics drivers can often cause issues with the display. To update or rollback your drivers:- Access the Device Manager by either searching for it in the Start menu or right-clicking on the “This PC” icon and selecting “Properties.”
- In the Device Manager, expand the “Display adapters” category to reveal the installed graphics drivers.
- Right-click on your graphics card driver and select “Update driver” to search for the latest updates online.
- If updating doesn’t resolve the issue, you can also try rolling back the driver to a previously installed version.
Reset Bios To Default Settings
Sometimes, incorrect BIOS settings can interfere with the display output. To reset BIOS to default settings:- Restart your computer and access the BIOS setup by pressing a specific key during the boot process (commonly Del, F2, or F10).
- Navigate to the “Exit” or “Reset” menu option in the BIOS interface.
- Select the option to “Load default settings” or “Restore factory defaults.”
- Save the changes and exit the BIOS setup.
- Your computer will restart, and hopefully, the monitor will now display properly.
Hardware Failure Diagnostics
If your computer monitor fails to turn on, it can be frustrating and concerning. There are several potential causes for this issue, including hardware failures. In this section, we will discuss some troubleshooting methods to identify indicators of monitor failure, conduct a monitor self-test feature check, and evaluate the necessity for professional repair or replacement.
Troubleshooting Guide: Indicators Of Monitor Failure
When encountering a blank screen, it is important to consider the following indicators of monitor failure:
- Connection or power problems: Loose or faulty cables are often the primary culprits when a monitor displays no signal. Therefore, it is crucial to ensure that all connections are secure and that the monitor is receiving sufficient power.
- Loose components (such as RAM): Loose or improperly installed components within the computer can prevent the monitor from functioning properly. Therefore, it is recommended to check and reseat any loose components, such as RAM modules.
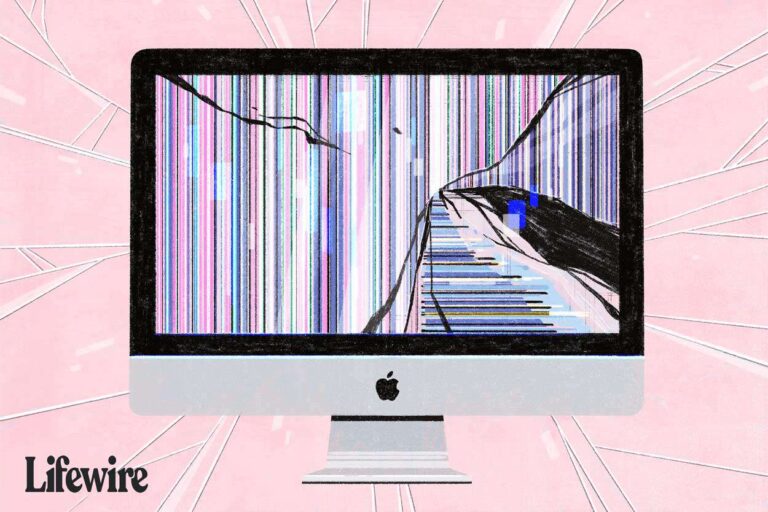
- Faulty computer hardware: In some cases, the issue may stem from faulty computer hardware. This could include a malfunctioning graphics card, motherboard, or power supply unit. It is advisable to consult a professional technician for further diagnosis and repair.
Conducting A Monitor Self-test Feature Check
One useful method to determine if the monitor itself is the source of the problem is by performing a self-test feature check. Here’s how:
- Disconnect all cables from the monitor, except for the power cable.
- Turn on the monitor and check for any on-screen notifications or error messages.
- If the monitor displays an image or specific test pattern during the self-test, it suggests that the monitor is functioning correctly, and the issue lies elsewhere in the system.
- However, if the monitor fails to display anything during the self-test, it indicates a potential hardware failure with the monitor itself.
Evaluating Necessity For Professional Repair Or Replacement
After troubleshooting and conducting a self-test, it is essential to evaluate whether professional repair or replacement is necessary. Consider the following factors:
- The frequency and severity of the problem: If the issue occurs frequently or persists despite troubleshooting efforts, professional assistance may be required.
- The age of the monitor: Older monitors may be more prone to hardware failures, making replacement a more viable option.
- The cost-effectiveness of repair: Assess the potential cost of repair versus the purchase of a new monitor. Sometimes, investing in a new monitor may be a more practical choice.
In conclusion, identifying and diagnosing hardware failures in a computer monitor requires thorough troubleshooting and evaluation. By following the steps outlined in this guide, you can gain a better understanding of the potential causes and determine the necessary course of action for repair or replacement.
Frequently Asked Questions Of What Causes Computer Monitor Not To Come On
Why Is My Computer Turning On But No Display?
If your computer is turning on but there is no display, it could be due to connection or power problems, loose components like RAM, or faulty computer hardware. Check your cables, ensure everything is properly connected, and consider seeking professional help if needed.
Why Isn’t My Computer Monitor Turning On?
There are a few reasons why your computer monitor might not be turning on. It could be due to connection or power problems, loose components, or faulty hardware. Make sure all cables are secure and try a different cable if necessary.
If the issue persists, consider seeking professional assistance.
How Do I Get My Monitor To Work Again?
To get your monitor working again, check for the following issues: 1. Ensure all cables are securely connected. 2. Check for loose components like RAM. 3. Verify if any computer hardware is faulty. 4. Try a different cable or power source.
5. If it persists, consult a service center.
Why Is My Computer Plugged In But No Signal On Monitor?
If your computer is plugged in but there is no signal on the monitor, it could be due to connection or power problems, loose components (such as RAM), or faulty computer hardware. Check for loose or faulty cables and try using a different cable or power source.
If the issue persists, consult a service center for further assistance.
Conclusion
To troubleshoot a computer monitor that won’t turn on, check for connection or power problems, such as loose components or faulty hardware. Loose or faulty cables are often the culprit, so double-check your connections and try a different cable if necessary.
Additionally, make sure your monitor is switched on and that your computer is actually powered up and running. If all else fails, it’s best to seek professional assistance to fix any loose screen cables or damaged connections. By following these steps, you can resolve display issues and get your monitor working again.
